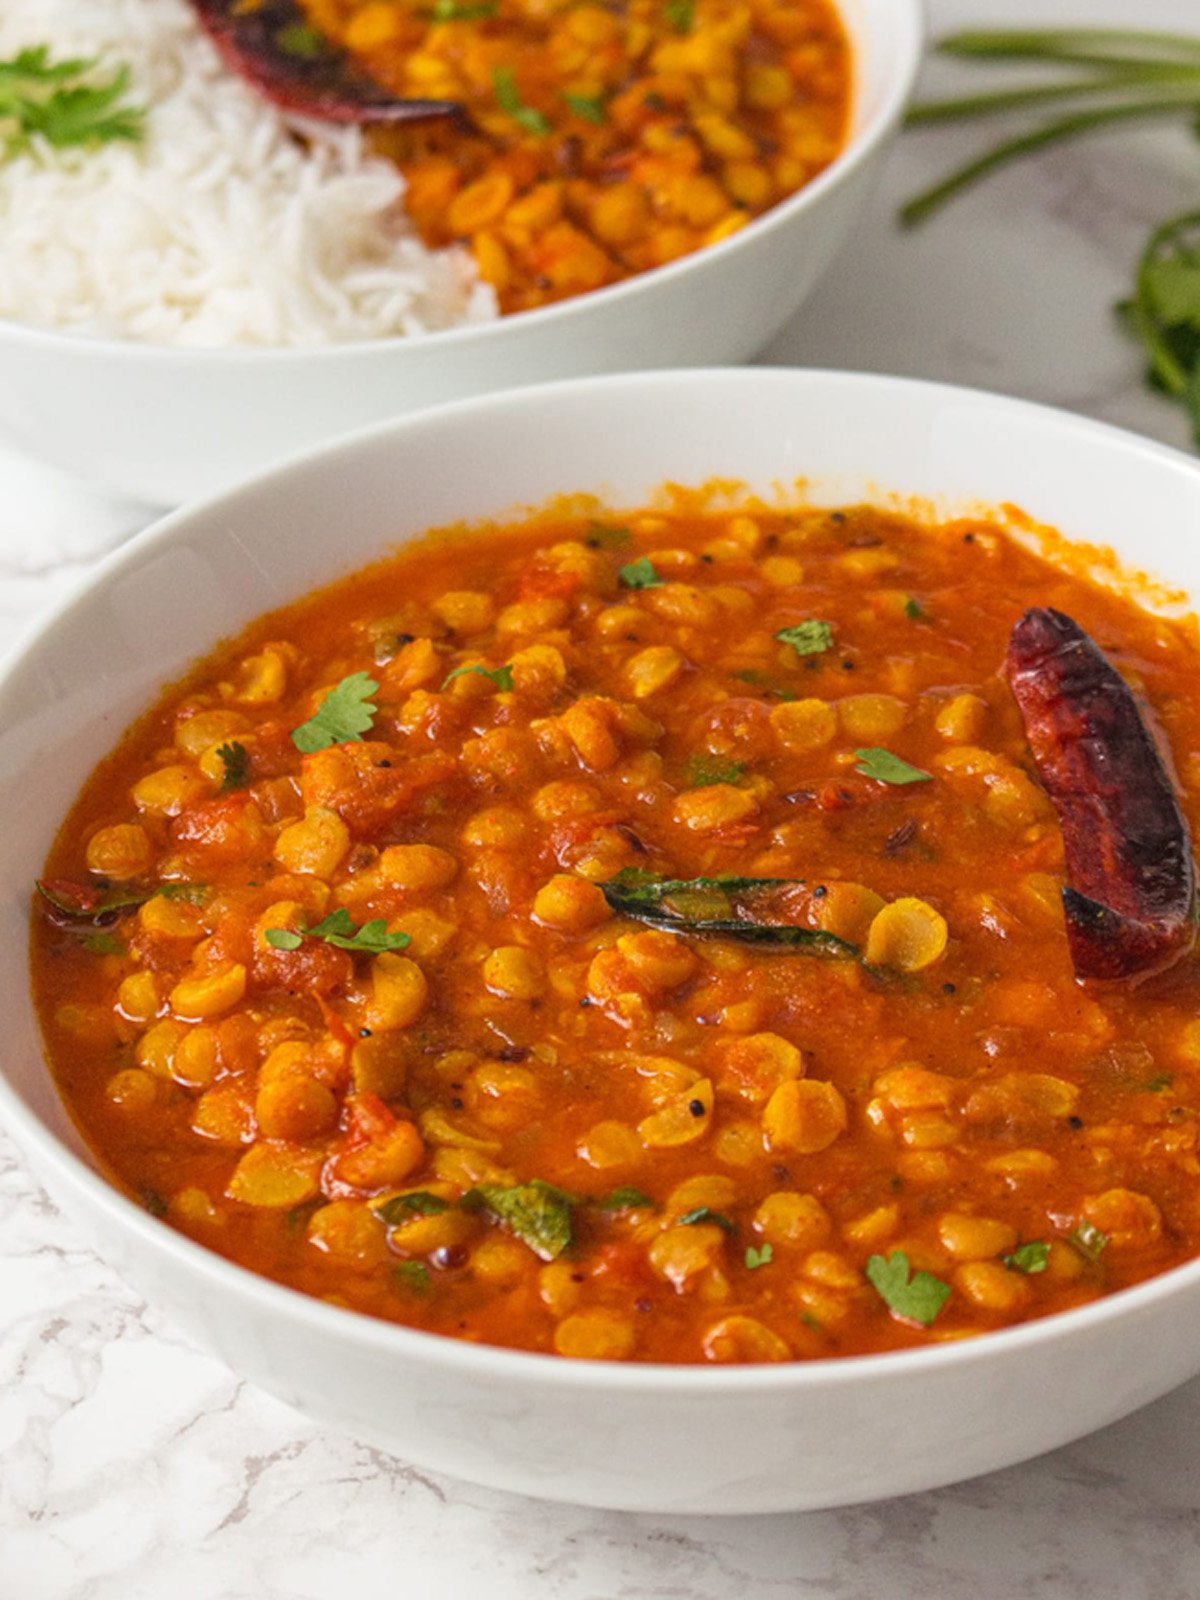
Chana Dal, or split chickpeas, is a staple in many Indian kitchens. I remember my mom making it on chilly evenings—it’s both comforting and full of protein. It’s a dish that’s delicious, healthy, and perfect for any meal!
Jump to:
About Chana Dal Recipe 🍛🌱🍴
Chana Dal, also called Bengal gram dal, comes from the Indian subcontinent. This dish is loved for its earthy taste and many health benefits.
The name "Chana Dal" comes from the Hindi words "Chana," which means chickpeas, and "Dal," which means split. Moreover, it’s also known as split chickpeas, describing its shape perfectly.
In addition, Chana Dal is very versatile. You can use it in dishes like Chana Dal fry, Chana Dal masala, and even Chana Dal tadka recipe, which you often find in dhabas (roadside eateries) across India.
What’s even better is that Chana Dal recipe isn’t just for curries; you can also use it in snacks, desserts, and savory pancakes called "chila."
What is Chana Dal?🍛
Chana Dal is made from yellow split chickpeas and is commonly used in Indian cooking. It has a slightly nutty flavor and a firm, grainy texture when cooked. I remember my grandmother making a simple Chana Dal curry that smelled so delicious as it simmered on the stove!
Chana Dal is super versatile! It’s used in dal, soups, and stews. You can also turn it into besan (chickpea flour) for snacks like bhajis or cheelas.
Why Chana Dal is Popular 🌱
It’s a favorite in vegetarian and vegan diets across India, especially in the North and South. Chana Dal is nutritious, filling, and perfect for everyday meals or special occasions like festivals.
Health Benefits of Chana Dal🍽️💪
- Chana Dal is packed with protein, making it a great choice for vegetarians and vegans. It also has fiber, which supports digestion and keeps you feeling full longer.
- It’s loaded with essential vitamins and minerals like iron, folate, magnesium, and potassium, which are important for energy, healthy blood, and muscle function.
- Regular consumption of Chana Dal helps with digestion, regulates blood sugar, improves heart health, and supports weight management—all key to staying healthy.
- The nutrients in Chana Dal can also help promote glowing skin and strengthen hair, making it a great beauty food!
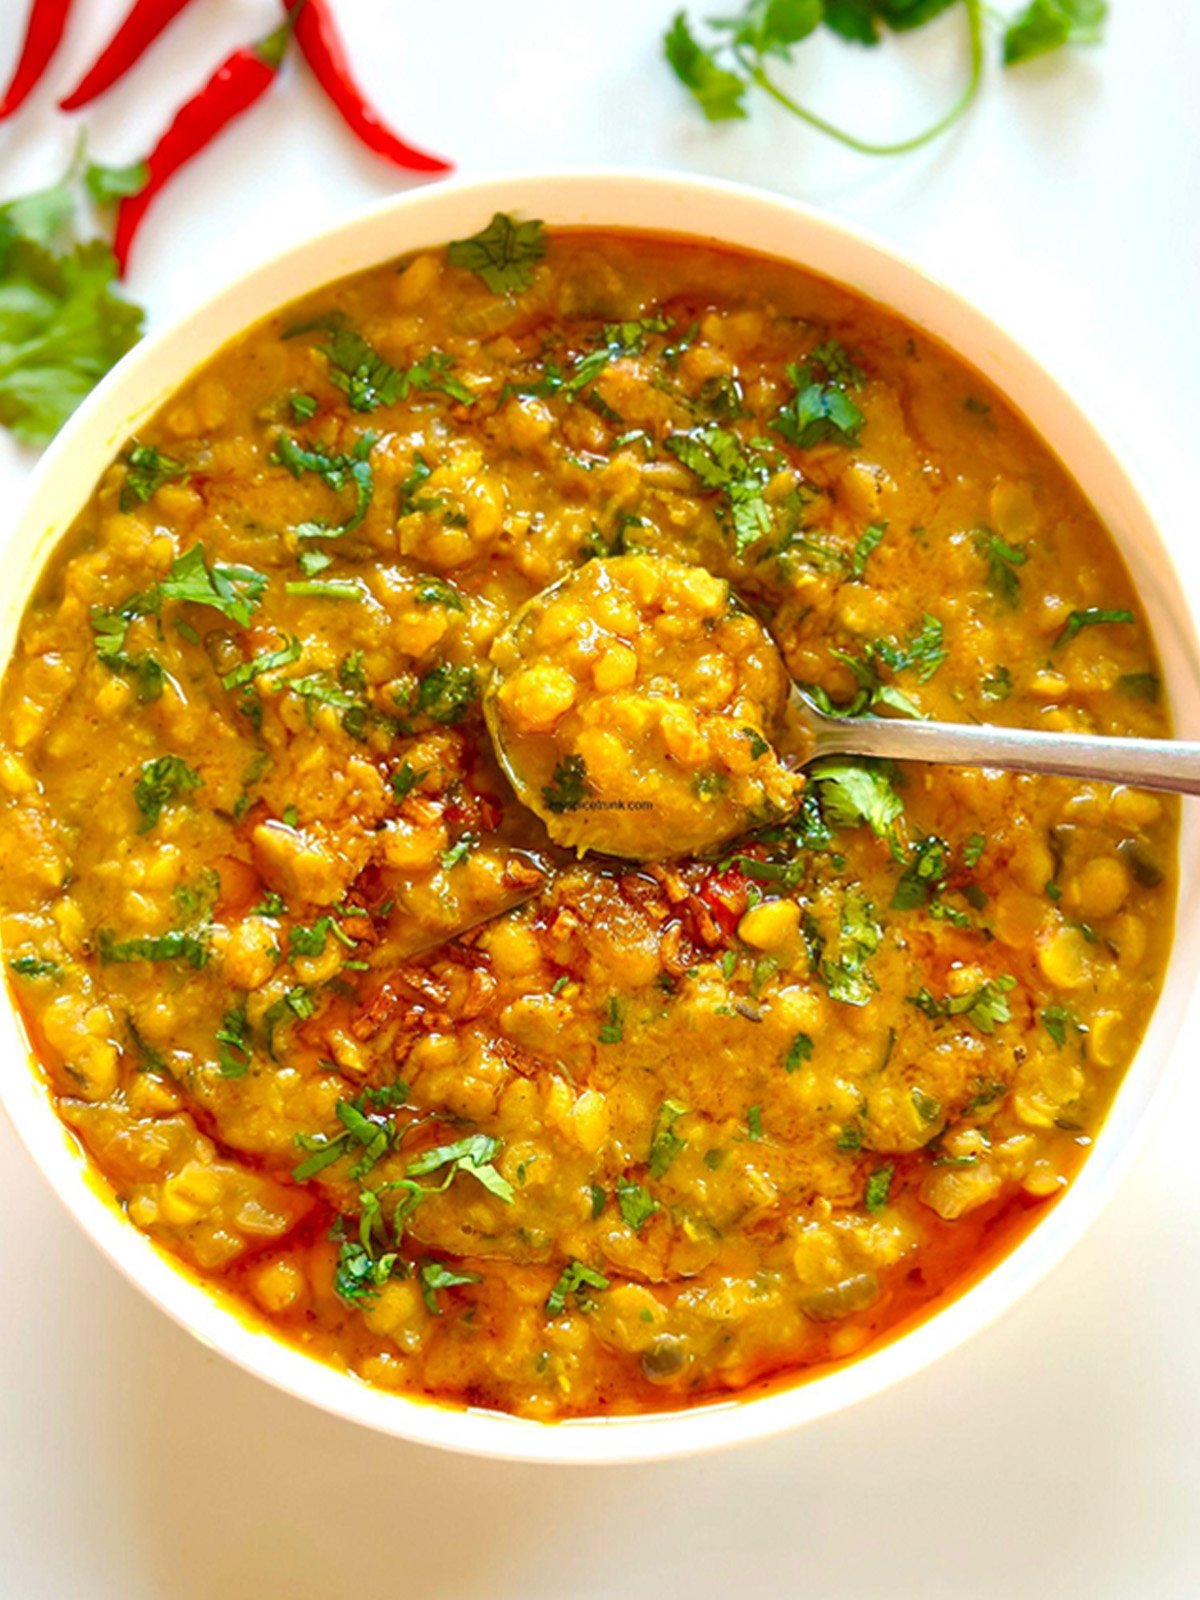
Difference Between Arhar Dal(Toor Dal) and Chana Dal
Many people, especially those new to Indian cooking, often mix up Arhar Dal (Toor Dal) and Chana Dal because they look similar. I have made that mistake, too, especially when shopping quickly.
However, if you look closely, it’s easy to tell them apart. Chana Dal is thicker and usually a bit larger than Arhar Dal. Even though they look alike, they taste very different.
Arhar Dal has a mild, slightly sweet flavor and a smooth texture when cooked, making it great for everyday meals. Chana Dal has a richer, nuttier taste and a firmer texture.
While I enjoy both, on days when I want something heartier, I choose Chana Dal. It’s perfect for dishes that need more substance and a bold flavor!
What you Need to Make This Chana Dal Recipe 🍛🌱🍴
🥘 Recipe Ingredients
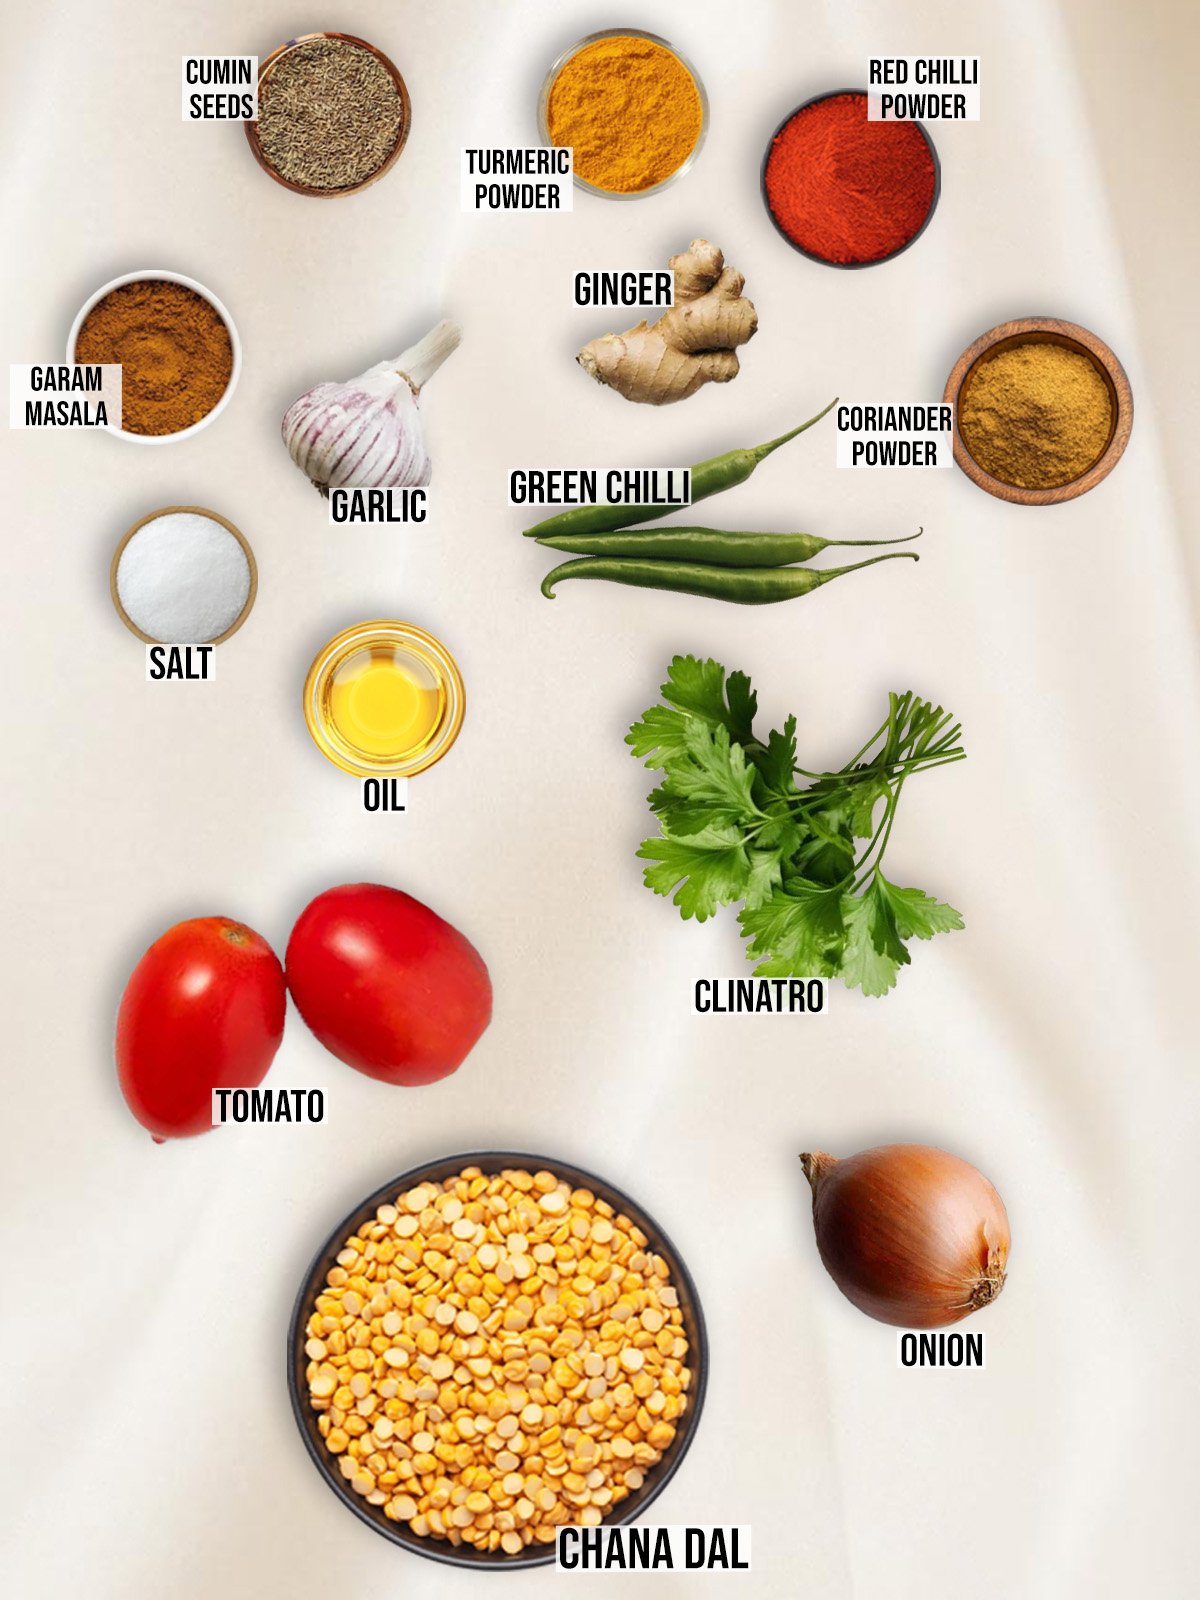
Ingredients Notes:
- Chana Dal (Yellow Split Chickpeas) 🌱: The star of the dish! I remember my mom soaking them overnight, making the dal soft and creamy when cooked.
- Onions 🧅: Adds a sweet flavor when sautéed—it's a smell that instantly reminds me of family dinners.
- Tomatoes 🍅: Gives a nice tangy kick, just like how my grandmother always used fresh tomatoes from her garden.
- Ginger & Garlic 🧄: These give the dal that aromatic warmth. My dad always says, "Everything tastes better with ginger and garlic!"
- Spices 🌶️: A blend of cumin, turmeric, garam masala, and chili powder—each spice brings a unique flavor, making the dal extra delicious.
- Curry Leaves 🍃: My mom adds these for an extra pop of flavor, a little touch I’ve learned to love.
How to Make Chana Dal Recipe 🍛👩🍳🌿
🔪 Step by Step Instructions
1. Preparing the Dal 🍲🌱
- Rinse the Chana Dal thoroughly under running water until the water runs clear.
- After that, soak the dal in water for at least 30 minutes to an hour.
2. Cooking the Dal 🍛🔥
- Once soaked, drain the water and transfer the Chana Dal to a pressure cooker.
- Add 3 cups of fresh water, turmeric powder, and a pinch of salt.
- Pressure cook the dal for 4-5 whistles on medium heat.
At this point, the dal should be cooked well but not mushy. If you prefer a slightly softer texture, let it cook for an additional whistle.
3. Preparing the Tadka 🌿🔥🍳
- While the dal is cooking, in the meantime, heat ghee or oil in a pan over medium heat.
- Add cumin seeds and let them sizzle for a few seconds. Then, add the chopped onions, garlic, and ginger. Sauté until the onions turn golden brown.
4. Adding the Spices 🌶️✨🧄
- Add the chopped tomatoes and green chilies. Cook until the tomatoes become soft and the oil starts to separate from the mixture.
- Next, add red chili powder, coriander powder, and a bit of salt. Cook for another 2-3 minutes, stirring occasionally.
5. Combining the Dal and Tadka 🍛🌿🍲
- Open the pressure cooker once the pressure releases naturally. In case the dal is too thick, you can add a little water to achieve the desired consistency.
- Pour the cooked dal into the pan with the tadka, stirring to combine everything well. Let it simmer for 5-7 minutes on low heat so that the flavors meld together perfectly.
6. Final Touches ✨🍛🌿
- Add garam masala to the dal and give it a final stir. If you like, you can add a squeeze of lemon juice for a slight tang.
- Garnish with fresh coriander leaves just before serving.
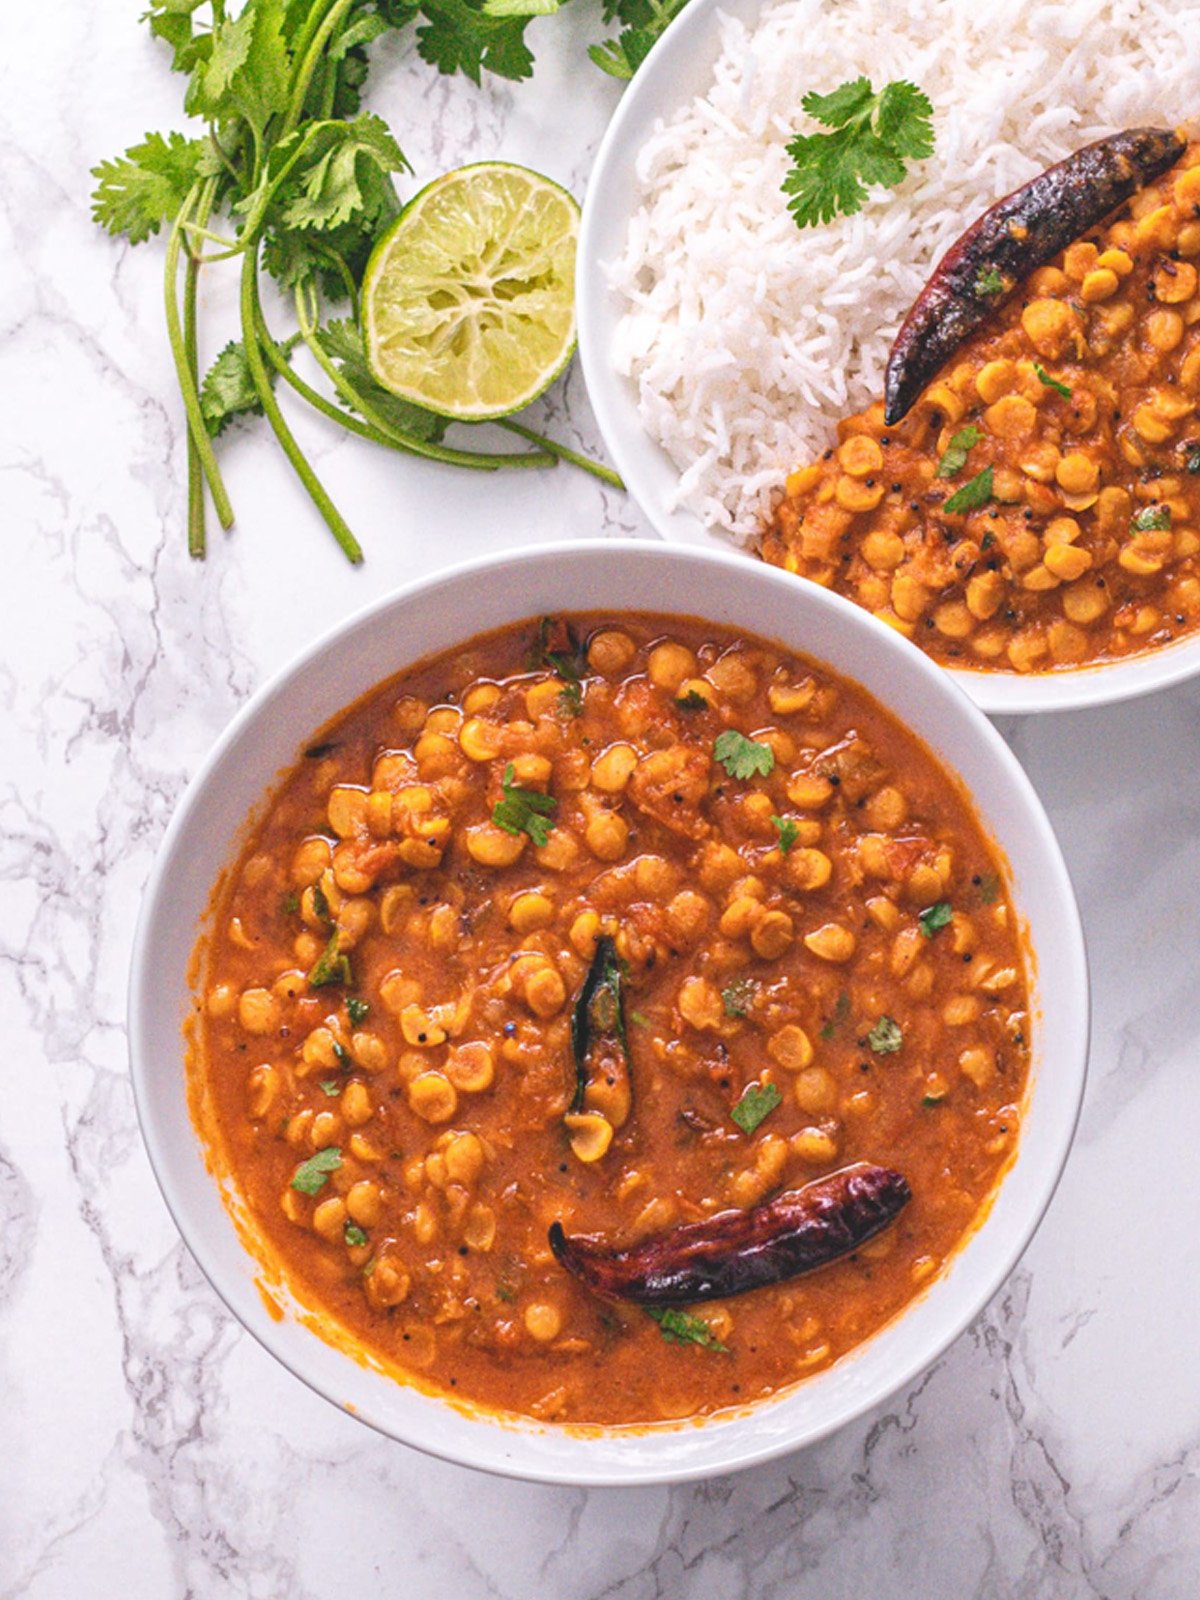
Serving Suggestions 🍛✨
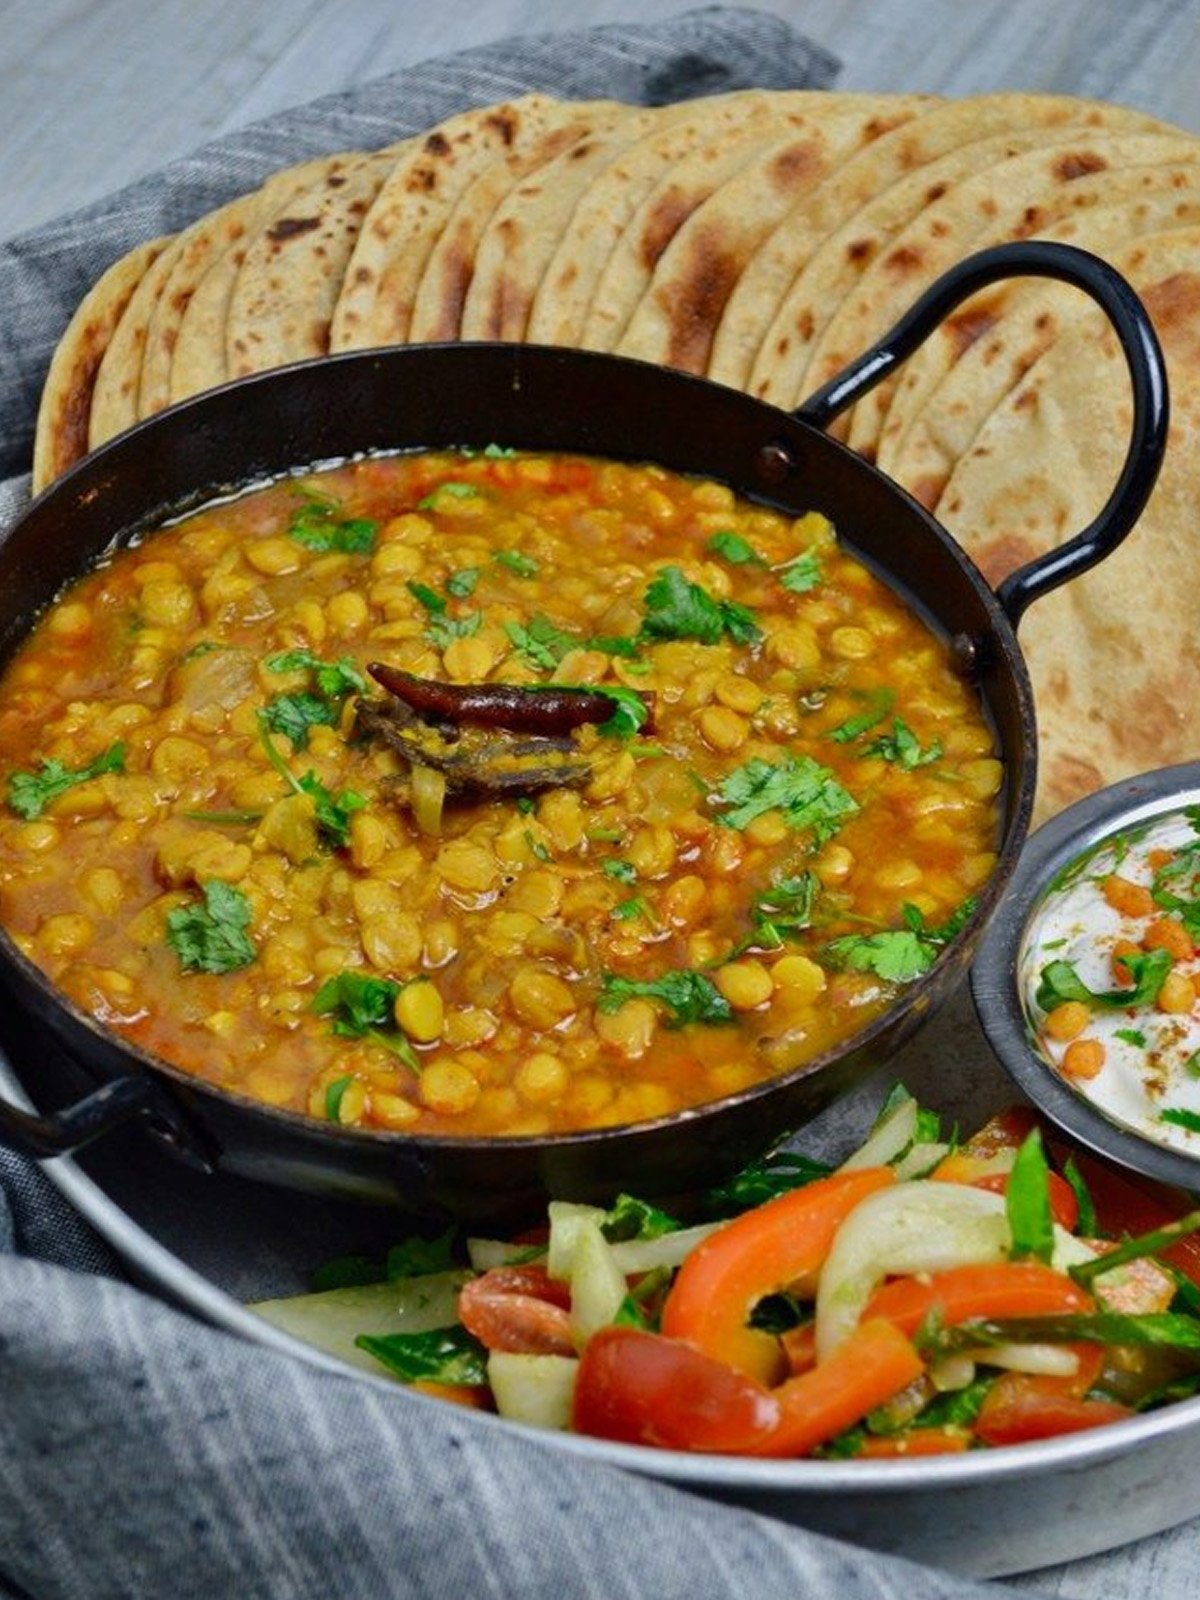
Chana Dal pairs beautifully with steamed basmati rice, jeera rice, or Indian flatbreads like roti, naan, or paratha. I always remember my mom serving it with hot parathas—the crispy texture against the soft dal is unforgettable!🍚🥖
To complete the meal, serve with pickles, papad, raita, or even a simple cucumber salad. I love how my grandmother would always add a small bowl of tangy pickles—it really balances the flavors!🥒🍴
For an extra touch, sprinkle fresh coriander leaves, add crispy fried onions, or drizzle a little ghee on top. My dad always adds a spoonful of ghee before serving—it makes the dal even richer and more comforting.🌿✨
Variations🍛✨
- For a healthy twist, cook Chana Dal with spinach or other greens. I remember my mom making this for me as a kid, and it always felt like a comforting, nutritious meal.
- Add vegetables like carrots, potatoes, or bottle gourd for extra flavor and texture. My grandmother often made it this way—every bite had a mix of softness and crunch!
- Chana Dal can be added to curries or stews. I love adding it to a mixed vegetable curry for a hearty, filling meal.
- For a crispy twist, try Chana Dal Fry, where the dal is tempered and cooked until crispy. My dad loves this version—it’s dry, flavorful, and perfect with roti!
Pro Tips 🍛✨
Achieving the Right Consistency 💧
- To get the perfect consistency, adjust the water ratio and simmering time. Too much water makes it watery, and too little makes it thick. I always remember my mom saying, “Patience is key when cooking dal!”
Balancing Spices 🌶️
- For the right spice level, start with cumin, turmeric, and garam masala, then adjust based on your preference—mild or spicy. My dad loves a little extra chili powder, but I prefer it milder!
Cooking Time Tips ⏰
- Soaked dal cooks faster, while unsoaked dal takes a bit longer. Be careful not to overcook or undercook—I learned this the hard way after making too many mushy dals as a kid!
How to Avoid Mushy Dal 🥄
- To avoid mushy dal, don’t over-soak and avoid stirring too frequently while cooking. My mom always said, “Let the dal cook gently on its own!”
Did you try this recipe? Leave a ⭐️⭐️⭐️⭐️⭐️ rating below and share it on Instagram, Facebook, and Pinterest!
❔FAQs
Soaking Chana Dal for at least 1 to 2 hours before cooking helps to soften the lentils, reducing the cooking time.
Yes, you can cook Chana Dal in a regular pot, but it will take longer—approximately 45 minutes to 1 hour.
Yes, Chana Dal has a low glycemic index, making it an excellent choice for people with diabetes.
Yes, cooked Chana Dal can be frozen. Store it in an airtight container and freeze for up to 3 months.
Chana Dal is split Bengal gram, whereas Toor Dal, also known as Arhar Dal, is split pigeon peas. Chana Dal is thicker and has a slightly nutty flavor, whereas Toor Dal is softer with a more subtle taste.
Adding spices like cumin, mustard seeds, garlic, and ginger. Adding a spoonful of ghee or butter at the end also adds richness to the dish.
Yes, Chana Dal is naturally gluten-free, making it a safe option for those with gluten intolerance or celiac disease.
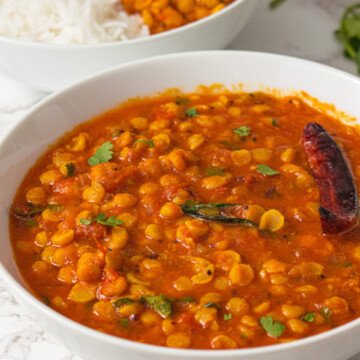
Chana Dal Recipe
Ingredients
Ingredients
- 1 Cup Chana Dal (split Bengal gram)
- 3 Cup Water
- 1 Medium onion, finely chopped
- 2 Tomatoes, finely chopped
- 1 teaspoon Cumin seeds
- 1 teaspoon Turmeric powder
- 1 teaspoon Red chili powder
- 1 teaspoon Coriander powder
- 1 Inch piece ginger, minced
- 4 Garlic cloves, minced
- 2 Green chilies, slit
- 1 teaspoon Garam masala
- 2 tablespoon Ghee or oil
- Salt to taste
- Fresh coriander leaves for garnish
Instructions
Preparing the Dal
- Rinse the Chana Dal thoroughly under running water until the water runs clear.
- After that, soak the dal in water for at least 30 minutes to an hour.
Cooking the Dal
- Once soaked, drain the water and transfer the Chana Dal to a pressure cooker.
- Add 3 cups of fresh water, turmeric powder, and a pinch of salt.
- Pressure cook the dal for 4-5 whistles on medium heat.
- At this point, the dal should be cooked well but not mushy. If you prefer a slightly softer texture, let it cook for an additional whistle.
Preparing the Tadka
- While the dal is cooking, in the meantime, heat ghee or oil in a pan over medium heat.
- Add cumin seeds and let them sizzle for a few seconds. Then, add the chopped onions, garlic, and ginger. Sauté until the onions turn golden brown.
Adding the Spices
- Add the chopped tomatoes and green chilies. Cook until the tomatoes become soft and the oil starts to separate from the mixture.
- Next, add red chili powder, coriander powder, and a bit of salt. Cook for another 2-3 minutes, stirring occasionally.
Combining the Dal and Tadka
- Open the pressure cooker once the pressure releases naturally. In case the dal is too thick, you can add a little water to achieve the desired consistency.
- Pour the cooked dal into the pan with the tadka, stirring to combine everything well. Let it simmer for 5-7 minutes on low heat so that the flavors meld together perfectly.
Final Touches
- Add garam masala to the dal and give it a final stir. If you like, you can add a squeeze of lemon juice for a slight tang.
- Garnish with fresh coriander leaves just before serving.


Leave a Reply