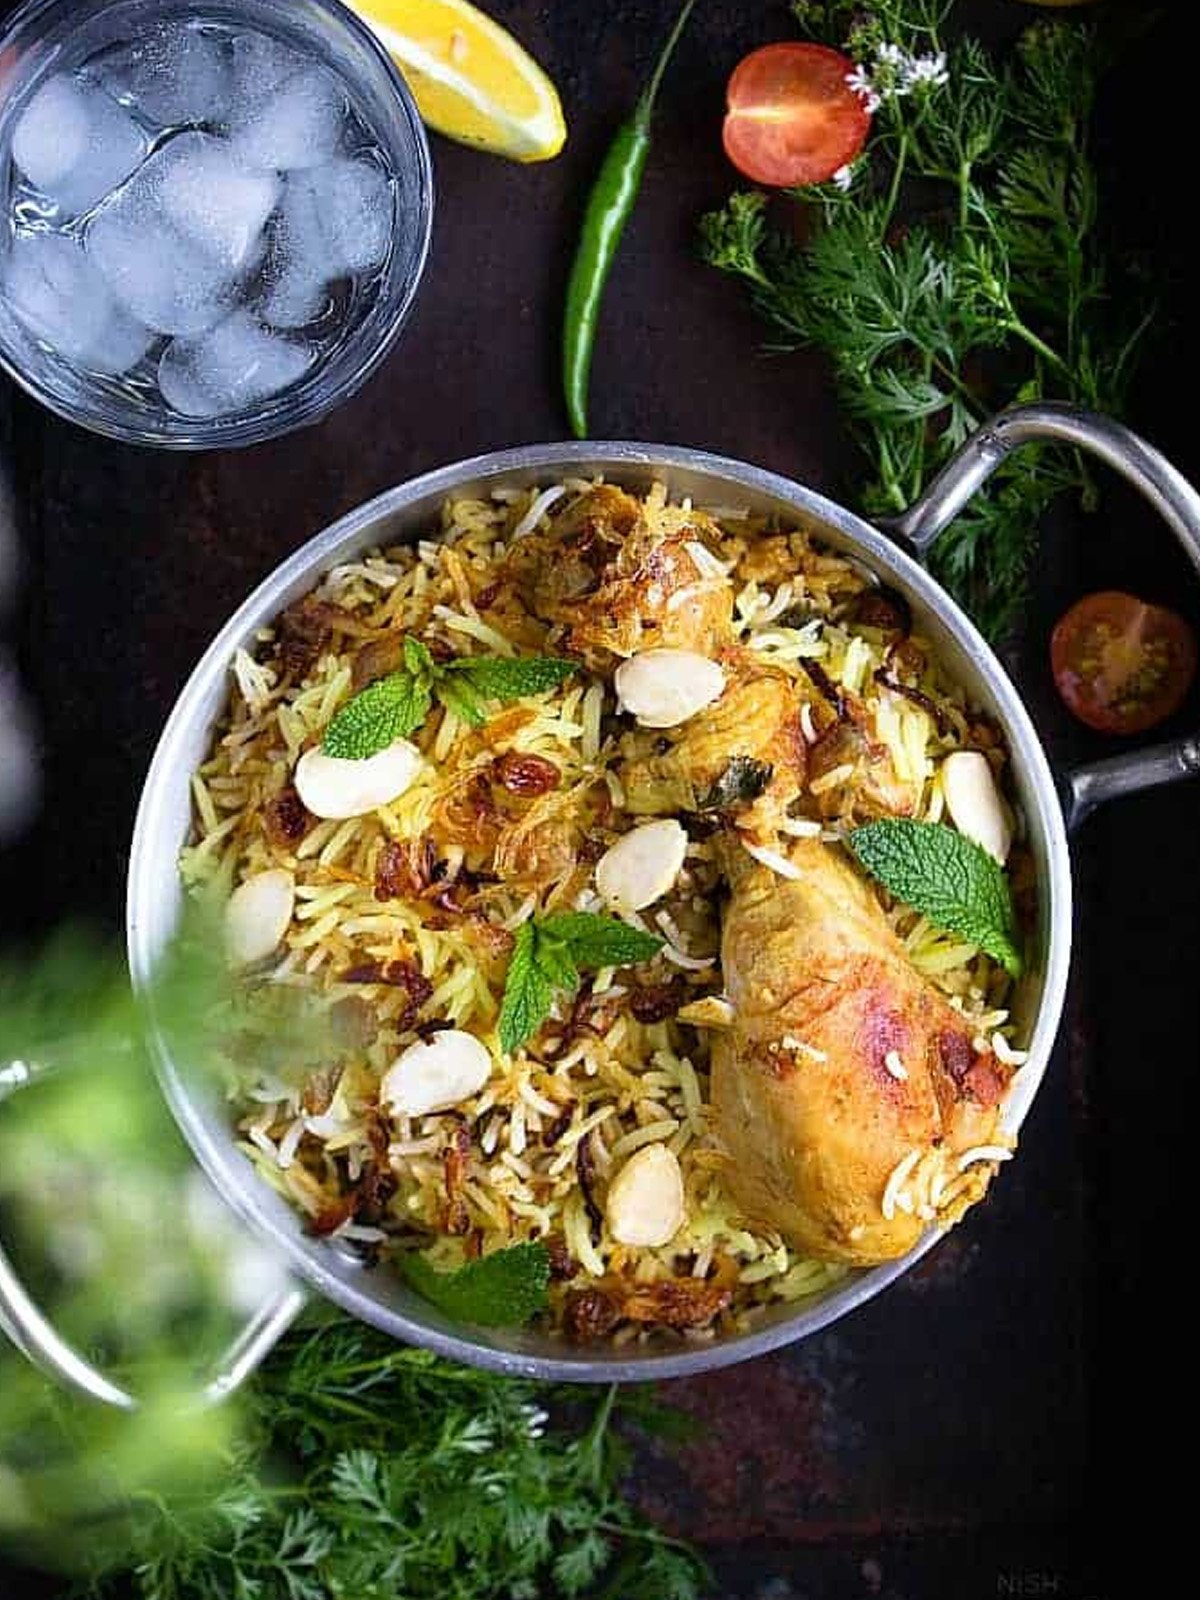
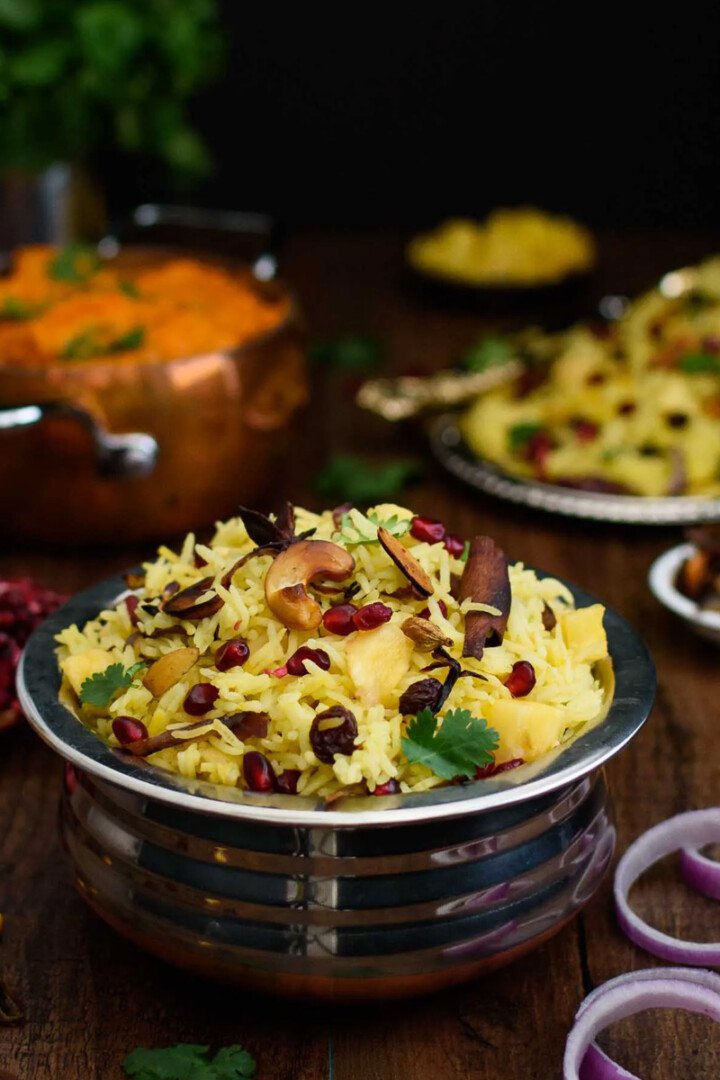
Chicken Dum Biryani is a delicious recipe and aromatic dish that many people love around the world. First, its magic comes from the rich spices, tender chicken, and perfectly cooked basmati rice. When you think of biryani, the traditional "dum" style usually comes to mind. This cooking method traps all the flavors, making every bite special.

Jump to:
About Chicken Dum Biryani
Chicken Dum Biryani recipe, also known as Hyderabadi Chicken Dum Biryani, is a royal dish loved by people all over the world.
Hyderabadi Chicken Dum Biryani comes from the kitchens of the Nizams of Hyderabad and has become a favorite recipe in many homes and restaurants. It's often served at celebrations, making it more than just food—it’s an experience!
The name "dum" means slow cooking, where steam builds up in a sealed pot, cooking the chicken and rice just right.
Another important point is that Chicken Dum Biryani recipe has many variations, each with its own twist. For example, some places add saffron or rose water to enhance the flavor.
On one hand, it uses tender marinated chicken, while on the other hand, long-grain basmati rice is layered perfectly. As you can see, this dish offers a great mix of textures and smells.
Plus, the dum cooking style keeps the moisture in, making every grain of rice fluffy and full of spice!

Why You'll ❤️ Love This Recipe
- 💫 Delicious Flavors: The Chicken Dum Biryani is packed with tasty spices and flavors everyone enjoys.
- 💫 Tender Chicken and Fluffy Rice: The combination of juicy chicken and soft, fluffy rice makes every bite amazing.
- 💫 Fun Cooking Method: The “dum” cooking style seals in steam, making the dish extra special and flavorful.
- 💫 Customizable: You can easily add your favorite spices or vegetables to make it your own.
- 💫 Perfect for Special Occasions: This dish is great for family meals or celebrations, bringing everyone together for a delicious feast.
- 💫 Easy to Make Again: Once you try it, you’ll want to make it over and over!
How to Make Chicken Dum Biryani Recipe Hyderabadi Style
Step by Step Instructions
1. Marinate the Chicken
- First, take a large mixing bowl and combine yogurt, ginger-garlic paste, green chilies, red chili powder, turmeric, garam masala, cumin, coriander powder, lemon juice, and salt.
- Next, add the chicken pieces and make sure they are well-coated in the marinade.
- Then, mix in chopped coriander and mint leaves along with 2 tablespoons of oil.
- After that, cover the bowl and refrigerate the chicken for at least 1 hour, but overnight is even better for more flavor.
2. Cook the Rice
- Now, bring 5-6 cups of water to a boil in a big pot.
- Add bay leaves, cloves, cinnamon, green cardamoms, cumin seeds, and salt to the boiling water.
- Next, add the soaked and drained basmati rice to the pot.
- Cook the rice until it’s about 70% done, meaning it should still have a little bite to it.
- After that, drain the rice and set it aside.
3. Prepare the Chicken
- In a large, deep pan, heat it up and add the marinated chicken along with all the marinade.
- Cook the chicken on medium heat until it starts to release its juices.
- Then, lower the heat and let the chicken cook in its own juices for about 15-20 minutes. It should be tender but not fully cooked because it will finish cooking later.
4. Layer the Biryani
- In the same pan or another large pot, start layering your biryani.
- First, spread half of the parboiled rice over the cooked chicken.
- Next, add a layer of half of the fried onions on top of the rice.
- Then, drizzle saffron-infused milk over the rice and sprinkle some fresh mint and coriander leaves.
- After that, add the remaining rice, followed by the rest of the fried onions, mint, and coriander leaves.
- Finally, pour 2 tablespoons of ghee over the top layer.
5. Dum Cooking (Sealing the Biryani)
- Now, cover the pot with a tight-fitting lid. If it’s not tight enough, seal the edges with dough to keep the steam in.
- Cook on low heat for 30-40 minutes to let all the flavors blend together. You can also place a flat tawa (griddle) under the pot to prevent burning.
- Once done, let the biryani sit for 10 minutes before opening the lid.
6. Serve
- Carefully fluff the biryani starting from the edges. This helps mix the layers together while ensuring the rice grains stay intact.
- Serve it hot with raita, salad, or boiled eggs for a tasty meal!

Cooking Methods
When it comes to cooking biryani, there are a few popular methods you can choose from.
1. Traditional Dum Method
- This method involves slow cooking the biryani in a sealed pot. This way, the steam builds up and locks in all the flavors. As a result, you get tender chicken and fluffy rice that are packed with taste.
2. Pressure Cooker Method
- Using a pressure cooker is a quicker option. You cook everything under pressure, which means the biryani is ready in less time. However, keep in mind that the rice may be softer, so it’s important to watch the cooking time
3. Over Baking
- Another method is baking the biryani in the oven. By layering the ingredients in a baking dish and covering it tightly, you can achieve a nice, even cook. This method also helps to keep the flavors rich and the rice fluffy.
Spice Blends
When making Chicken Dum Biryani Hyderabadi, certain spices are super important.
1. Saffron
First, saffron adds a beautiful color and a slightly sweet flavor. It’s a special spice that makes the biryani feel luxurious.
2. Cardamom
Cardamom gives a warm and aromatic taste. Both green and black cardamom are often used, adding depth to the dish.
3. Bay Leaves
Bay leaves bring a subtle earthy flavor. They help enhance the overall taste of the biryani without being too strong.
Serving Suggestion
When you serve Chicken Dum Biryani, adding some tasty sides can make the meal even better! Here are a few ideas:
- First, you can serve it with raita, which is a cool yogurt mix. It helps balance the spicy flavors of the biryani.
- Next, a fresh salad with cucumber, tomatoes, and onions adds a nice crunch. It’s refreshing and lightens up the meal.
- Also, consider adding boiled eggs on the side. They add protein and make the meal feel more complete.
Personal Variations
You can make Chicken Dum Biryani even more special by adding your own twists! Here are some fun ideas:
1. First, you can mix in some veggies like peas, carrots, or bell peppers. This not only adds color but also makes the dish healthier.
2. Next, try adding nuts like cashews or almonds. They give a nice crunch and make the biryani richer in flavor.
3. Also, consider adding dried fruits like raisins or apricots. They add a sweet touch that balances the spices.
Paring Drinks
Lassi: First, try a refreshing lassi. This yogurt drink can be sweet or salty and helps balance the spices in the biryani.
Mint Tea: Another good choice is mint tea. It’s cool and flavorful, making it a perfect match for the rich biryani.
Light Wine: If you want something special, a light wine can also work well. It adds a nice touch and complements the flavors of the dish.
Storage and Reheating Tips
1. Storing Leftovers
- First, let the Chicken Dum Biryani cool down before storing it. Then, place it in an airtight container. This helps keep it fresh in the fridge for up to 3 days.
2. Freezing
- If you want to save it for longer, you can freeze the biryani. Just make sure to use a freezer-safe container. It can last for about 1 month in the freezer.
3. Reheating in the Microwave
- When you’re ready to eat it again, you can reheat it in the microwave. Add a splash of water to keep it moist, and cover it with a lid. Heat it for a few minutes, stirring halfway through.
4. Reheating on the Stove
- Alternatively, you can reheat it on the stove. Just add a little water to a pan, then heat it on low. Stir gently until it’s warm.
Tips and Tricks
1. Marinate Well: First, make sure to marinate the chicken for at least 1 hour, but overnight is even better. This helps the flavors soak in.
2. Don’t Rush the Rice: Next, when cooking the rice, don’t let it cook all the way. Parboiling it, or cooking it until it’s about 70% done, is key. This way, it won’t get mushy later.
3. Use Fresh Spices: Also, always try to use fresh spices for better flavor. Ground spices can lose their taste over time.
4. Seal it Tight: When cooking, make sure to seal the pot well. You can use dough around the lid to keep the steam inside. This helps the flavors blend perfectly.
5. Rest Before Serving: Finally, after cooking, let the biryani rest for about 10 minutes before opening the lid. This allows the flavors to settle.

Event Hosting Tips
When hosting a gathering with Hyderabadi Chicken Dum Biryani, here are some helpful tips to make it special:
1. Buffet Setup:
First, set up a buffet where guests can serve themselves. Place the biryani in a large pot at the center, making it easy for everyone to access.
2. Complementary Dishes:
Next, add some side dishes to enhance the meal. For example, you can include raita, a refreshing yogurt dip, and a fresh salad to balance the spices.
3. Garnishes:
Additionally, consider adding some garnishes like fried onions and fresh herbs. These not only look nice but also add extra flavor.
4. Drinks:
Finally, don’t forget the drinks! Offering lassi or mint tea will make the meal even more enjoyable.
FAQs
Yes, you can use boneless chicken, but bone-in chicken adds more flavor to the biryani as it releases juices during cooking.
Ensure the rice is only 70% cooked before layering. Also, use aged, long-grain basmati rice and drain it well after parboiling.
Yes, you can use an Instant Pot for a quicker version, but the traditional dum cooking method gives the best flavor and texture.
Yes, you can freeze biryani for up to a month. Ensure it is stored in an airtight container to prevent freezer burn, and thaw it in the fridge before reheating.
For the best flavor, marinate the chicken for at least 4 hours or overnight. This allows the spices to penetrate the meat fully.
Cook the biryani on very low heat, or place a tawa (griddle) underneath the pot to distribute heat evenly and prevent burning.
Let me know how you like this recipe by leaving a review and follow us on Pinterest, Facebook and Twitter

Chicken Dum Biryani
Ingredients
Ingredients
For Marinating Chicken:
- 1 Kg Chicken (bone-in, cut into medium pieces)
- 1 Cup Yogurt
- 2 tablespoon Ginger-garlic paste
- 2-3 Green chilies (slit)
- 1 teaspoon Red chili powder
- 1 teaspoon Turmeric powder
- 1 teaspoon Garam masala powder
- 1 teaspoon Cumin powder
- 1 teaspoon Coriander powder
- 1 tablespoon Lemon juice
- Salt to taste
- Fresh coriander leaves (chopped)
- Fresh mint leaves (chopped)
- 2 tablespoon Oil
For Rice:
- 3 Cup Basmati rice (long-grain, washed and soaked for 30 minutes)
- 5-6 Cup Water (for boiling rice)
- 2 Bay leaves
- 4-5 Cloves
- 1 Cinnamon stick
- 2-3 Green cardamoms
- 1 teaspoon Cumin seeds
- Salt to taste
For Assembling Biryani:
- 2 Large onions (sliced and fried until golden brown)
- 1 Cup Saffron-infused milk (a few strands of saffron soaked in warm milk)
- 2 tablespoon Ghee
- Fresh mint leaves (for garnish)
- Fresh coriander leaves (for garnish)
Instructions
Marinate the Chicken
- First, take a large mixing bowl and combine yogurt, ginger-garlic paste, green chilies, red chili powder, turmeric, garam masala, cumin, coriander powder, lemon juice, and salt.
- Next, add the chicken pieces and make sure they are well-coated in the marinade.
- Then, mix in chopped coriander and mint leaves along with 2 tablespoons of oil.
- After that, cover the bowl and refrigerate the chicken for at least 1 hour, but overnight is even better for more flavor.
Cook the Rice
- Now, bring 5-6 cups of water to a boil in a big pot.
- Add bay leaves, cloves, cinnamon, green cardamoms, cumin seeds, and salt to the boiling water.
- Next, add the soaked and drained basmati rice to the pot.
- Cook the rice until it’s about 70% done, meaning it should still have a little bite to it.
- After that, drain the rice and set it aside.
Prepare the Chicken
- In a large, deep pan, heat it up and add the marinated chicken along with all the marinade.
- Cook the chicken on medium heat until it starts to release its juices.
- Then, lower the heat and let the chicken cook in its own juices for about 15-20 minutes. It should be tender but not fully cooked because it will finish cooking later.
Layer the Biryani
- In the same pan or another large pot, start layering your biryani.
- First, spread half of the parboiled rice over the cooked chicken.
- Next, add a layer of half of the fried onions on top of the rice.
- Then, drizzle saffron-infused milk over the rice and sprinkle some fresh mint and coriander leaves.
- After that, add the remaining rice, followed by the rest of the fried onions, mint, and coriander leaves.
- Finally, pour 2 tablespoons of ghee over the top layer.
Dum Cooking (Sealing the Biryani)
- Now, cover the pot with a tight-fitting lid. If it’s not tight enough, seal the edges with dough to keep the steam in.
- Cook on low heat for 30-40 minutes to let all the flavors blend together. You can also place a flat tawa (griddle) under the pot to prevent burning.
- Once done, let the biryani sit for 10 minutes before opening the lid.
Serve
- Carefully fluff the biryani starting from the edges. This helps mix the layers together while ensuring the rice grains stay intact.
- Serve it hot with raita, salad, or boiled eggs for a tasty meal!
Notes
Cooking Methods
When it comes to cooking biryani, there are a few popular methods you can choose from.1. Traditional Dum Method
- This method involves slow cooking the biryani in a sealed pot. This way, the steam builds up and locks in all the flavors. As a result, you get tender chicken and fluffy rice that are packed with taste.
2. Pressure Cooker Method
- Using a pressure cooker is a quicker option. You cook everything under pressure, which means the biryani is ready in less time. However, keep in mind that the rice may be softer, so it’s important to watch the cooking time
3. Over Baking
- Another method is baking the biryani in the oven. By layering the ingredients in a baking dish and covering it tightly, you can achieve a nice, even cook. This method also helps to keep the flavors rich and the rice fluffy.


Leave a Reply