


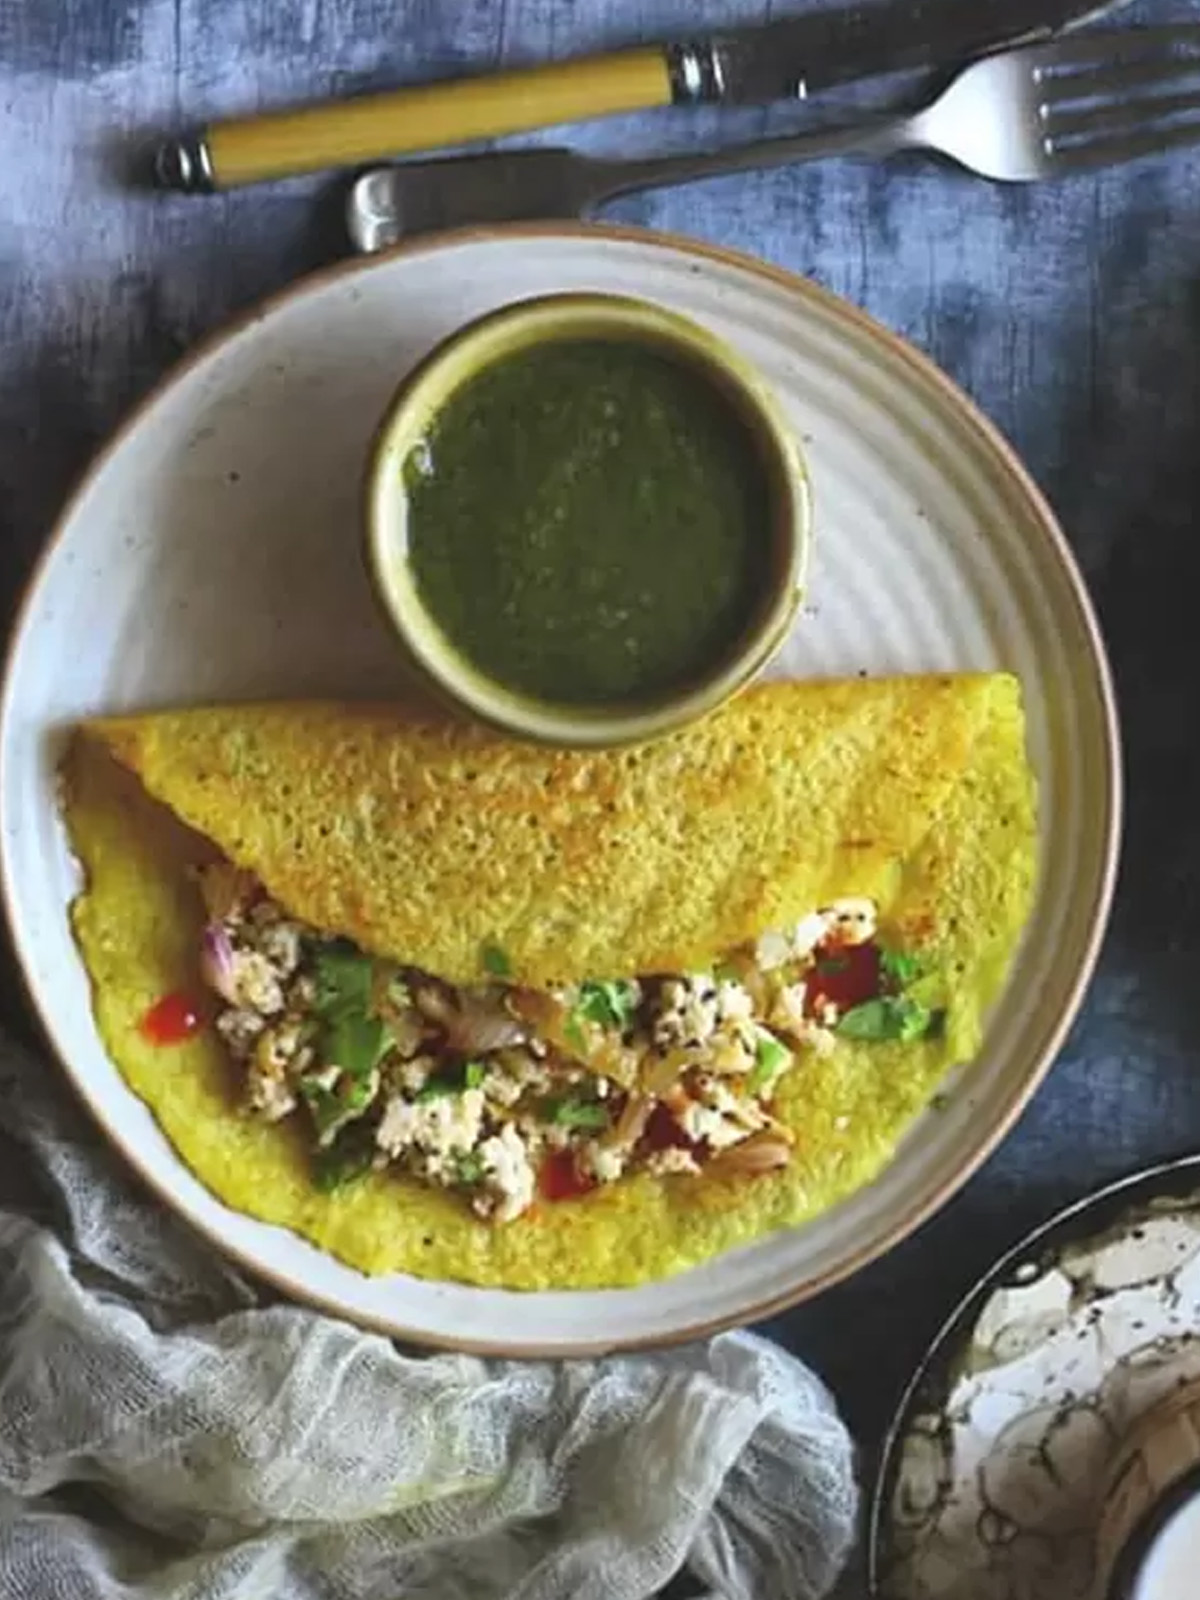
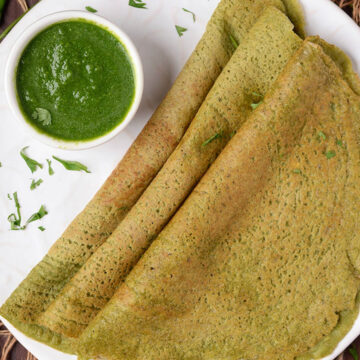
The Green Moong Dal Cheela, which is also called Savory Green Mung Beans Pancakes, is a tasty and healthy recipe that is very popular in Indian cooking. Plus, who wouldn’t enjoy a meal that is simple to make, full of protein, and has so much flavor?

Jump to:
About Green Moong Dal Cheela
The Green Moong Dal Cheela recipe started in the northern parts of India, where it has been loved for many years. People also call it stuffed green chillas or moong dal chilla, depending on what filling they use.
This cheela recipe, made with green moong dal, has been around since ancient times and shows how important farming and cooking traditions are in the area.
Today, Green Moong Dal Cheela is not just a traditional meal; it's also popular with people who care about healthy eating.
This dish, made with green moong dal, has been around since ancient times and shows how important farming and cooking traditions are in the area.
For an even more delicious breakfast, you can try these yummy recipes: Besan Cheela, Cheese Chutney Sandwich, and Matar Poha. Each one brings its own unique flavors and makes your morning extra tasty!
Want to Make it Soft Or Crisp? ?
1. To Make Soft Moong Dal Cheela:
- To make soft moong dal chilla, first, don’t spread the batter in a circular motion. Instead, just pour the batter onto the pan and gently spread it out, making sure to keep it a little thicker. This way, you’ll get a soft and yummy chilla!
- While cooking, cover the chilla so it cooks evenly inside without getting too dry. This way, it keeps moisture and stays soft, making it just right for toddlers and kids!
I make my moong dal cheela recipe soft by adding a lot of ghee, which makes it melt-in-your-mouth delicious.
Plus, I pack this soft cheela in my child’s daycare lunch box, and it stays soft for hours, so it’s perfect for lunch!
2. To Make Crisp Moong Dal Cheela:
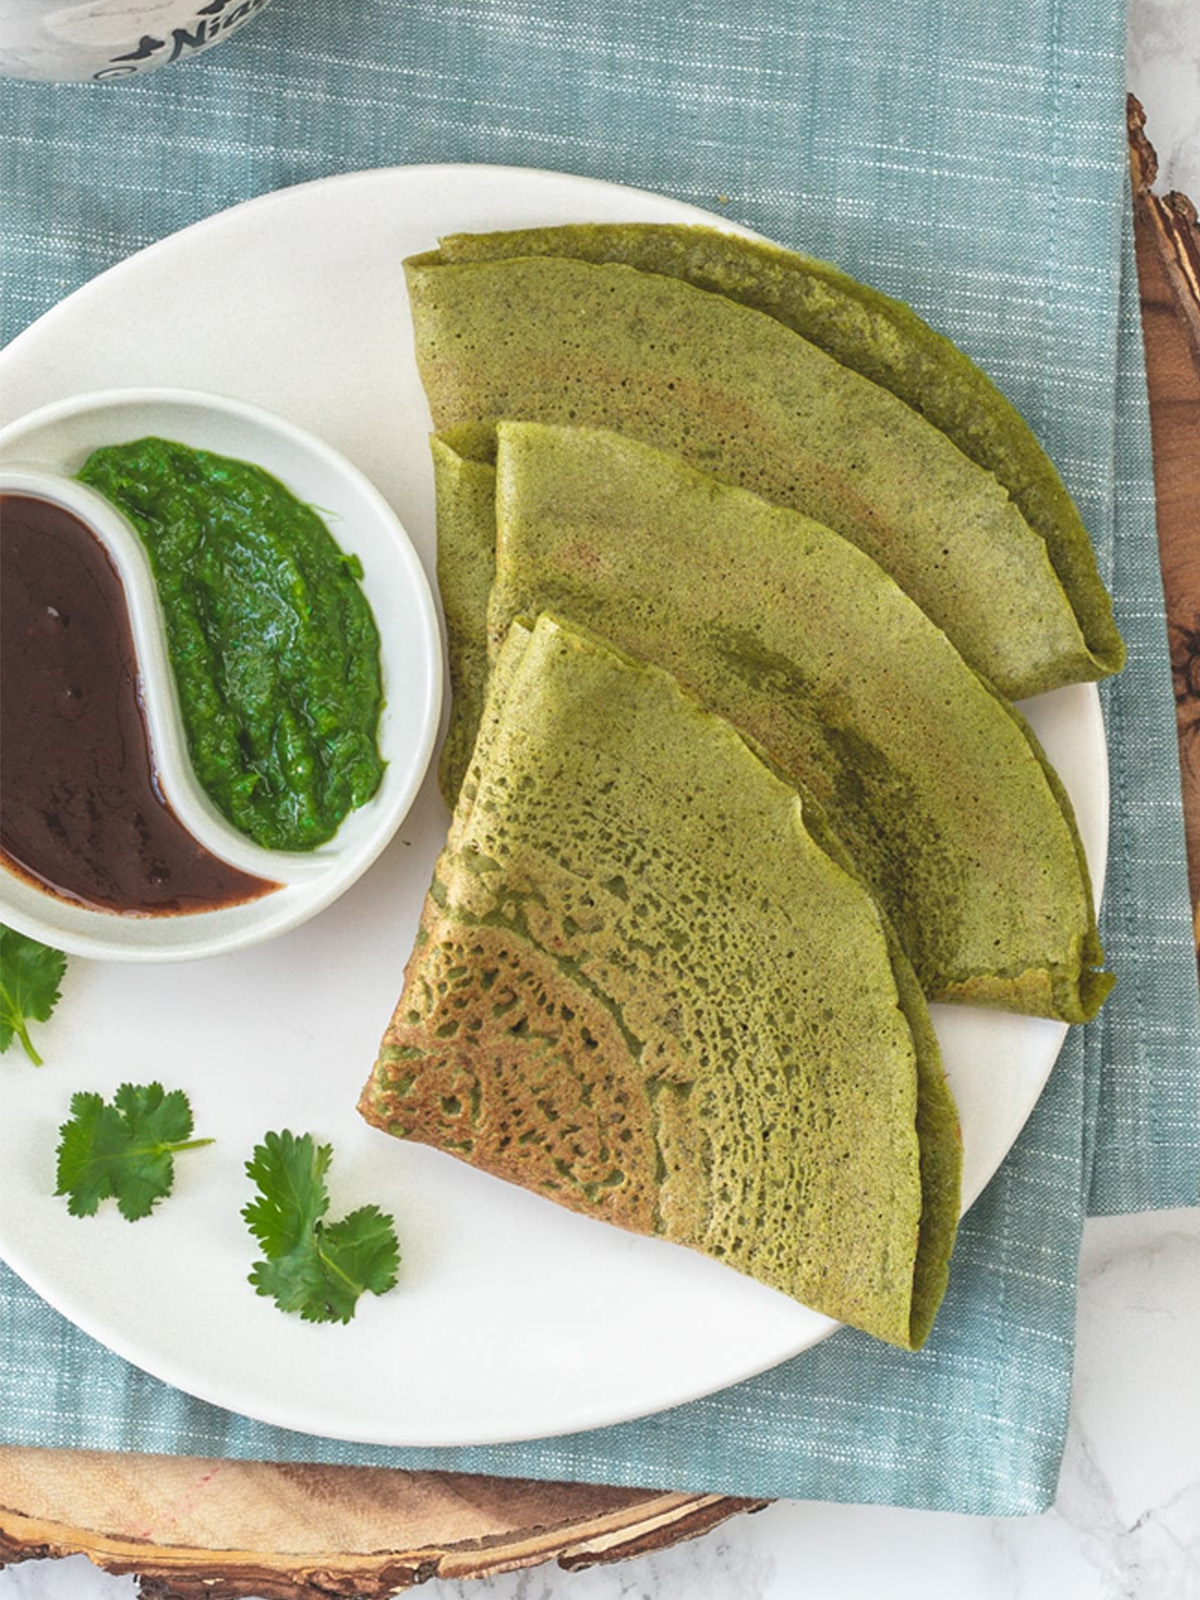
- To make a crispy moong dal chilla, first spread the batter thin and even. Then, cook it on medium heat without covering it, so it dries out. This way, the cheela becomes super crispy, which is perfect if you like a crunchy texture. So, you can enjoy a tasty, satisfying bite with every mouthful!
These tips will help you achieve the desired texture, whether you want a soft and tender cheela for kids or a crispy and crunchy one for a delightful snack.
What you Need to Make This Chilla Recipe
Recipe Ingredients
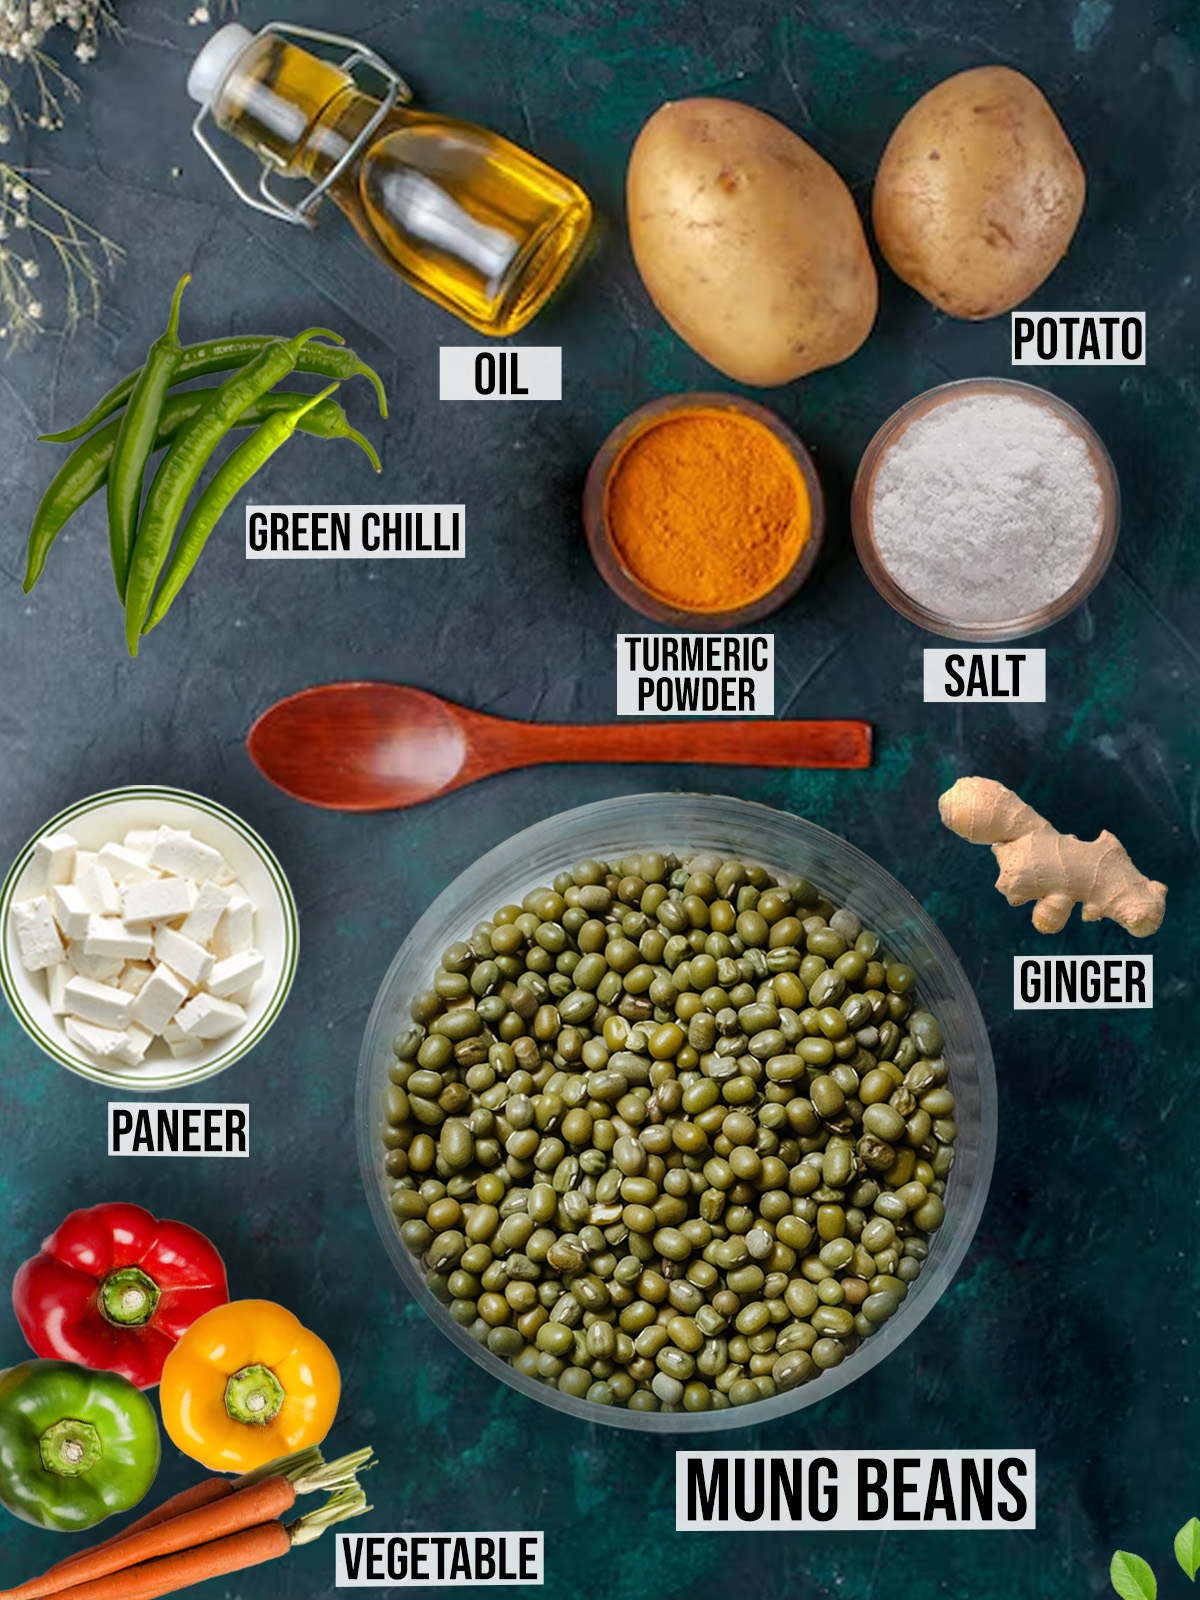
Ingredients Notes
- Green Moong Dal: A healthy lentil that’s high in protein and cooks quickly. It's great for soups and dals.
- Ginger: Adds warmth and a spicy kick; use fresh ginger for the best flavor.
- Green Chilies: Provide heat; adjust the amount based on your spice preference.
- Asafoetida: A strong spice that adds depth to dishes; use a pinch for a unique flavor, especially in lentil recipes.
See recipe card below for a full list of ingredients and measurements.
How to Make Green Moong Dal Cheela
Step by Step Instructions
1. Prepare the Batter
- Drain the soaked green moong dal and transfer it to a blender.
- Add ginger, green chilies, asafoetida, and salt. Blend until smooth, adding water as needed to achieve a pancake batter consistency.
2. Heat the Pan
- Heat a non-stick pan or griddle over medium heat. Lightly grease the surface with oil or ghee, ensuring an even layer to prevent sticking.
3. Cook the Cheela
- Pour a ladleful of the batter onto the hot pan. To explain, if you prefer a soft cheela, do not spread the batter too thin; just spread it lightly by keeping the thickness slightly more.
- Cover it while cooking so it gets cooked from inside. After that, cook for 2-3 minutes until the edges begin to lift.
Then again, if you prefer a crispy cheela, spread the batter thinly in a circular motion and cook uncovered to dry it out.
4. Flip and Cook the Other Side
- Flip the cheela and cook the other side until golden brown. In either case, whether soft or crisp, ensure the cheela is cooked through and lightly browned on both sides.
Now that it’s ready, you can either serve it as is or add a filling before folding it over.
5. Serve the Cheela
- At last, remove the cheela from the pan and serve hot with chutney or yogurt. All things considered, this dish is best enjoyed fresh, but it can also be packed in a lunch box.
Serving Suggestions
For serving green moong dal cheela, pair it with delicious chutneys like mint or tamarind for added flavor. Yogurt cools the spices, while a simple salad of cucumber and tomatoes adds crunch. Finally, a squeeze of lemon juice brightens the dish!
Cooking Tips
- First, make sure your batter has the right consistency; it should be thick enough to hold its shape but not too thick. If it’s too runny, add a little more flour.
- Next, let the batter rest for about 15-30 minutes. This way, the flavors meld together and the texture improves.
- Then, heat your pan well before adding the batter. This helps create a nice, crispy texture.
- Use oil or butter to coat the pan; this adds flavor and prevents sticking.
- Finally, flip the dish carefully to cook evenly on both sides!
Meal Ideas
Cheelas can be enjoyed in various meals: for breakfast, pair them with yogurt and fruit for a balanced start. For lunch, pack them with chutney and a salad. As a snack, serve with salsa or cut into pieces for appetizers!
Pro-Tips
1. Soak the Moong Dal Properly: First, soak the green moong dal overnight to make the batter smooth and easy to spread. If you’re in a hurry, you can soak it in warm water for 4-6 hours instead.
2. Consistency of the Batter: Next, make sure the batter is thick but still pourable, like pancake batter. If it’s too thick, the cheela will be dense; if it’s too thin, it will be hard to spread and won’t hold together. So, add water little by little while blending to get it just right.
3. Seasoning the Batter: In addition to salt, you can add spices like cumin seeds, black pepper, or chopped coriander for extra flavor. Also, a little turmeric not only adds color but is good for your health too!
4. Pan Selection: When cooking, use a non-stick pan or a well-seasoned cast-iron skillet to stop the cheela from sticking. Make sure the pan is hot before you pour in the batter; this helps the cheela cook evenly and keeps it from breaking.
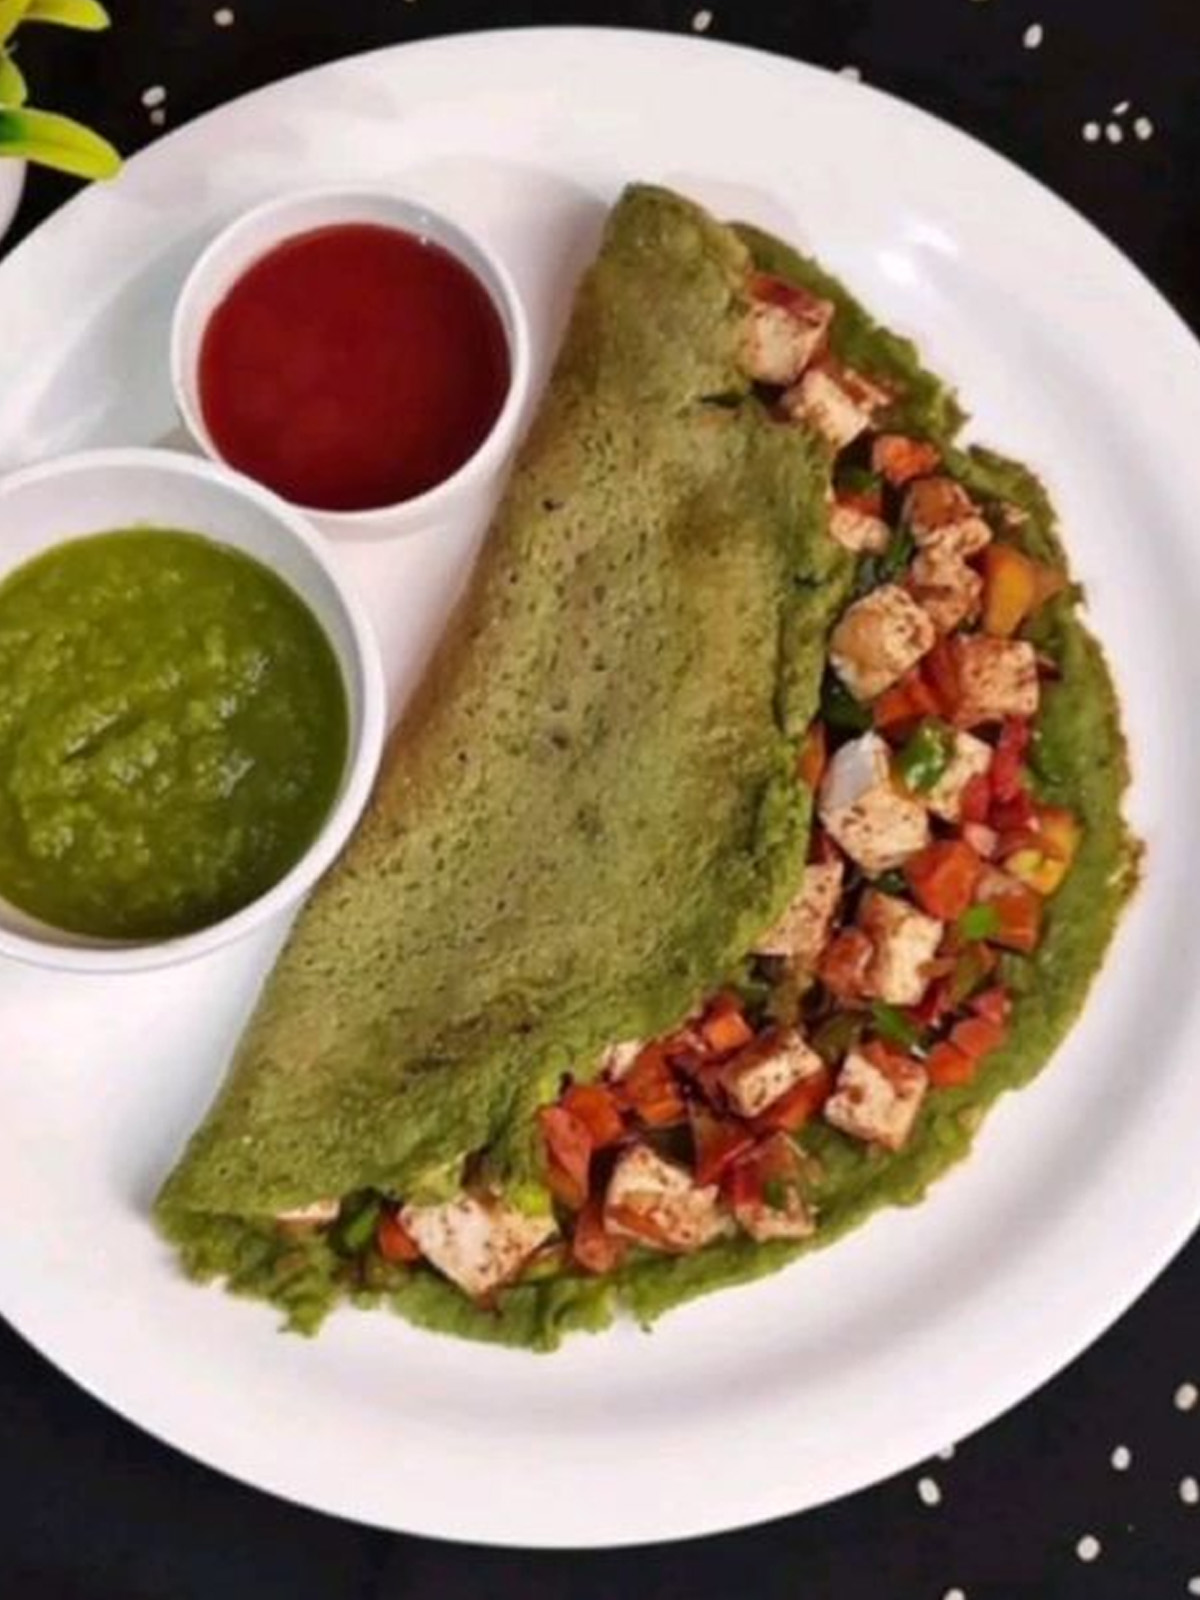
5. Filling Ideas: Finally, to make your cheela even better, think about adding fillings like paneer, mashed potatoes, or mixed vegetables. Spread them on one side of the cheela before folding it over for a yummy, healthy meal!
Serving Ideas for Moong Dal Cheela
- Serve your Moong Dal Cheela with a tasty side chutney, like mint-coriander chutney or tamarind chutney. Not only does the chutney go well with the cheela, but it also adds a fresh and tangy flavor that makes every bite even more delicious!
- You can make your cheela even better by adding a paneer filling! First, crumble or grate some paneer, then season it with salt, pepper, and a little chaat masala. Next, spread this tasty mixture over the cheela before folding it. This way, the paneer adds a creamy texture and rich flavor, making the cheela extra satisfying and nutritious!
Did you try this Green Moong Dal Cheela recipe? Leave a ⭐️⭐️⭐️⭐️⭐️ rating below and share it on Instagram, Facebook, and Pinterest!
❔FAQs
Green Moong Dal Cheela is rich in protein, fiber, and essential vitamins. It aids in digestion, supports weight management, and provides sustained energy. It's also gluten-free, making it a healthy choice for those with gluten intolerance.
Yes, you can add various fillings to Green Moong Dal Cheela, such as paneer, mashed potatoes, or mixed vegetables. These fillings make the cheela more nutritious and flavorful.
Green Moong Dal Cheela is toddler and kid-friendly, especially when made soft and served with a little ghee. It's a nutritious option, providing protein and other essential nutrients.
Green Moong Dal Cheela pairs well with mint-coriander chutney, tamarind chutney, or even tomato ketchup for a tangy and flavorful accompaniment.
Yes, sprouted moong dal can be used to make cheela. It enhances the nutritional value, as sprouted moong dal is easier to digest and rich in vitamins and minerals.
Soak green moong dal for at least 4-6 hours or overnight. This softens the dal, making it easier to blend into a smooth batter.
Green Moong Dal Cheela
Ingredients
Ingredients
- 1 Cup Green moong dal (mung beans), soaked overnight
- 1 Inch piece of ginger
- 2 Green chilies, chopped
- ¼ teaspoon Asafoetida (hing)
- Salt to taste
- Water as needed
- Oil or ghee for cooking
- Optional fillings: paneer, vegetables, or potatoes
Instructions
Prepare the Batter
- Drain the soaked green moong dal and transfer it to a blender.
- Add ginger, green chilies, asafoetida, and salt. Blend until smooth, adding water as needed to achieve a pancake batter consistency.
Heat the Pan
- Heat a non-stick pan or griddle over medium heat. Lightly grease the surface with oil or ghee, ensuring an even layer to prevent sticking.
Cook the Cheela
- Pour a ladleful of the batter onto the hot pan. To explain, if you prefer a soft cheela, do not spread the batter too thin; just spread it lightly by keeping the thickness slightly more.
- Cover it while cooking so it gets cooked from inside. After that, cook for 2-3 minutes until the edges begin to lift.
- Then again, if you prefer a crispy cheela, spread the batter thinly in a circular motion and cook uncovered to dry it out.
Flip and Cook the Other Side
- Flip the cheela and cook the other side until golden brown. In either case, whether soft or crisp, ensure the cheela is cooked through and lightly browned on both sides.
- Now that it’s ready, you can either serve it as is or add a filling before folding it over.
Serve the Cheela
- At last, remove the cheela from the pan and serve hot with chutney or yogurt. All things considered, this dish is best enjoyed fresh, but it can also be packed in a lunch box.
Notes
Cooking Tips
-
- First, make sure your batter has the right consistency; it should be thick enough to hold its shape but not too thick. If it’s too runny, add a little more flour.
-
- Next, let the batter rest for about 15-30 minutes. This way, the flavors meld together and the texture improves.
-
- Then, heat your pan well before adding the batter. This helps create a nice, crispy texture.
-
- Use oil or butter to coat the pan; this adds flavor and prevents sticking.
-
- Finally, flip the dish carefully to cook evenly on both sides!
Leave a Reply