


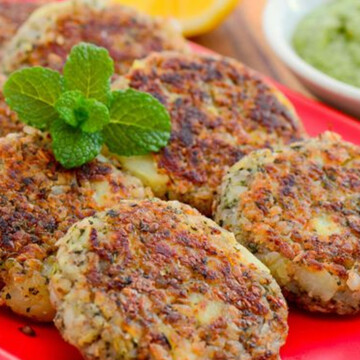
Kuttu ki Tikki is a delicious Indian snack made with buckwheat flour (kuttu ka atta), especially during fasting times like Navratri. The flour is mixed with potatoes and spices to create crispy fritters! It’s gluten-free and full of nutrients—perfect for fasting or a healthy meal. My mom always says, "Kuttu ki Tikki keeps you full without feeling heavy!"
Jump to:
- Why You'll Love This Recipe
- About Kuttu ki Tikki
- What is Kuttu ki Tikki?
- Nutritional Benefits of Buckwheat
- What you Need to Make This Kuttu ki Tikki
- How to Make Kuttu Ki Tikki
- Tips for Perfecting the Tikki
- Tips for Shaping Tikkis Uniformly
- Cooking Methods for Tikkis
- Serving Suggestions
- Storage Tips
- Variations
- ❔FAQs
Why You'll Love This Recipe
- Tasty & Crispy: Made with buckwheat flour and potatoes, giving you the perfect crunch!
- Gluten-Free: A great option if you’re avoiding gluten.
- Healthy: Packed with nutrients—perfect for fasting or a nutritious snack!
- Quick & Easy: Simple ingredients and easy to make.
About Kuttu ki Tikki
Kuttu ki Tikki, also known as Kuttu ke Aate ki Tikki or Buckwheat Potato Croquette, is a popular Indian snack made during fasting days.
Kuttu ki Tikki uses buckwheat flour, which is gluten-free and full of fiber and antioxidants.
The combination of buckwheat, potatoes, and spices makes it a tasty treat that everyone can enjoy, whether fasting or not.
You can even experiment with spices to change the flavor. Plus, it’s a quick, healthy snack all year round!
What is Kuttu ki Tikki?
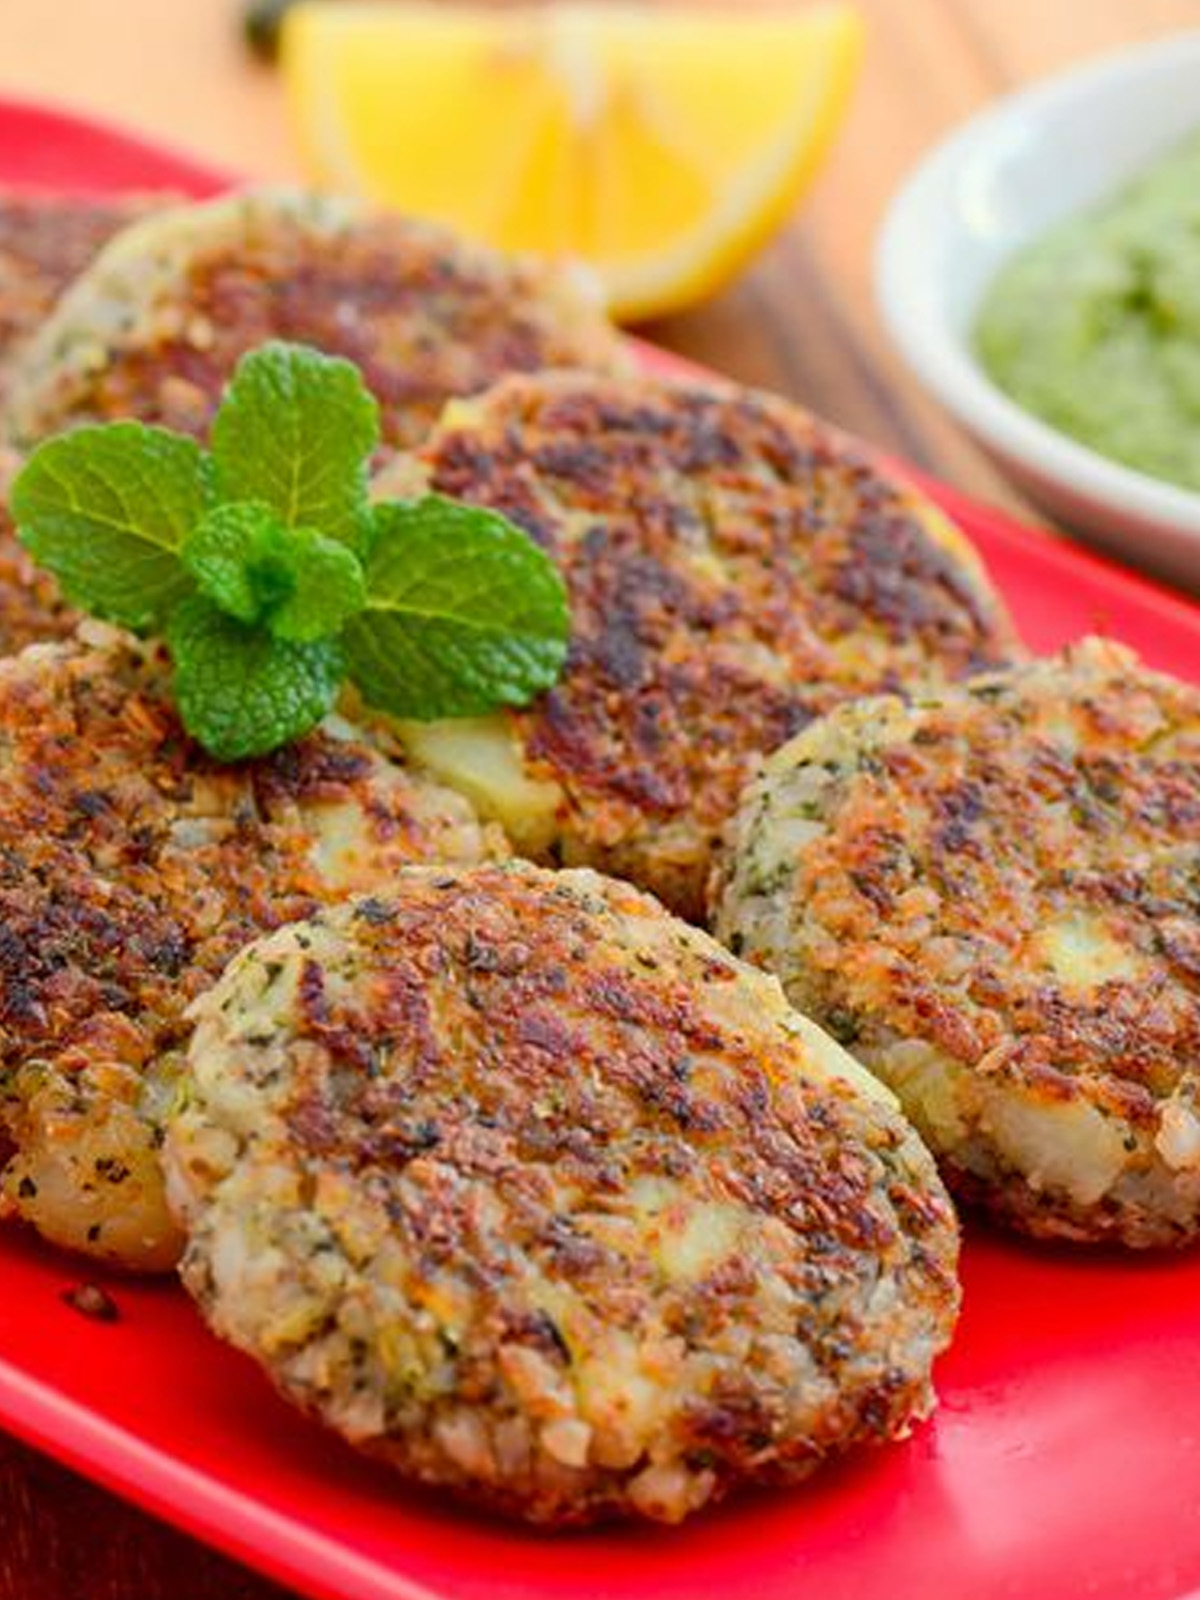
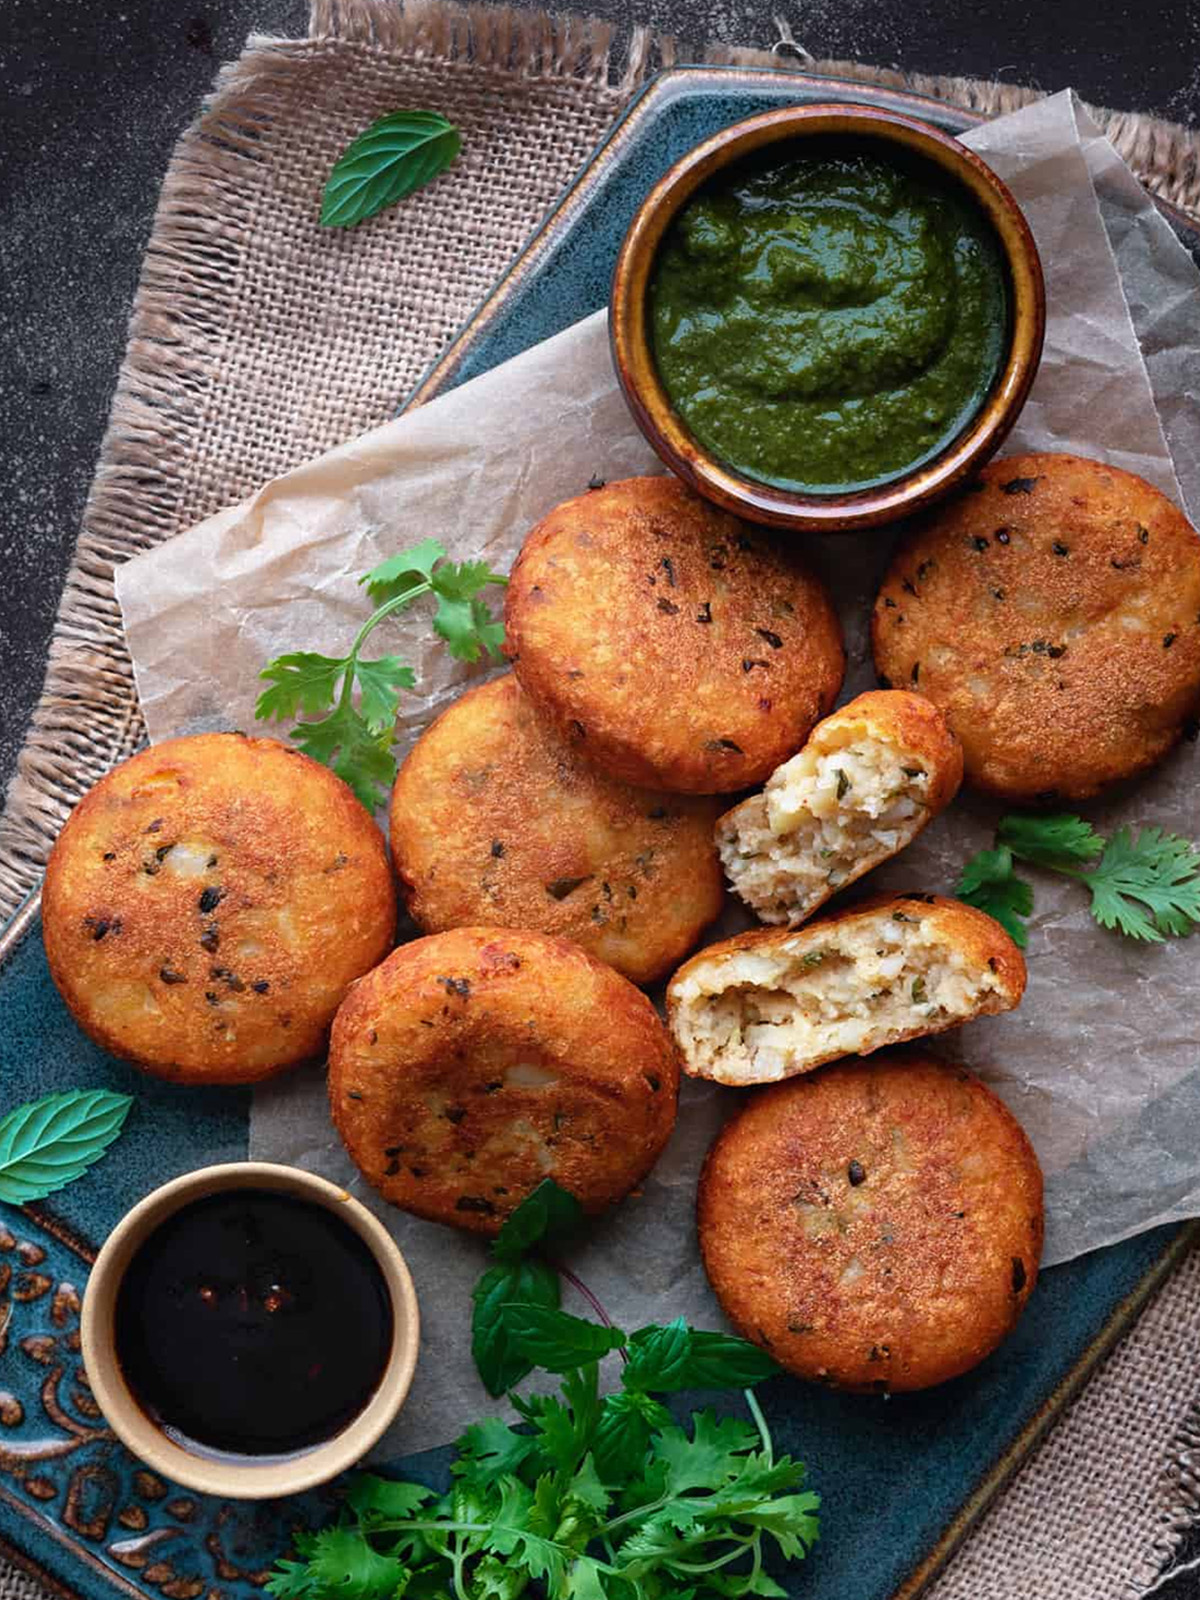
Kuttu Ki Tikki is a popular Indian snack made from buckwheat flour (kuttu ka atta), potatoes, and spices. First, the mixture is shaped into patties, which are then fried to perfection. As a result, the tikkis turn crispy on the outside while remaining soft and flavorful on the inside!
It's especially enjoyed during fasting periods like Navratri and Maha Shivratri, when people avoid grains. This dish is gluten-free and packed with nutrients, making it a perfect treat during festivals!
Craving more tasty treats?
Why not try our other mouthwatering recipes!
Nutritional Benefits of Buckwheat
- High in Protein: This makes it perfect for muscle growth and provides a steady source of energy throughout the day.
- Packed with Fiber: Not only does it aid digestion, but it also helps you feel fuller for longer, making it a great option for a satisfying snack.
- Rich in Antioxidants: Fights free radicals and supports overall health.
- Gluten-Free: This makes it an excellent choice for anyone avoiding gluten, offering a delicious alternative without compromising on taste!
- Kuttu (buckwheat) is, without a doubt, a superfood that plays a key role in maintaining a healthy, balanced diet. Not only is it nutritious, but it also provides numerous health benefits, making it an essential part of your meals!
What you Need to Make This Kuttu ki Tikki
Recipe Ingredients

Ingredients and their Health Benefits
- Kuttu Flour (Buckwheat): Gluten-free and packed with fiber and protein. It helps with digestion and provides energy. My grandma always says, "Kuttu gives strength and keeps the body light!"
- Boiled Potatoes: Rich in vitamins and minerals, they’re great for energy. Fun fact: Potatoes were called "the food of the gods" in ancient times!
- Green Chilies: Adds a spicy kick! They’re full of vitamin C and antioxidants, which boost immunity. My uncle loves adding extra chilies for that fiery punch!
- Ginger: Known for its anti-inflammatory properties, it also helps with digestion. I remember my mom saying, "A little ginger keeps the stomach happy!"
- Rock Salt: Unlike regular salt, it contains minerals like calcium and magnesium, which are good for health. My aunt always insists on using rock salt for its purity!
How to Make Kuttu Ki Tikki
Step by Step Guide
1. Prepare the Ingredients:
- First, boil the potatoes until they're soft, then peel and mash them well.
- Next, roast and coarsely grind the peanuts. Also, chop the green chili and coriander leaves finely if you want to use them.
2. Mix the Dough:
- In a large bowl, mix the mashed potatoes, buckwheat flour, ground peanuts, chopped green chili, and coriander leaves.
- Then, add cumin seeds, black pepper powder, rock salt, and regular salt to taste.
- Stir everything well until it's combined. If the mix feels too dry, add a little water; if it’s too wet, add more buckwheat flour.
3. Shape the Tikkis:
- Now, divide the mixture into small pieces and shape each one into a round, flat patty. Make sure to flatten them a bit so they cook evenly.
4. Fry the Tikkis:
- Heat oil in a non-stick skillet over medium heat. Once the oil is hot, carefully place the tikkis in the skillet.
- Fry each side for about 3-4 minutes until they are golden brown and crispy. Then, take them out and drain on paper towels.
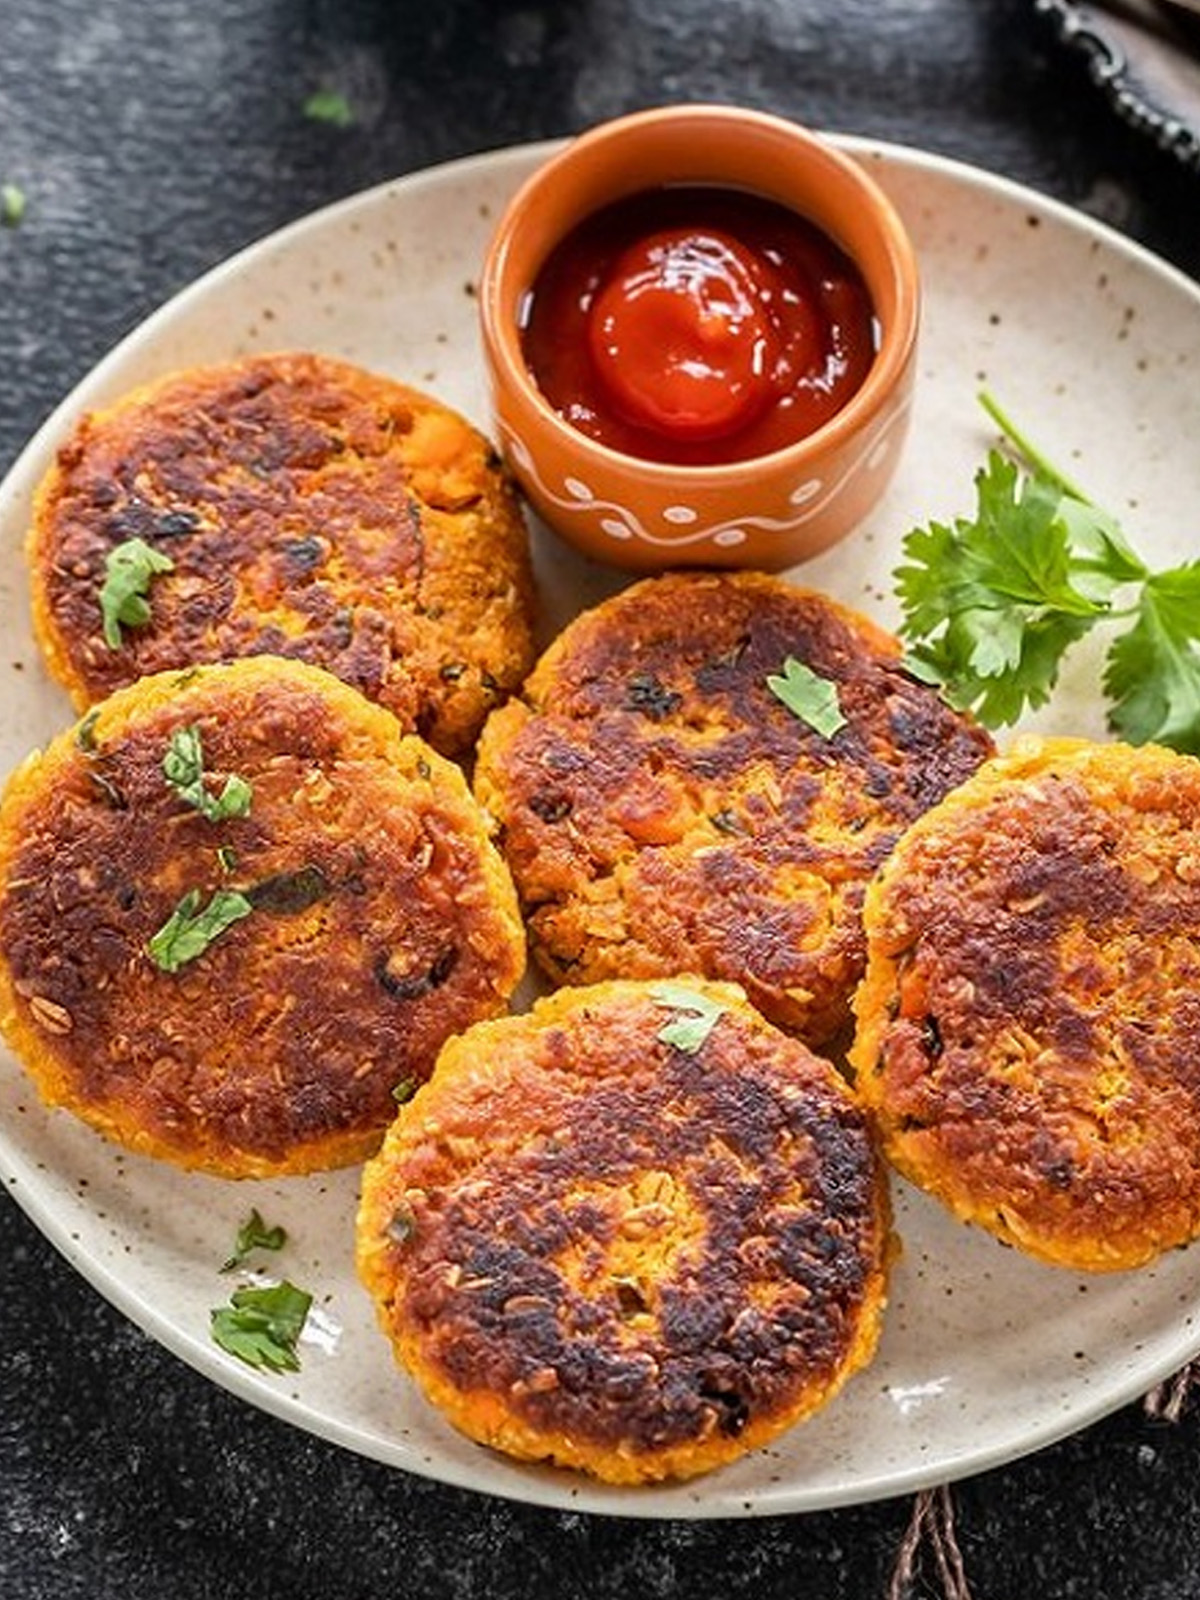
5. Serve:
- Finally, serve the hot tikkis with mint chutney or yogurt on the side. Enjoy!
Tips for Perfecting the Tikki
To prevent breaking, make sure the dough isn’t too soft.
Add a little extra buckwheat flour if needed.
For a crispy, golden finish, fry on medium heat—too high can burn them!
Also, chill the tikkis for 30 minutes before frying to help them hold their shape!
Tips for Shaping Tikkis Uniformly
- Use equal portions: To ensure the tikkis are of even size, it's important to divide the dough into equal pieces. This way, each tikki will cook uniformly, giving you the perfect shape and texture!
- Shape with wet hands: This simple step helps prevent the dough from sticking to your fingers, making it easier to form smooth, uniform tikkis.
- Press gently: Don’t press too hard, just enough to form smooth, round tikkis!
- Chill before frying: Helps them stay intact while cooking!
Cooking Methods for Tikkis
1. Frying: The classic method! Fry tikkis on medium heat until golden and crispy on both sides.
2. Baking: For a healthier version, you can bake the tikkis at 375°F (190°C) for 20-25 minutes. Be sure to flip them halfway through to ensure they cook evenly on both sides!
3. Air Frying: This is a great option if you're looking for crispy tikkis with less oil. Simply cook at 375°F for 15-20 minutes, and you'll get a crunchy exterior without the extra fat!
Serving Suggestions
- With Chutney: To elevate the flavor, pair your tikkis with green chutney (made from mint and coriander) or tamarind chutney for a tangy kick. This not only adds a burst of flavor but also gives an extra layer of taste to the crispy tikkis!
- With Yogurt: To balance the spice, serve your tikkis with a cool, creamy yogurt dip. Not only does it mellow the heat, but it also adds a refreshing touch that complements the flavors perfectly.
- As a Snack: For a light treat, serve the tikkis with a refreshing fruit salad. The sweetness of the fruit perfectly balances the savory tikkis, creating a delightful contrast!
- As a Main Course: For a hearty meal, pair the tikkis with sweet potato fries or a small bowl of sabudana khichdi. These sides perfectly complement the tikkis, making the dish both filling and satisfying!
Storage Tips
1. Refrigerating: Store leftover tikkis in an airtight container in the fridge for up to 2-3 days.
2. Freezing: To freeze, place tikkis on a tray, freeze them first, then store in a bag for up to a month.
3. Reheating: Reheat in the oven or air fryer for 5-7 minutes to keep them crispy.
Variations
- Spicy Tikki: Add more green chilies or chili powder for an extra kick!
- Cheese Tikki: Stuff the tikkis with paneer or your favorite cheese for a gooey, cheesy surprise.
- Sweet Tikki: Add dates or a bit of jaggery to the filling for a sweet twist.
- Herb Tikki: Mix in coriander or mint leaves for a fresh, aromatic flavor!
Did you try this Kuttu Ki Tikki recipe? Leave a ⭐️⭐️⭐️⭐️⭐️ rating below and share it on Instagram, Facebook, and Pinterest!
❔FAQs
Buckwheat flour is integral to this recipe, especially if you're preparing it for fasting when buckwheat is a staple. However, if you're not following a specific dietary restriction, you can substitute it with regular flour or a different gluten-free flour.
Yes, you can bake Kuttu ki Tikki for a healthier alternative. Preheat your oven to 375°F (190°C), place the tikkis on a baking sheet lined with parchment paper, and bake for 20-25 minutes, flipping halfway through, until they are golden brown and crispy.
Yes, Kuttu ki Tikki is gluten-free as it uses buckwheat flour, which is naturally gluten-free. Ensure all other ingredients, like spices and additional ingredients, are also gluten-free if you're preparing it for someone with gluten intolerance.
Store leftover tikkis in an airtight container in the refrigerator for up to 3-4 days. For longer storage, freeze them as mentioned earlier. When ready to eat, simply reheat in an oven or toaster oven for the best results!
Kuttu ki Tikki
Ingredients
Ingredients
- 1 Cup Buckwheat Flour (Kuttu Ka Atta)
- 2 Boiled Potatoes medium-sized, peeled and mashed
- ¼ Cup Roasted Peanuts coarsely ground
- 1 Green Chili finely chopped (optional)
- 2 tablespoon Coriander Leaves finely chopped
- ½ teaspoon Cumin Seeds
- ½ teaspoon Black Pepper Powder
- Rock Salt (Sendha Namak) to taste
- Regular Salt to taste
- Oil for frying
Instructions
1. Prepare the Ingredients:
- First, boil the potatoes until they're soft, then peel and mash them well.
- Next, roast and coarsely grind the peanuts. Also, chop the green chili and coriander leaves finely if you want to use them.
2. Mix the Dough:
- In a large bowl, mix the mashed potatoes, buckwheat flour, ground peanuts, chopped green chili, and coriander leaves.
- Then, add cumin seeds, black pepper powder, rock salt, and regular salt to taste.
- Stir everything well until it's combined. If the mix feels too dry, add a little water; if it’s too wet, add more buckwheat flour.
3. Shape the Tikkis:
- Now, divide the mixture into small pieces and shape each one into a round, flat patty. Make sure to flatten them a bit so they cook evenly.
4. Fry the Tikkis:
- Heat oil in a non-stick skillet over medium heat. Once the oil is hot, carefully place the tikkis in the skillet.
- Fry each side for about 3-4 minutes until they are golden brown and crispy. Then, take them out and drain on paper towels.
5. Serve:
- Finally, serve the hot tikkis with mint chutney or yogurt on the side. Enjoy!
Notes
Tips for Perfecting the Tikki
To prevent breaking, make sure the dough isn’t too soft. Add a little extra buckwheat flour if needed. For a crispy, golden finish, fry on medium heat—too high can burn them! Also, chill the tikkis for 30 minutes before frying to help them hold their shape!Tips for Shaping Tikkis Uniformly
-
- Use equal portions: To ensure the tikkis are of even size, it's important to divide the dough into equal pieces. This way, each tikki will cook uniformly, giving you the perfect shape and texture!
-
- Shape with wet hands: This simple step helps prevent the dough from sticking to your fingers, making it easier to form smooth, uniform tikkis.
-
- Press gently: Don’t press too hard, just enough to form smooth, round tikkis!
-
- Chill before frying: Helps them stay intact while cooking!

Leave a Reply