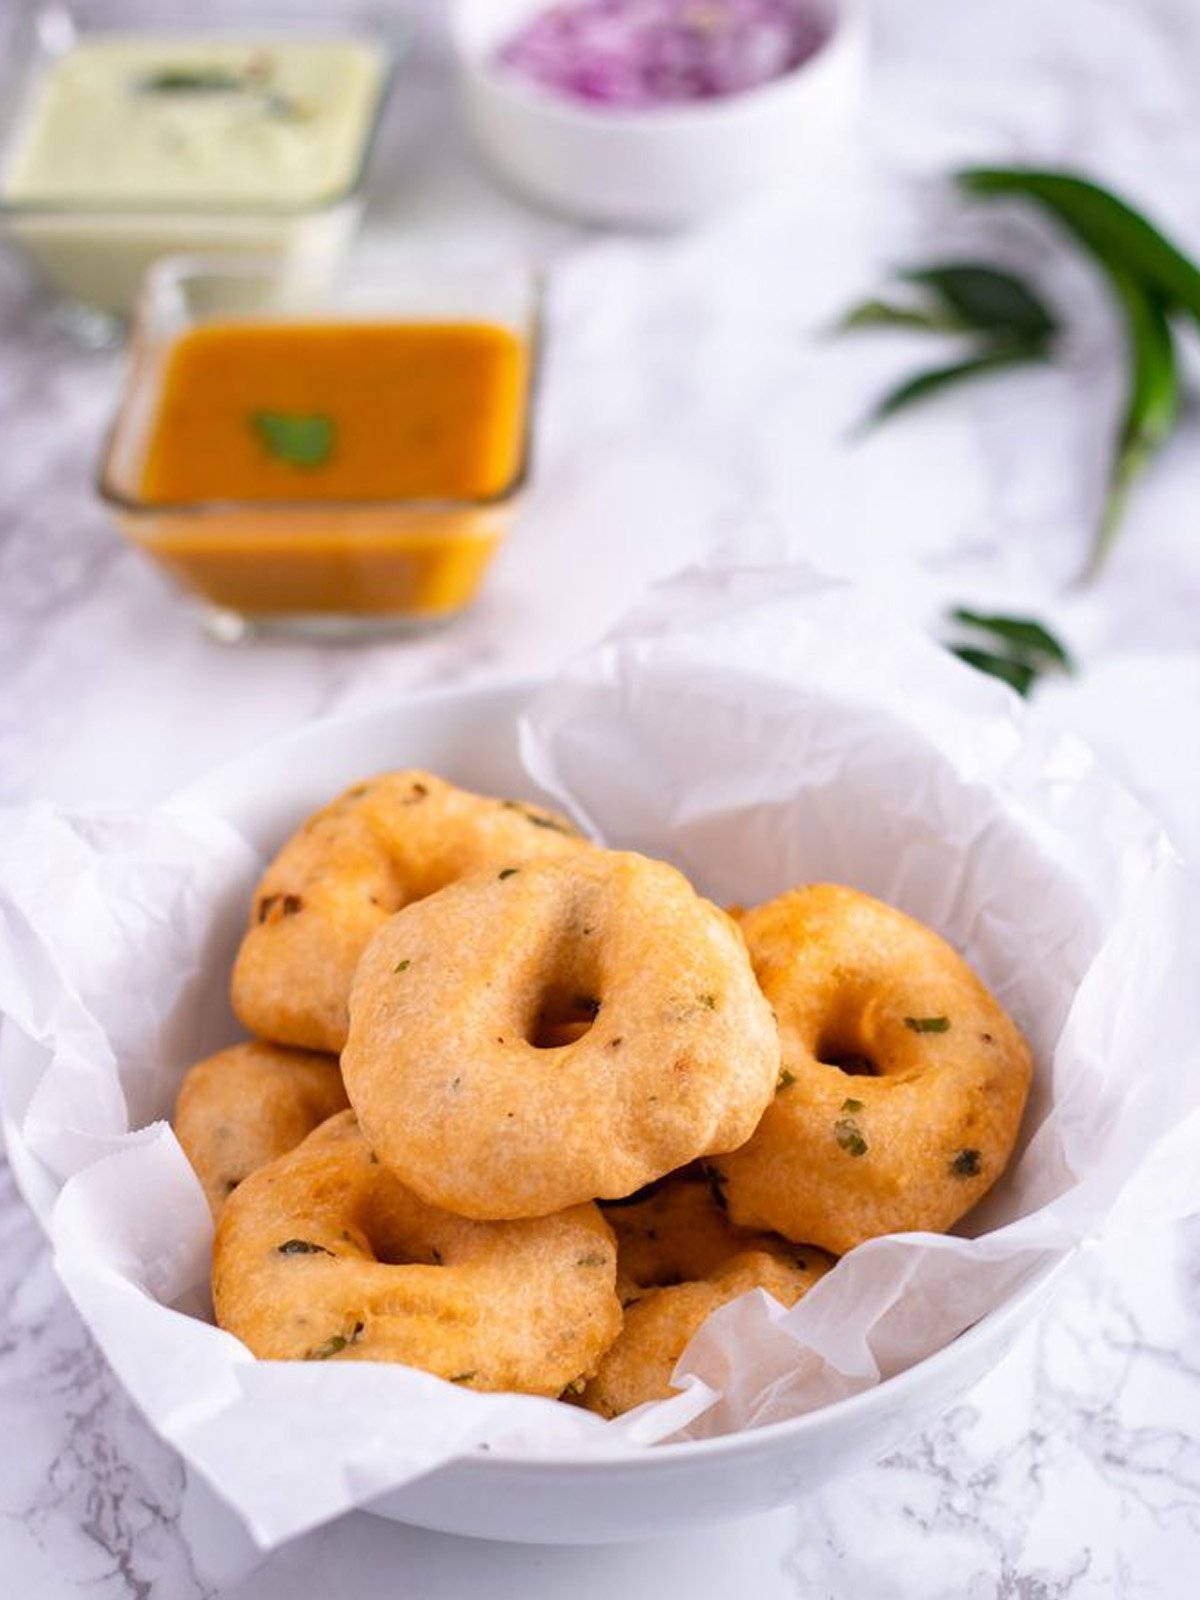
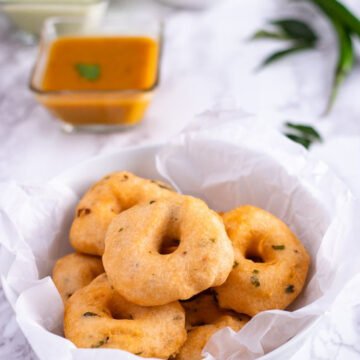
The Medu Vada recipe, also called Garelu or Ulundu Vadai, is a popular South Indian dish that people love for its crispy texture and special flavor. First, you soak urad dal, then grind it into a smooth batter. After that, you shape the batter into donut-like fritters that are delicious and fun to eat!
Jump to:
Why You'll Love This Recipe
- Crispy on the outside and soft on the inside – the perfect texture!
- Packed with flavors from spices like cumin and pepper.
- Easy to make – no fancy ingredients needed!
- Quick snack – ready in just 20 minutes!
- Fun to make – perfect for beginners in the kitchen.
- Great for breakfast or as a tasty side for lunch or dinner!
- Customizable – add your favorite veggies or spices to the batter!
About Medu Vada Recipe
Medu Vada, also known as Garelu, this recipe comes from South India and is a staple in traditional South Indian cuisine.
In Tamil Nadu, it's called Ulundu Vadai, showing how important it is in local food traditions.
Moreover, Medu Vada is not just a breakfast dish; people enjoy it as a snack or a side during lunch and dinner.
To make it, you soak and grind urad dal to get the right texture, then shape the batter into vadas and fry them carefully.
It goes perfectly with sambar, a spicy lentil soup, and coconut chutney, making it a favorite for both kids and adults!
You can also try these mouthwatering recipes: Sambar Rice, Green Moong Dal Cheela, Besan Cheela, and Moong Dal Recipe.
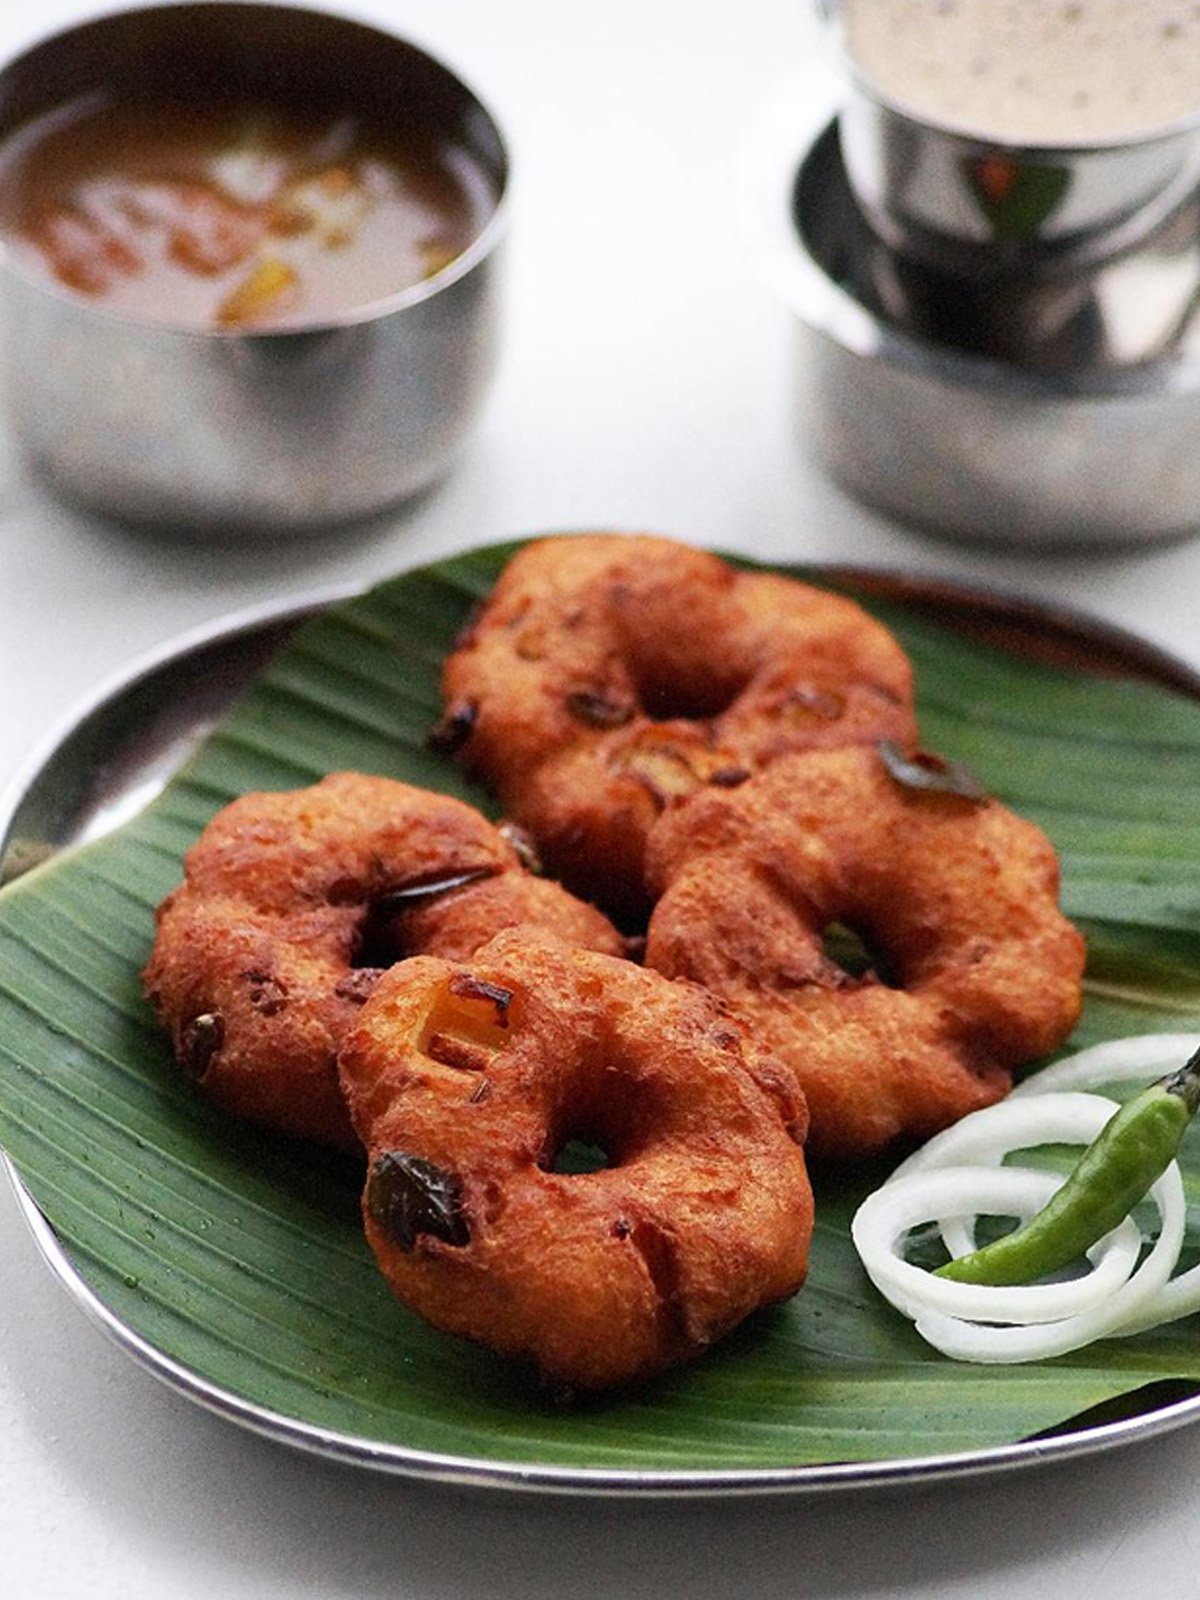
What is Medu Vada(Ulundu Vadai)?
Medu Vada, also known as Ulundu Vadai, is a tasty South Indian snack made from a batter of urad dal (black gram).
This batter is usually flavored with ingredients like finely chopped onions, green chilies, curry leaves, ginger, carrot, and coriander leaves.
Adding these ingredients not only makes the vadas tastier but also gives them a nice crunch and freshness.
When making Medu Vada, it’s important to ensure that the batter is well-seasoned and mixed well to get the perfect flavor.
If you're preparing Medu Vada for a special occasion, I sometimes add grated carrot and extra coriander leaves for color and flavor.
It’s also tricky to get the right consistency of the batter; if it’s too runny, the vadas won’t hold their shape, and if it’s too thick, they might be dense.
With practice, you can achieve that golden, crispy Medu Vada that’s perfect recipe for any celebration!
Health Benefits of Urad Dal
- Urad dal is one of the healthiest grains, packed with protein, fat, and carbohydrates, making it great for your diet.
- Moreover, it offers many health benefits, especially for young girls and women, and is eaten frequently, around three or four times a week.
- In addition, it’s full of important nutrients like iron, folic acid, calcium, magnesium, and potassium, which makes it super nutritious.
- As a result, urad dal is not only healthy but also easy to digest, helping you feel good and stay energized!
What you Need to Make This Crispy Medu Vada Recipe
Recipe Ingredients
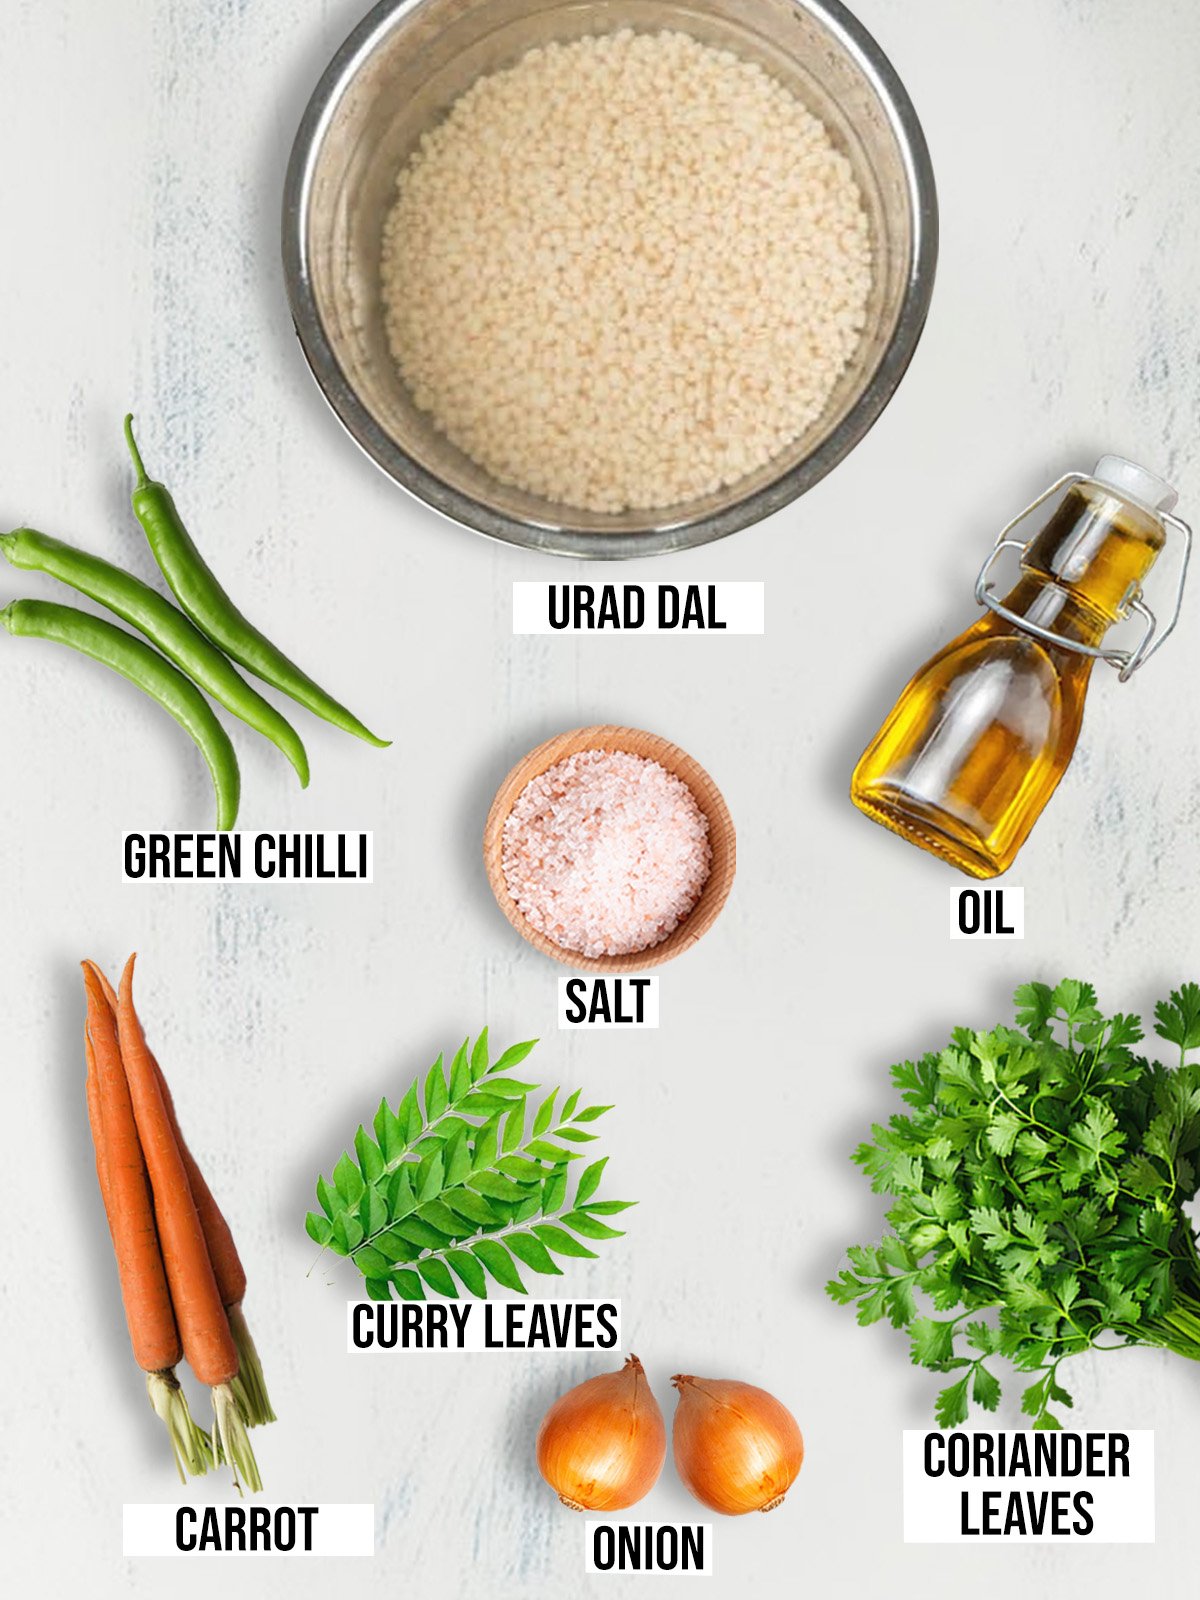
Ingredient Notes:
- Urad Dal : A key ingredient for making crispy and soft Medu Vada, packed with protein and fiber.
- Green Chilies: Adds a spicy kick to balance the flavors.
- Ginger: Freshly grated ginger brings a zesty and aromatic touch.
- Curry Leaves: Adds a fragrant, earthy flavor that's perfect for Indian snacks.
- Onion: Adds crunch and sweetness to the batter.
- Carrot: Grated carrot adds a hint of sweetness and extra texture.
- Coriander Leaves: A burst of fresh herb flavor, enhancing the taste and freshness of the vadas.
See recipe card below for a full list of ingredients and measurements.
How to Make Medu Vada
Step by Step Instructions
1. Soaking the Dal
- First, soak 1 cup of urad dal in water for about 4 to 6 hours or overnight. This step is really important because it softens the dal, which makes it easier to grind later. After soaking, make sure to drain the dal well to get rid of any extra water.
2. Making the Batter
- Next, grind the soaked urad dal into a smooth, thick batter, adding only a little water as needed. It's important that the batter is thick enough to hold its shape when you fry it.
- Also, mix in finely chopped green chilies, ginger, and curry leaves. If you want, you can add finely chopped onion, grated carrot, and coriander leaves too. Most importantly, make sure to season the batter well with salt!
3. Shaping the Vadas
- To shape the vadas, you can either wet your hands or use a spoon. Then, form small, round patties with a hole in the middle. This classic shape helps the vadas cook evenly and become nice and crispy!
4. Frying the Vadas
- Gently slide the shaped batter into the hot oil, frying a few vadas at a time. Remember to turn them occasionally until they are golden brown and crispy. Also, keep an eye on the oil temperature so they don’t become soggy!
5. Serving
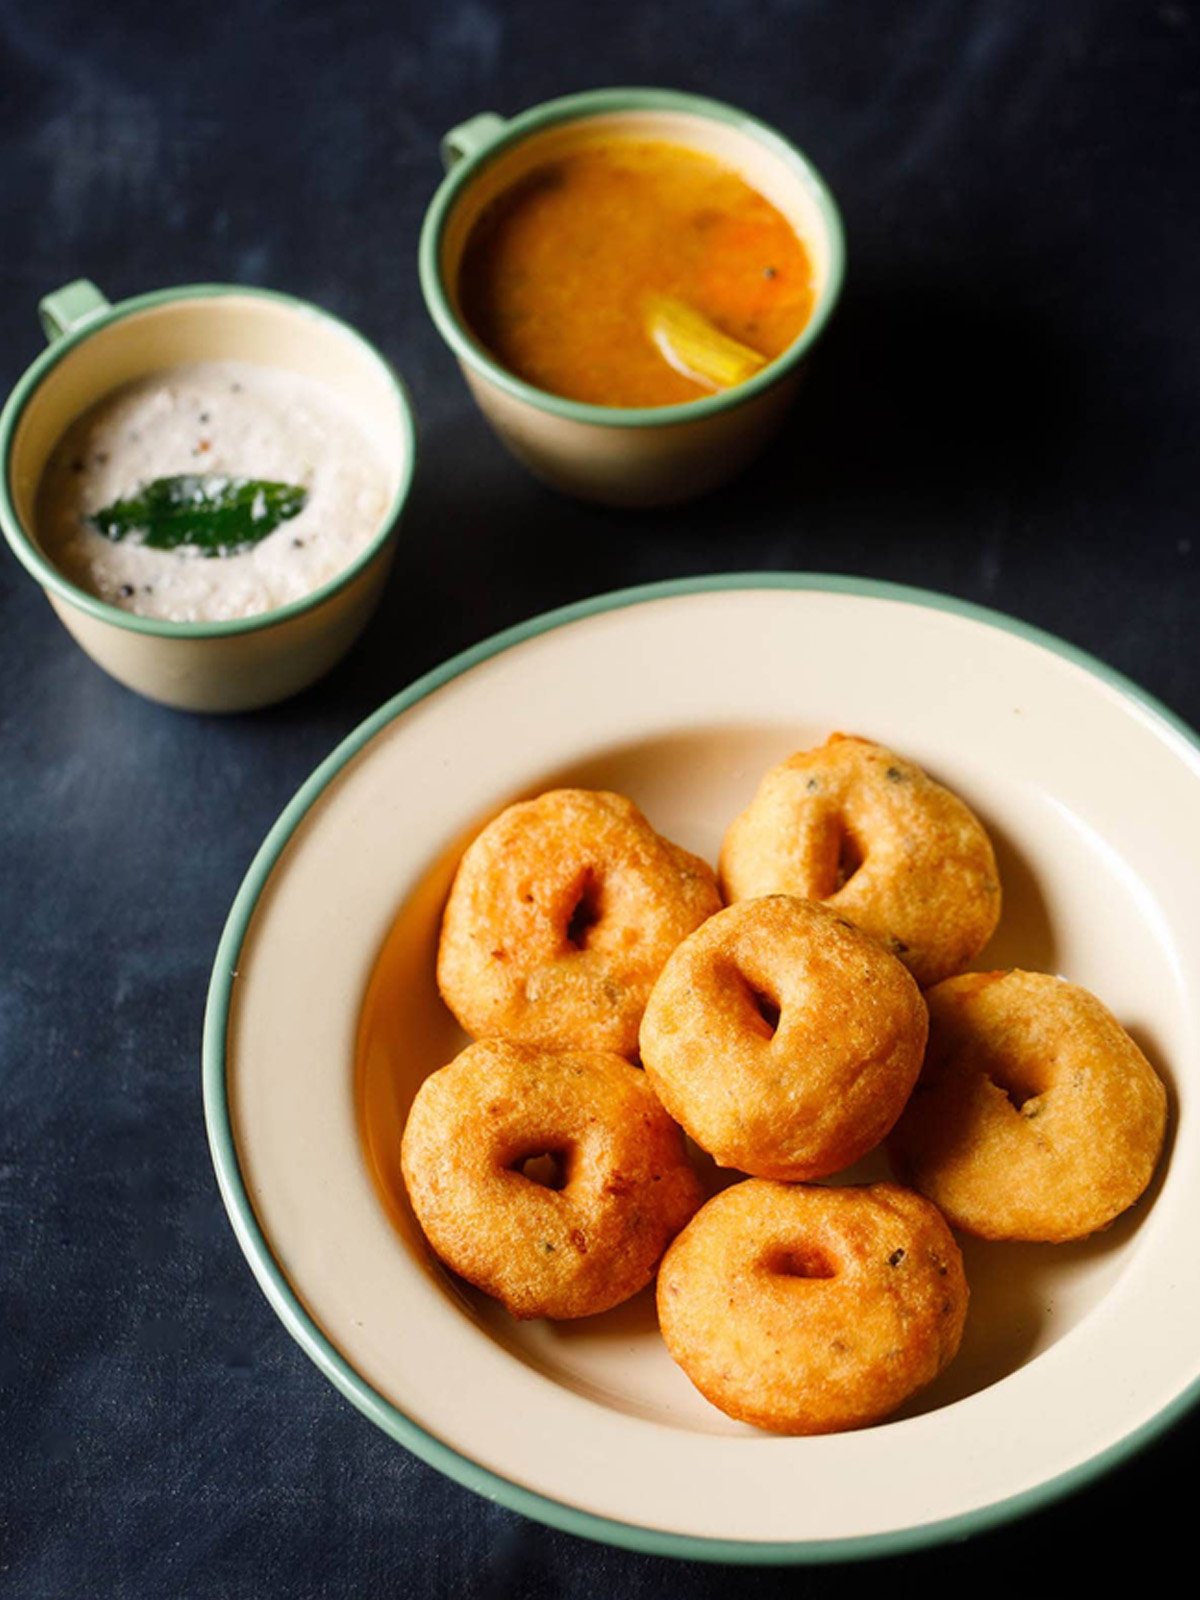
- After frying, place the Medu Vadas on paper towels to soak up any extra oil. Then, serve them hot with sambar or coconut chutney. Overall, this dish is best enjoyed when the Medu Vadas are fresh and crispy!
Variations
- Add extra spices: To enhance the flavor, try adding cumin seeds or fennel seeds. Additionally, for extra richness, you can mix in some finely chopped green bell pepper or a pinch of asafoetida (hing).
- Bake instead of fry: To use less oil, shape the batter into discs and bake at 375°F (190°C) until crispy.
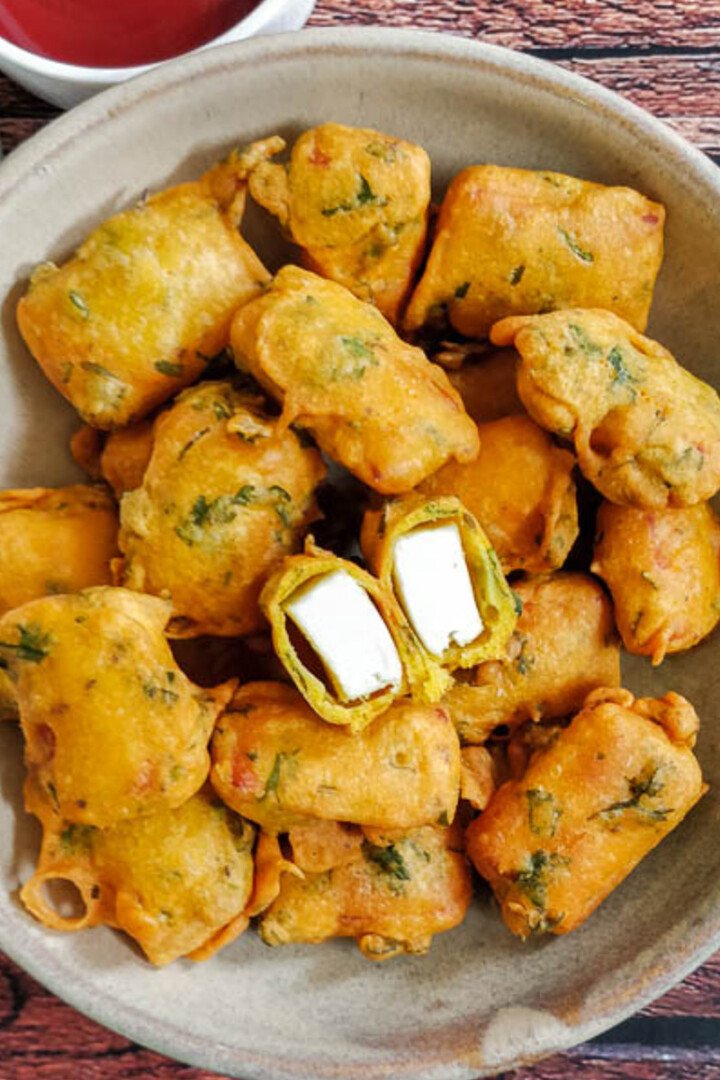
- Stuff the vadas: For a fun twist, try adding a filling of mashed potatoes or paneer. This not only adds extra flavor but also makes each bite even more exciting!
Pro-Tips
1. Check batter consistency: It should be thick but smooth. If too runny, vadas spread; if too thick, they’ll be dense.
2. Soak urad dal: Soak for 4–6 hours or overnight, then drain well to avoid excess moisture.
3. Heat oil properly: Medium heat is key. Too hot, vadas burn outside and stay raw inside; too cool, they absorb too much oil.
4. Shape vadas: Form small round patties with a hole in the center for even cooking and crispiness.
5. Drain excess oil: After frying, place vadas on paper towels to remove oil and keep them crispy.
Did you try this Medu Vada recipe? Leave a ⭐️⭐️⭐️⭐️⭐️ rating below and share it on Instagram, Facebook, and Pinterest!

❔FAQs
To make crispy medu vada recipe, ensure the batter is thick and well-seasoned. Fry the vadas in hot oil and avoid overcrowding the pan. Allowing them to drain on paper towels after frying can also help maintain their crispiness.
Yes, you can bake Medu Vadas as a healthier alternative to deep frying. Shape the batter into discs and place them on a baking sheet. Bake at 375°F (190°C) until they are crispy and golden brown.
Store leftover Medu Vada in an airtight container at room temperature for up to 2 days. To keep them crispy, you can reheat them in an oven or toaster oven rather than a microwave.
Yes, you can freeze Medu Vadas. Allow them to cool completely, then place them in an airtight container or freezer bag. They can be frozen for up to 2-3 months. Reheat them in an oven to restore their crispiness.
Medu Vada is a good source of protein and essential nutrients due to the urad dal. However, since it is deep-fried, it should be enjoyed in moderation as part of a balanced diet. For a healthier option, consider baking or using less oil.
Medu Vada Recipe
Ingredients
Ingredients
- 1 Cup Urad Dal
- 2-3 Green Chilies , finely chopped
- 1 Inch, grated Ginger
- A few, finely chopped Curry Leaves
- 1 Onion small, finely chopped(optional)
- 1 Carrot small, grated (optional)
- Coriander Leaves A small handful, chopped
- Salt To taste
- Oil For deep frying
Instructions
1. Soaking the Dal
- First, soak 1 cup of urad dal in water for about 4 to 6 hours or overnight. This step is really important because it softens the dal, which makes it easier to grind later. After soaking, make sure to drain the dal well to get rid of any extra water.
2. Making the Batter
- Next, grind the soaked urad dal into a smooth, thick batter, adding only a little water as needed. It's important that the batter is thick enough to hold its shape when you fry it.
- Also, mix in finely chopped green chilies, ginger, and curry leaves. If you want, you can add finely chopped onion, grated carrot, and coriander leaves too. Most importantly, make sure to season the batter well with salt!
3. Shaping the Vadas
- To shape the vadas, you can either wet your hands or use a spoon. Then, form small, round patties with a hole in the middle. This classic shape helps the vadas cook evenly and become nice and crispy!
4. Frying the Vadas
- Gently slide the shaped batter into the hot oil, frying a few vadas at a time. Remember to turn them occasionally until they are golden brown and crispy. Also, keep an eye on the oil temperature so they don’t become soggy!
5. Serving
- After frying, place the Medu Vadas on paper towels to soak up any extra oil. Then, serve them hot with sambar or coconut chutney. Overall, this dish is best enjoyed when the Medu Vadas are fresh and crispy!
Notes
Variations
-
- Add extra spices: To enhance the flavor, try adding cumin seeds or fennel seeds. Additionally, for extra richness, you can mix in some finely chopped green bell pepper or a pinch of asafoetida (hing).
-
- Bake instead of fry: To use less oil, shape the batter into discs and bake at 375°F (190°C) until crispy.
-
- Stuff the vadas: For a fun twist, try adding a filling of mashed potatoes or paneer. This not only adds extra flavor but also makes each bite even more exciting!











Leave a Reply