


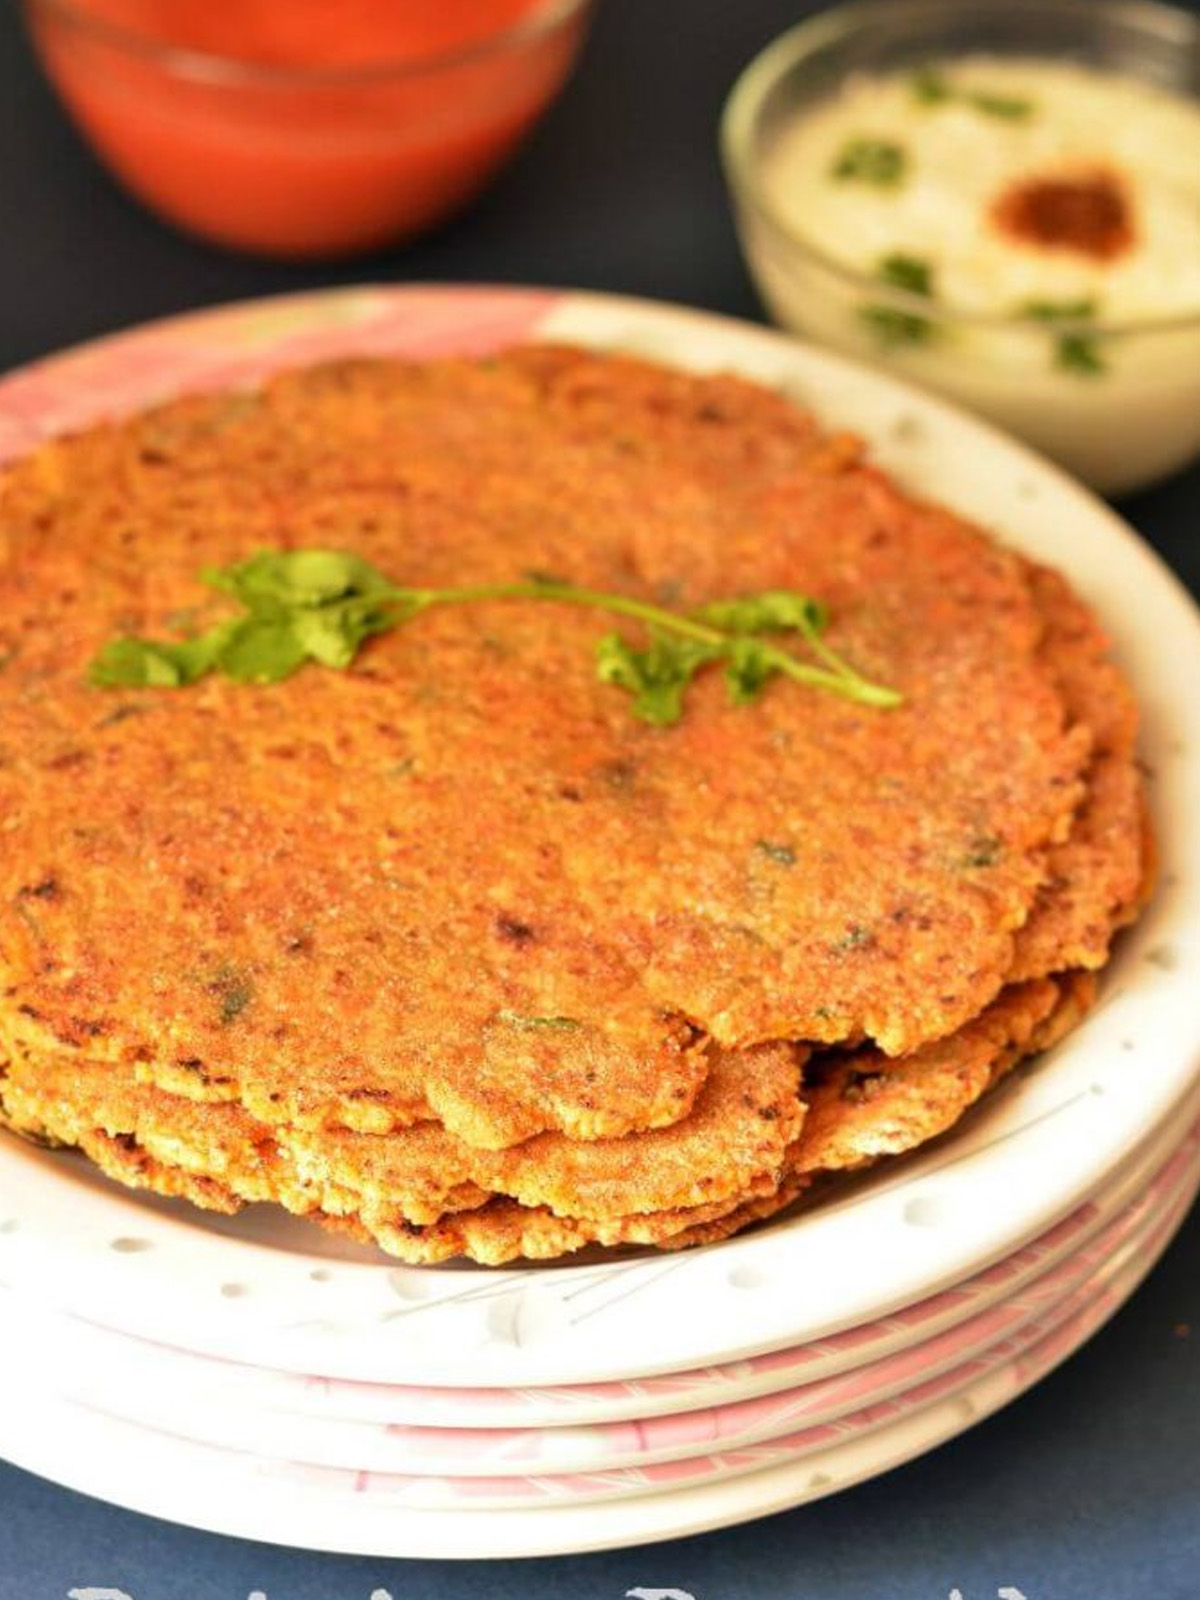
Rajgira Thepla recipe is a yummy flatbread made from rajgira flour (also called amaranth flour). It's especially popular during fasting or special occasions in India. I remember my grandma making it for us during festivals, and it was always so filling and delicious! Unlike regular wheat flour, rajgira has a unique taste and texture, making this thepla a healthy, tasty recipe option for anyone looking to try something new.
Jump to:
About Rajgira Thepla Recipe
The Rajgira Thepla recipe has deep roots in India, where people have enjoyed amaranth seeds (called rajgira) for centuries.
Interestingly, while amaranth originally came from Central and South America, it has become a popular ingredient in Indian cooking because it’s both nutritious and versatile.
Originally, rajgira was mostly eaten during fasting, but now many families enjoy it all year round!
In Gujarat, it's known as "Rajgira Farali Thepla" and is especially popular recipe during the fasting month of Shravan. Plus, it’s gluten-free, making it a great choice for people who can’t eat gluten!
Overall, Rajgira Thepla recipe is a perfect healthy snack that doesn’t compromise on taste! It's a great example of how traditional dishes can be both nutritious and delicious.
Why Rajgira Thepla?
If you're looking for a healthy, gluten-free option, Rajgira Thepla is perfect! It’s made from rajgira flour, which is packed with protein and other nutrients.
Unlike regular flatbreads, it’s easy on your stomach and great for anyone who can’t eat gluten. Plus, it's super tasty and perfect for any time of day!
Health Benefits of Rajgira
- Nutritional Value: Rajgira is packed with fiber that helps with digestion. It also helps stabilize blood sugar and is rich in magnesium, iron, and calcium for strong bones and better health.
- Dietary Needs: Rajgira Thepla is a gluten-free option, perfect for people with celiac disease or anyone avoiding gluten. It's also a protein-packed snack for anyone looking for a healthier alternative to regular snacks!
- Aiding Digestion: Rajgira is easy to digest, making it a light yet filling meal—especially during fasting when you need energy-boosting foods.
Why I Love This Recipe
- Tasty and Healthy: Rajgira Thepla is not only delicious, but it’s also packed with nutrients like fiber and protein. It’s the best of both worlds!
- Perfect for Any Time: Whether it’s breakfast, a snack, or even dinner, I can enjoy it anytime and it fills me up!
- Easy to Make: I love how simple the recipe is! Just mix, roll, and cook—no complicated steps.
- Gluten-Free: It's a great option for anyone avoiding gluten, and it still tastes amazing!
Ready for more mouthwatering recipes? Check these out:
Trust me, your taste buds are in for a treat!
What you Need to Make This Rajgira Thepla Recipe
Recipe Ingredients: - Thepla Recipe
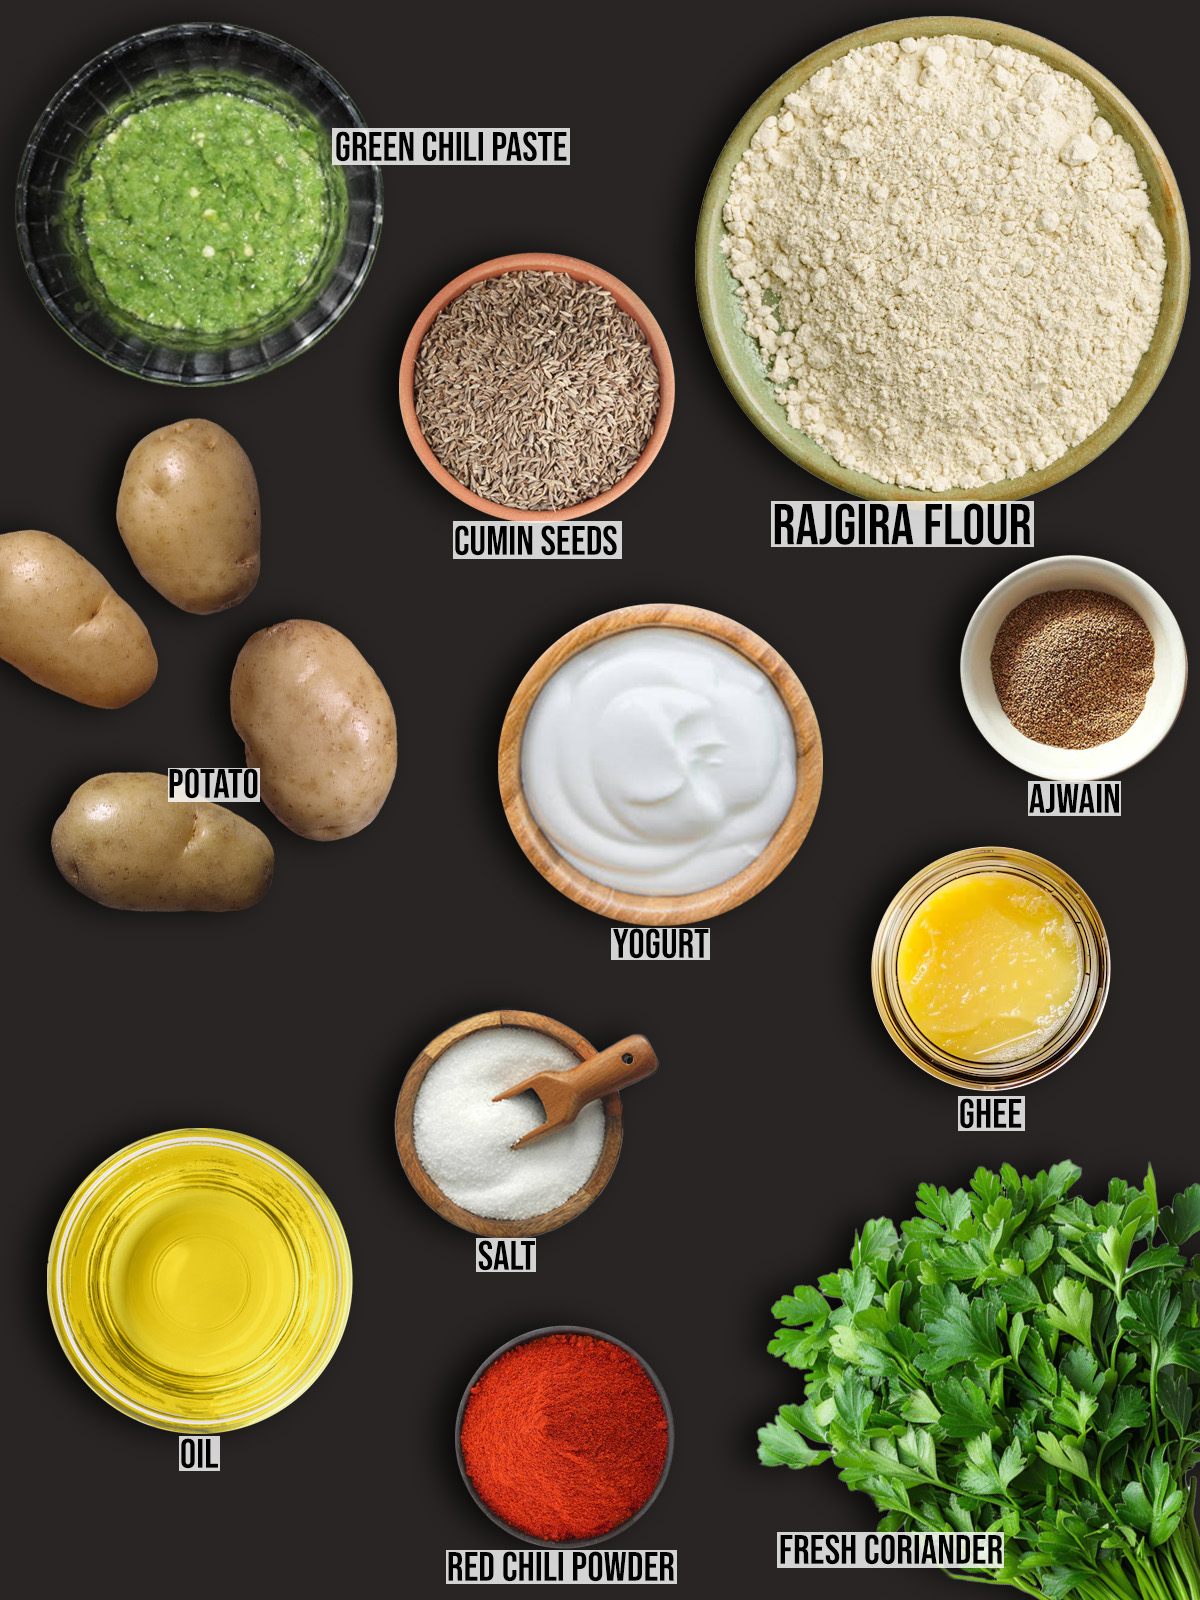
Ingredients Notes:
- Rajgira Flour (Amaranth Flour): The main ingredient that gives the thepla its unique texture and flavor. I remember my mom always buying rajgira flour during fasting days—it's so nutritious!
- Boiled Potatoes: They make the dough soft and add a nice texture. My grandma says it's the secret to keeping the thepla light and fluffy!
- Spices: Cumin, ajwain, and turmeric add a warm, flavorful kick! I always sneak a little extra cumin—it's my favorite!
- Ginger and Green Chilies: For a spicy, zesty flavor. My cousin once made the mistake of adding too many chilies, and we all needed water!
- Salt & Fresh Coriander: These give the thepla extra flavor and freshness. My mom loves to garnish with fresh coriander right before serving!
How to Make Rajgira Roti or Paratha?
Step by Step Instructions
1. Making the Dough
- To start, take a bowl and add the rajgira flour.
- Then, add the mashed potato, cumin seeds, red chili powder, turmeric powder, and salt.
- Mix these ingredients well. If you are using yogurt, add it now to make the dough softer.
- Next, gradually add a little water to the mixture and knead it into a soft dough. Make sure not to make it too sticky; a little oil on your hands can help.
2. Rolling the Theplas
- Once the dough is ready, let it rest for about 10-15 minutes. This resting time helps the dough become softer and easier to handle, making it much more manageable when you roll it out.
- After resting, divide the dough into small balls.
- Now, take one ball and flatten it slightly. Dust it with a little rajgira flour and roll it out into a circle.
- Make sure the thepla is not too thick; it should be about the thickness of a regular chapati. If it cracks at the edges, that’s okay—just press it gently with your fingers.
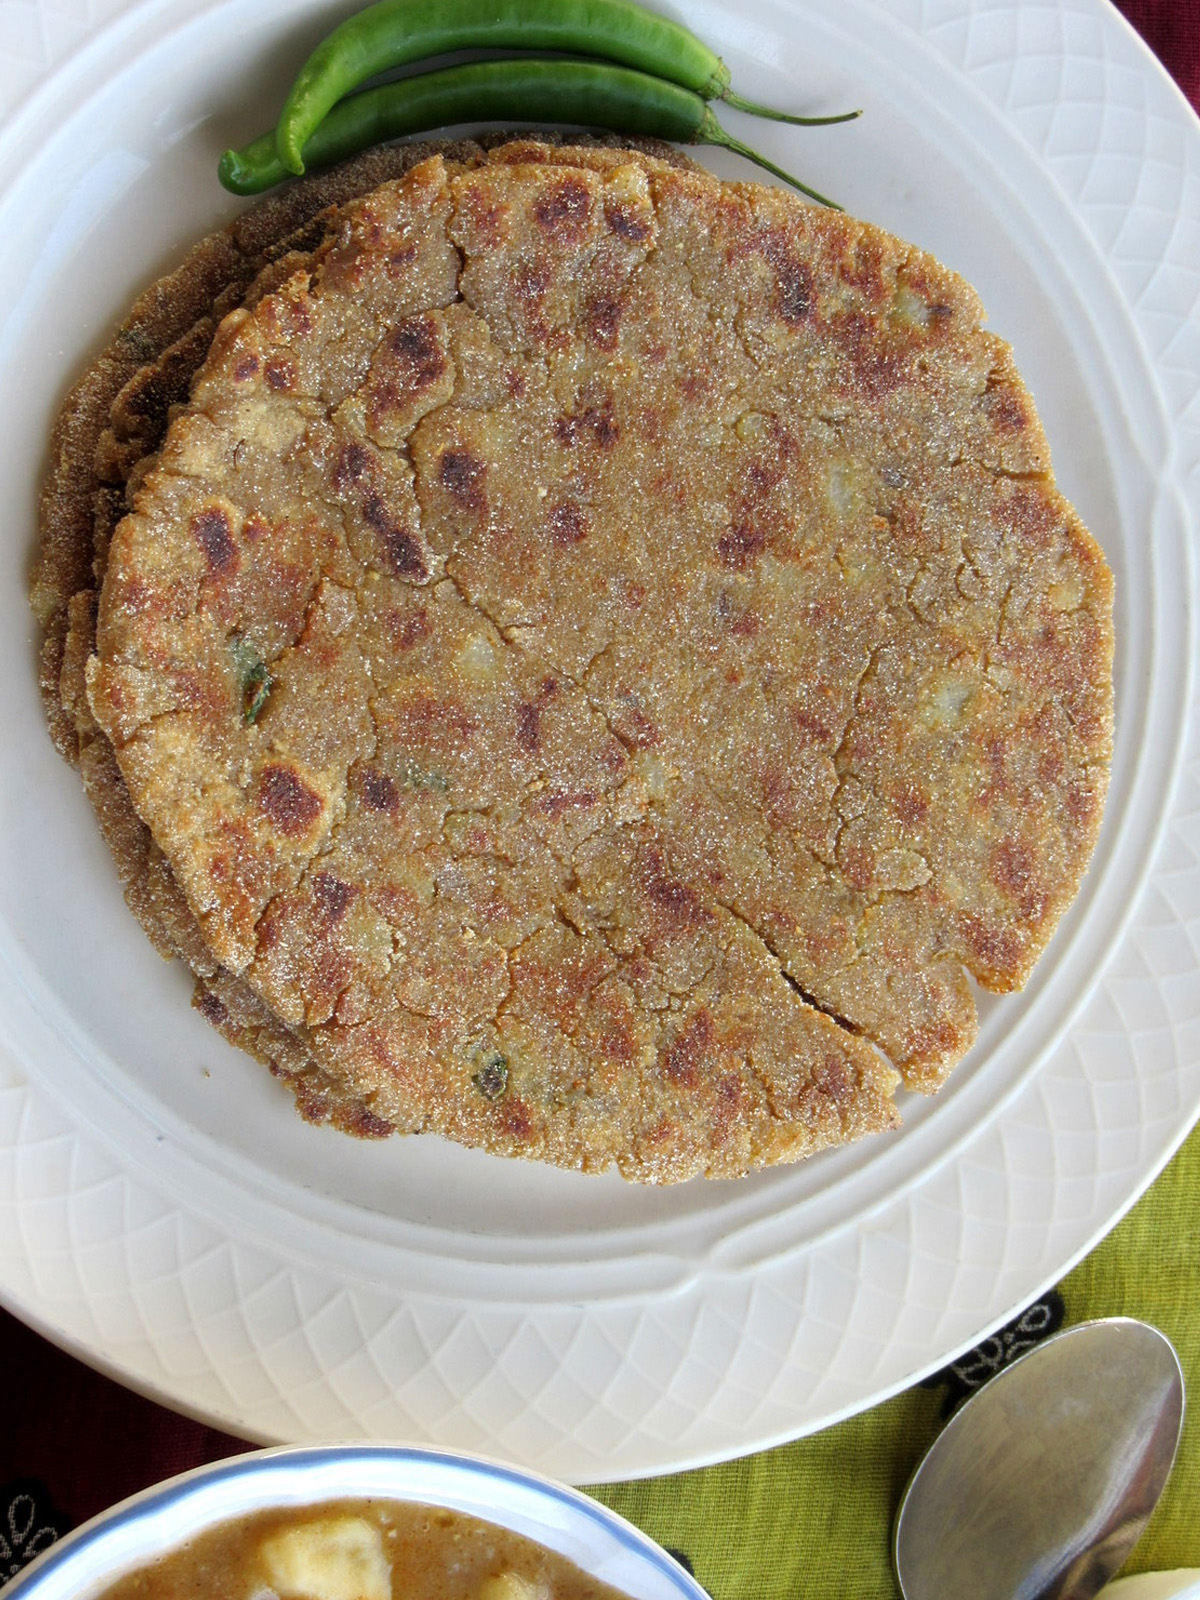
3. Cooking Techniques
- Now, it's time to cook! First, heat a skillet or tawa over medium heat. This ensures the thepla cooks evenly and gets nice and crispy.
- Once the skillet is hot, next, add a little oil or ghee. Then, place the rolled-out thepla onto the skillet and let it cook.
- Cook it for about a minute until you see bubbles forming on the surface.
- Then, flip it over and add a little more oil or ghee on the top side.
- Cook until both sides are golden brown and crispy. This will take about 2-3 minutes. Keep an eye on them so they don’t burn!
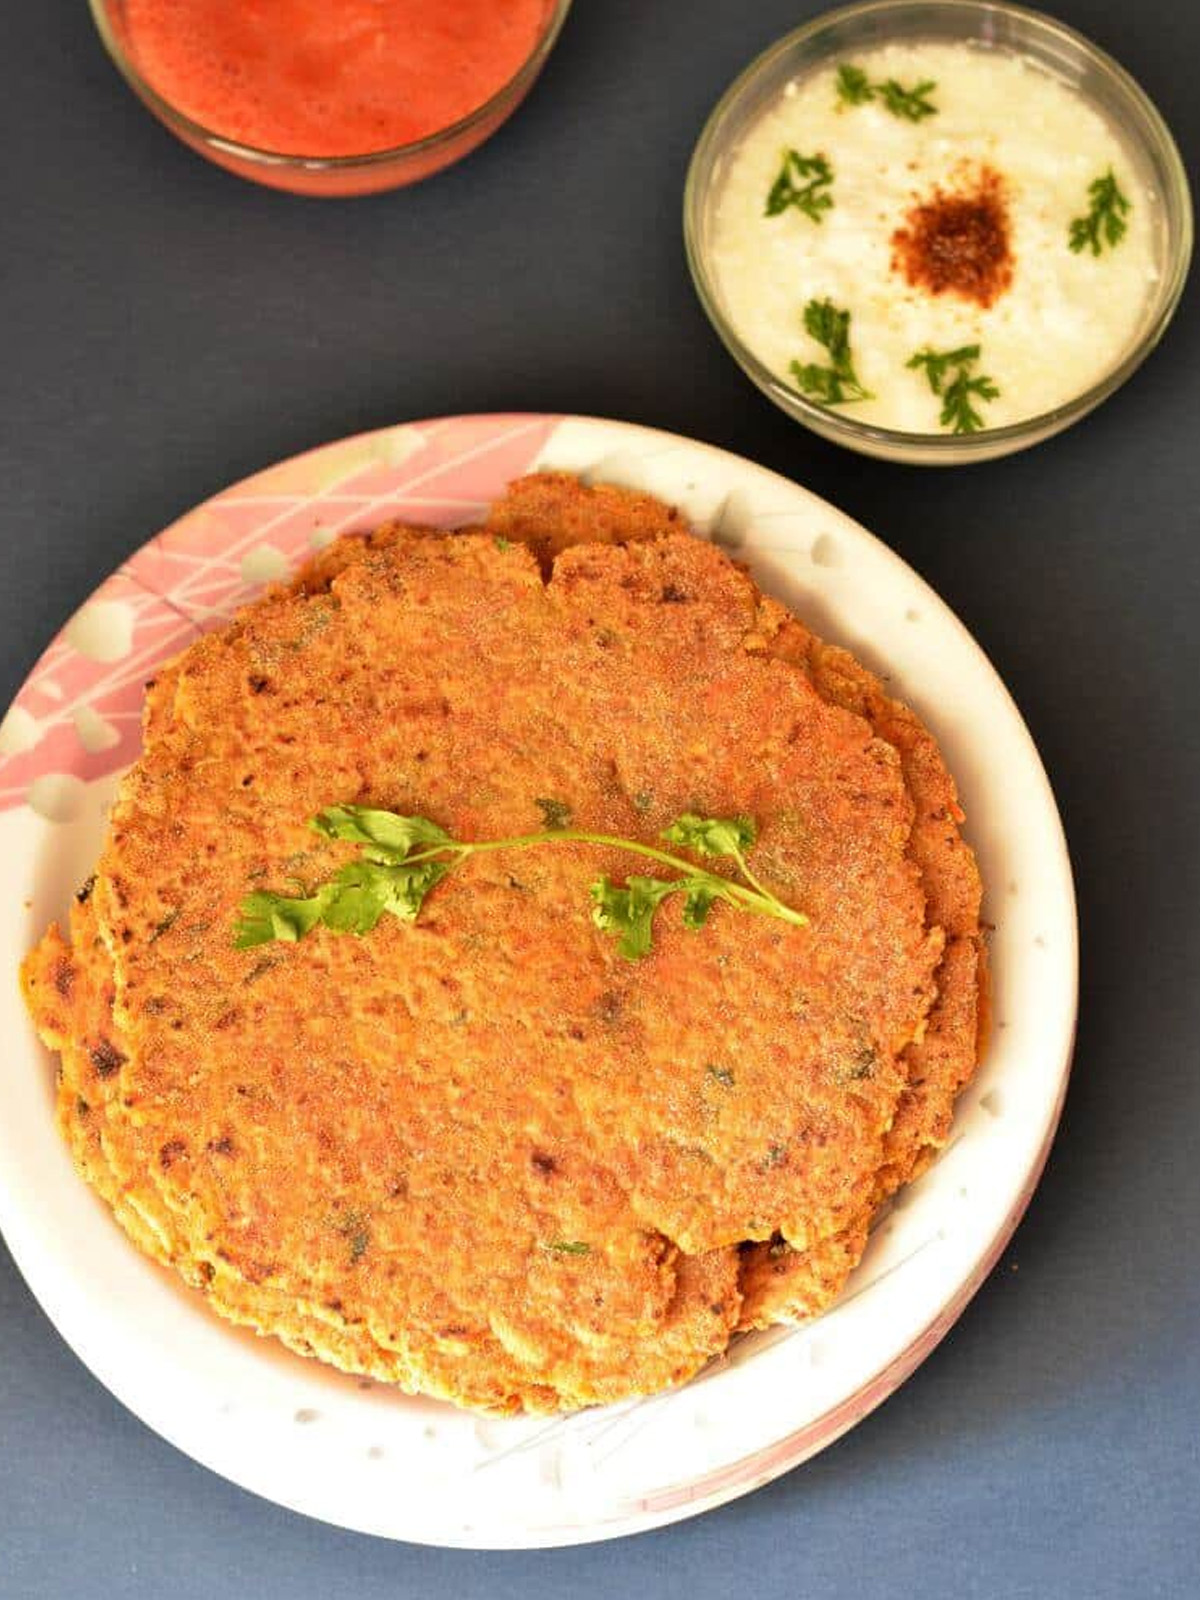
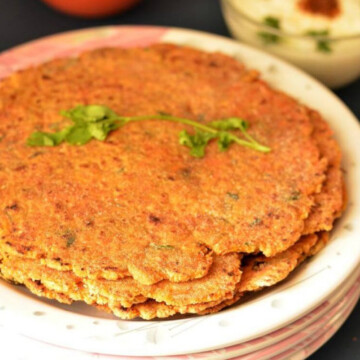
Serving Suggestions
- Accompaniments: Pair your Rajgira Thepla with delicious sides like yogurt, mango pickle, or a cool cucumber salad for extra flavor!
- Toppings: Add a dollop of ghee or butter for extra richness! Or, top it off with a fresh herb garnish like cilantro or mint for a burst of freshness.
- Perfect Pairings: Enjoy your thepla with drinks like fresh lemonade, buttermilk (chaas), or a warm cup of masala chai to balance the spices!
Variations
- Stuffed Rajgira Thepla: Want to try something different? I once stuffed my Rajgira Thepla with mashed potatoes and spiced veggies, and it turned out amazing! It made the thepla even more filling, and everyone at home loved it. You could also try adding paneer for a cheesy twist!
- Different Spice Blends: If you like experimenting, add a pinch of dried fenugreek leaves (methi), black pepper, or even a little cinnamon and nutmeg! I remember my cousin adding methi once, and it made the flavor so rich and aromatic—totally changed the game!
- Vegan and Dairy-Free Options: For a vegan version, I swapped out ghee with coconut oil and used almond yogurt instead. It tasted just as good, and I didn’t miss the dairy at all! Try it out, and you might just love it!
Storage and Make-Ahead Tips
1. Storing Thepla: If you have leftovers, simply store the Rajgira Thepla in an airtight container for up to 2-3 days. One time, I made extra theplas for a family trip and stored them in a container, and they stayed fresh and tasty! You can also freeze them for longer storage. Just wrap them well, and they’ll be good for up to a month!
2. Reheating Thepla: To bring back that crispy texture, reheat the thepla on a griddle or tawa. I remember once reheating a leftover thepla on the griddle, and it was just like fresh—crispy on the outside, soft inside!
3. Meal Prep Ideas: Rajgira Thepla is perfect for meal prepping! You can make a big batch at the start of the week, store it in the fridge, and have easy meals ready for busy days or fasting periods. I do this all the time when I know my week is packed with school and activities. It saves so much time!
Did you try this Rajgira Thepla recipe? Leave a ⭐️⭐️⭐️⭐️⭐️ rating below and share it on Instagram, Facebook, and Pinterest!
❔FAQs
Yes, Rajgira Thepla is naturally gluten-free as it is made with Rajgira flour, which comes from amaranth seeds and contains no gluten.
Yes, Rajgira Thepla is a popular farali (fasting) food in India. It is made with ingredients like rock salt (sendha namak) and is often consumed during festivals like Navratri.
Yes, you can substitute potatoes with other binding ingredients like sweet potatoes or skip them entirely, but the texture may vary. Potatoes help in making the dough more pliable and soft.
Rajgira Thepla pairs well with yogurt, raita, green chutney, or pickle. For a complete meal, you can serve it with a light vegetable curry or potato sabzi.
Rajgira Thepla can be made vegan by using plant-based yogurt and oil instead of ghee. Simply avoid dairy-based ingredients to make it a vegan-friendly recipe.
To prevent breaking, handle the dough gently and roll the thepla slowly using a little Rajgiraflour for dusting. Since Rajgira flour is gluten-free, the dough may be delicate, so work carefully.
Rajgira Thepla Recipe
Ingredients
Ingredients:
- 1 Cup Rajgira flour (Amaranth flour)
- 1 Medium potato, boiled and mashed
- 1 teaspoon Green chili paste (or finely chopped green chilies)
- 1 tablespoon Fresh coriander, chopped
- ½ teaspoon Cumin seeds
- ¼ teaspoon Ajwain (carom seeds)
- ½ teaspoon Red chili powder
- ½ teaspoon Rock salt (sendha namak) or as per taste (for fasting)
- 1 tablespoon Yogurt (optional, skip for vegan version)
- 1 tablespoon Ghee (for non-fasting days, use oil for fasting)
- Water, as needed
- Ghee or oil for cooking the theplas
Instructions
Making the Dough
- To start, take a bowl and add the rajgira flour.
- Then, add the mashed potato, cumin seeds, red chili powder, turmeric powder, and salt.
- Mix these ingredients well. If you are using yogurt, add it now to make the dough softer.
- Next, gradually add a little water to the mixture and knead it into a soft dough. Make sure not to make it too sticky; a little oil on your hands can help.
Rolling the Theplas
- Once the dough is ready, let it rest for about 10-15 minutes. This resting time helps the dough become softer and easier to handle, making it much more manageable when you roll it out.
- After resting, divide the dough into small balls.
- Now, take one ball and flatten it slightly. Dust it with a little rajgira flour and roll it out into a circle.
- Make sure the thepla is not too thick; it should be about the thickness of a regular chapati. If it cracks at the edges, that’s okay—just press it gently with your fingers.
Cooking Techniques
- Now, it's time to cook! First, heat a skillet or tawa over medium heat. This ensures the thepla cooks evenly and gets nice and crispy.
- Once the skillet is hot, next, add a little oil or ghee. Then, place the rolled-out thepla onto the skillet and let it cook.
- Cook it for about a minute until you see bubbles forming on the surface.
- Then, flip it over and add a little more oil or ghee on the top side.
- Cook until both sides are golden brown and crispy. This will take about 2-3 minutes. Keep an eye on them so they don’t burn!
Notes
Variations
-
- Stuffed Rajgira Thepla: Want to try something different? I once stuffed my Rajgira Thepla with mashed potatoes and spiced veggies, and it turned out amazing! It made the thepla even more filling, and everyone at home loved it. You could also try adding paneer for a cheesy twist!
-
- Different Spice Blends: If you like experimenting, add a pinch of dried fenugreek leaves (methi), black pepper, or even a little cinnamon and nutmeg! I remember my cousin adding methi once, and it made the flavor so rich and aromatic—totally changed the game!
-
- Vegan and Dairy-Free Options: For a vegan version, I swapped out ghee with coconut oil and used almond yogurt instead. It tasted just as good, and I didn’t miss the dairy at all! Try it out, and you might just love it!

Leave a Reply