


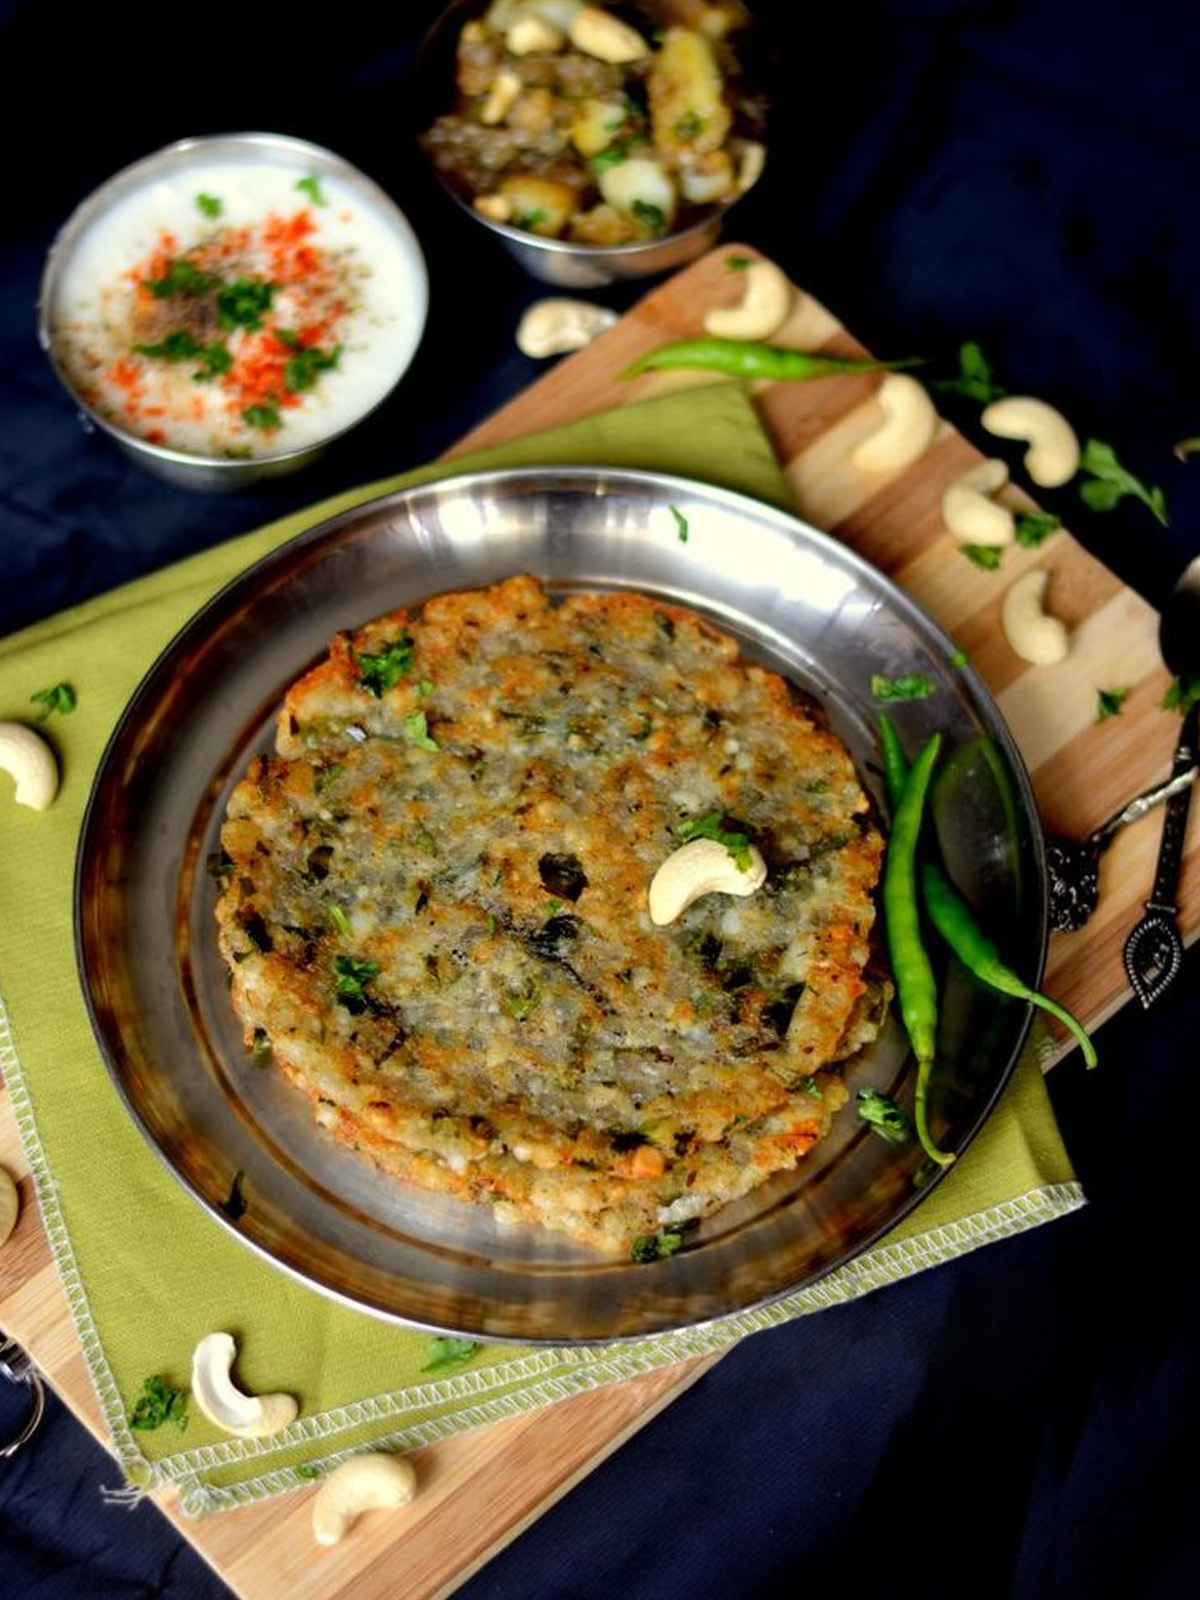
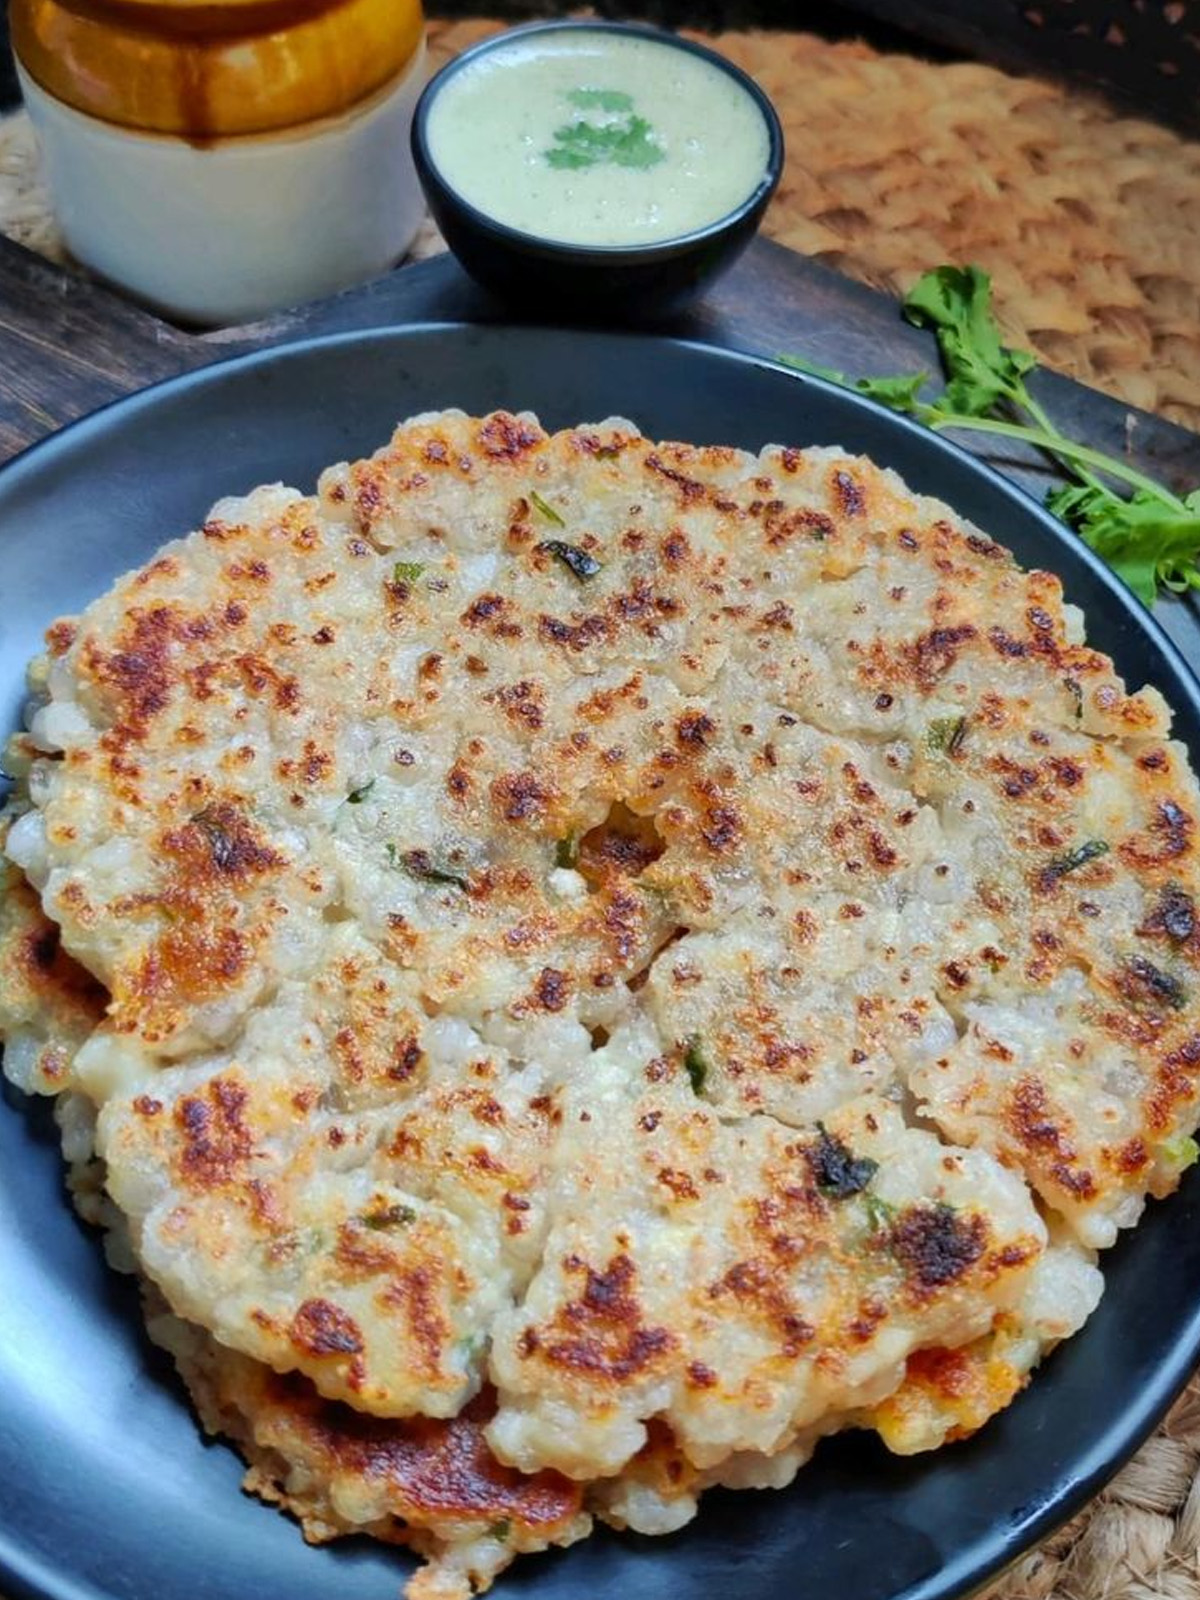
Sabudana Thalipeeth recipe is a popular Indian dish, especially during fasting days. Made from tapioca pearls (sabudana), it's light, crispy outside, and soft inside—perfect for a snack or meal. Not only is it delicious, but it also holds cultural significance during festivals and special occasions.
Jump to:
Why You'll Love This Recipe❤️:
- Delicious and Crispy: Sabudana Thalipeeth recipe has a perfect crispy outer layer and soft inside, making every bite tasty!
- Quick and Easy: It’s simple to make, so you can enjoy it in no time!
- Energy Boost: Packed with carbohydrates, it gives you plenty of energy, especially during fasting days.
- Perfect for Special Occasions: Often made during festivals, this dish is a treat for family gatherings and celebrations!
What is Sabudana Thalipeeth?
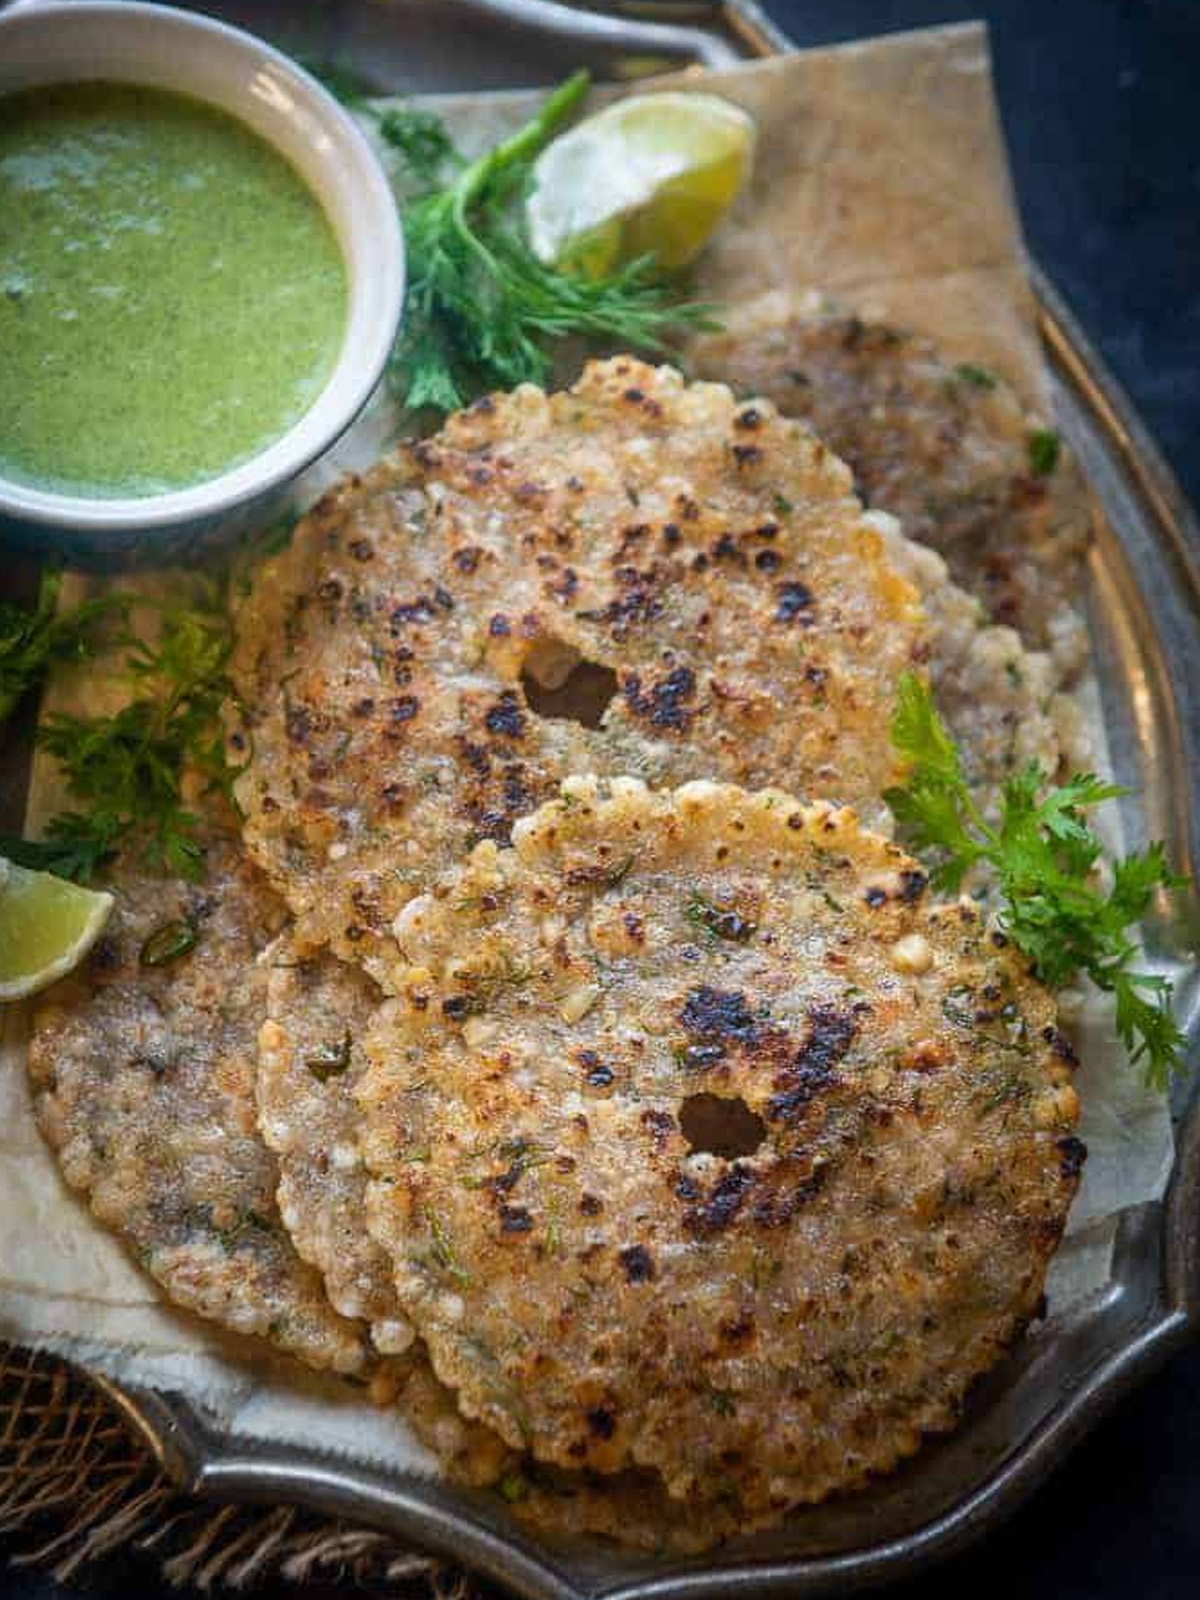
Sabudana Thalipeeth recipe is a popular dish in India, especially in Maharashtra, made from soaked sabudana (tapioca pearls).
First, you mix the soaked sabudana with boiled potatoes, ground peanuts, and spices to make a tasty dough. Then, shape the dough into round discs and cook them on a griddle until golden and crispy.
While this recipe especially enjoyed during fasting times like Navratri, Sabudana Thalipeeth also makes a great breakfast or snack.
In my family, we make it together during fasting days, chatting and laughing as we prepare the dough—it's a fun tradition!
Finally, you can serve it with yogurt, green chutney, or peanut chutney for extra flavor. Everyone loves its perfect balance of crunch and softness!
Why Sabudana Thalipeeth?
Sabudana Thalipeeth is loved for its simplicity and ease of preparation . It's quick to make and perfect for busy mornings or when you're craving a tasty snack.
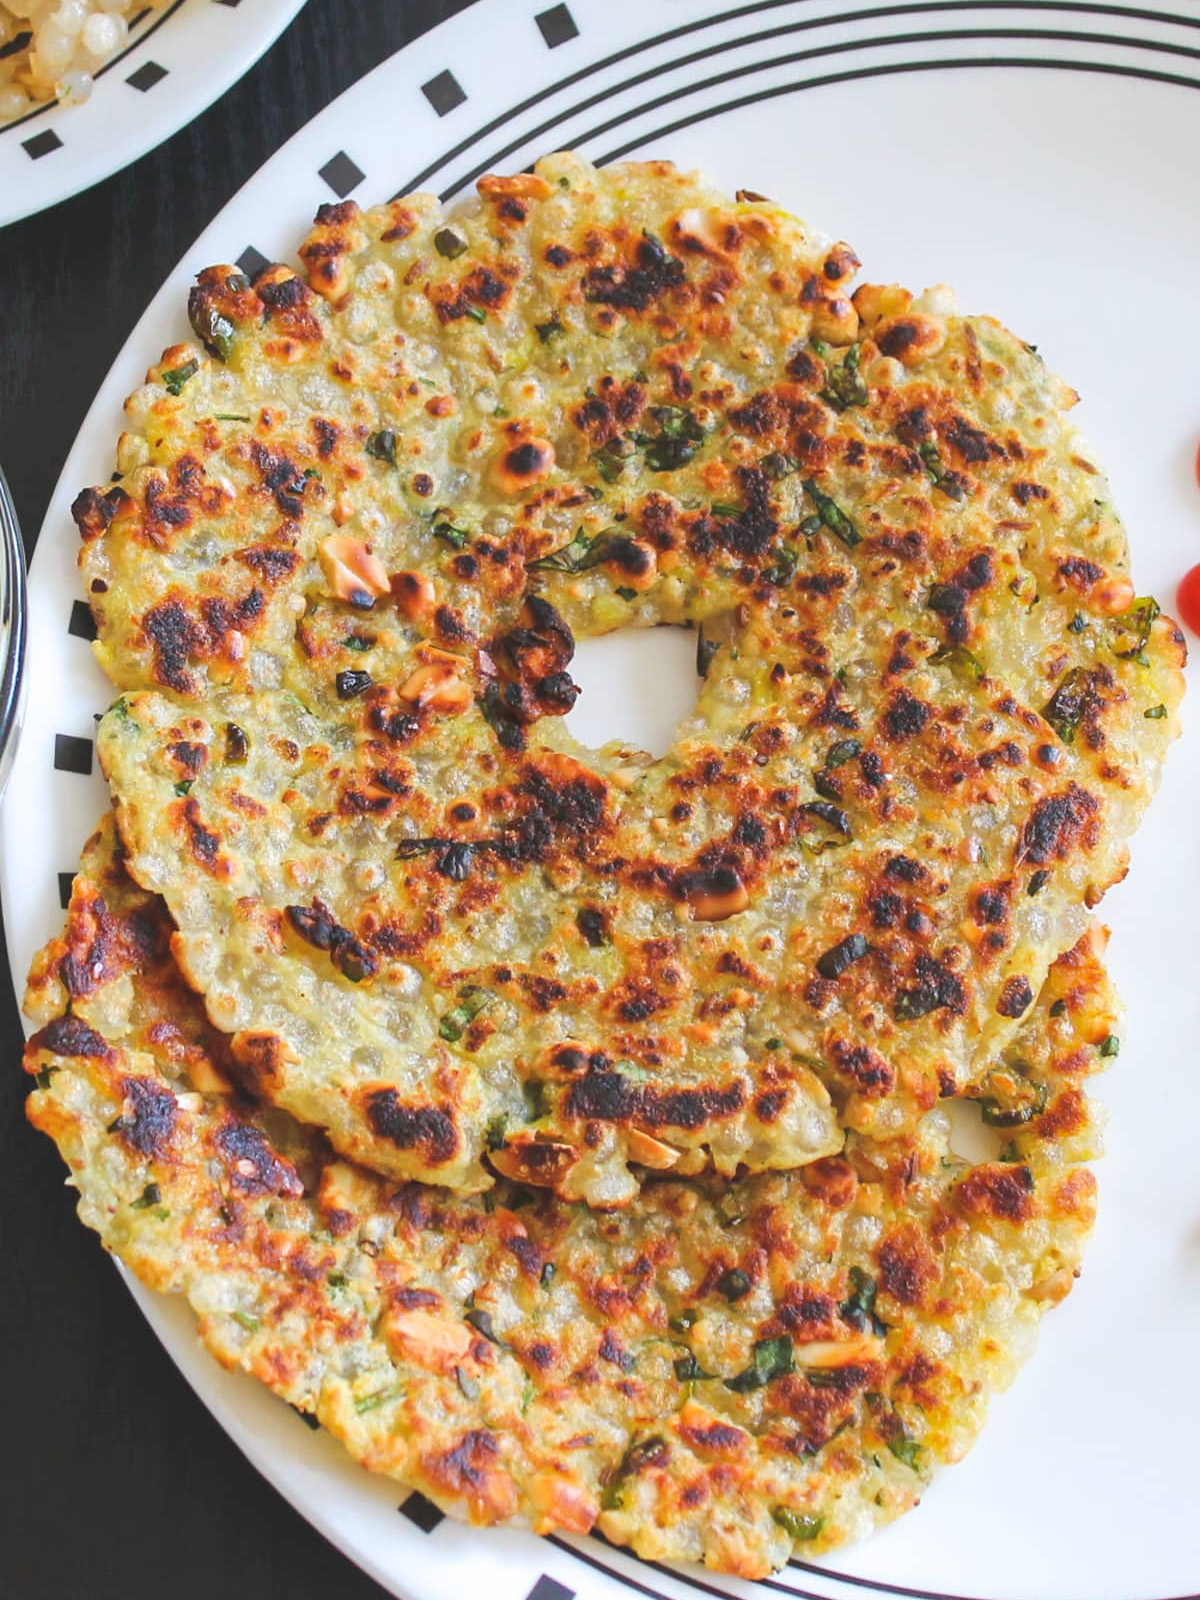
The best part is its unique texture: crispy on the outside and soft on the inside, making each bite irresistible.
Plus, it’s super versatile! You can enjoy it as a filling breakfast or a savory snack anytime of the day. Whether you eat it with chutney or yogurt, Sabudana Thalipeeth is always a hit!
Health Benefits of Sabudana(Tapioca Pearls)
- Nutritional Value: Sabudana is high in carbohydrates, giving you quick energy when you need it most. Plus, it’s gluten-free and packed with iron and calcium, helping keep your body strong and healthy!
- Digestibility: Sabudana is gentle on your stomach, which makes it a great food for fasting, or for anyone with digestive issues or recovering from sickness. It’s light but filling!
- Protein and Fiber: While sabudana is carb-heavy, the potatoes, peanuts, and spices in Sabudana Thalipeeth add protein, fiber, and healthy fats—making it a well-balanced meal!
Craving more tasty treats? Check out these mouthwatering recipes:
What You'll Need to Make This Sabudana Thalipeeth?
Recipe Ingredients:
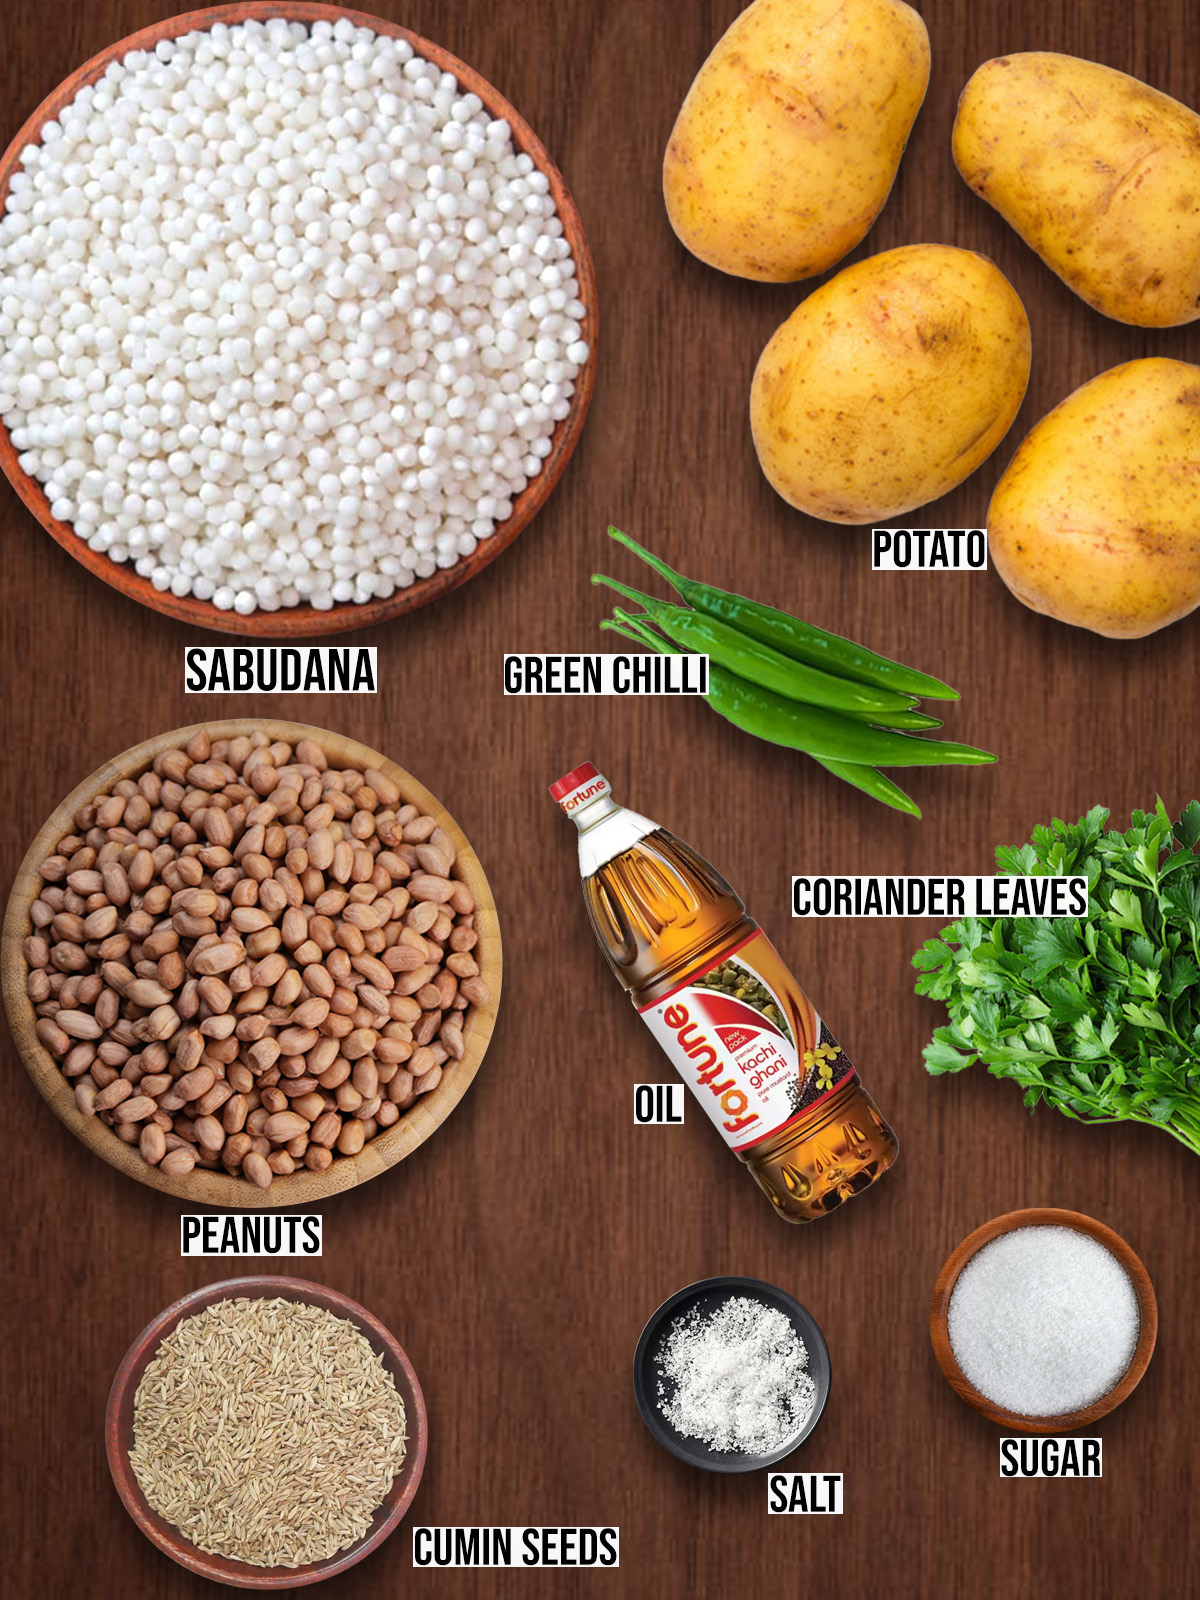
Ingredient Notes:
- Sabudana (Tapioca Pearls): The main ingredient! Soak it for a few hours to make it soft and ready for mixing. I remember soaking sabudana with my mom during Navratri; the smell of soaking pearls always reminded me of festival time.
- Boiled Potatoes: These add softness and help bind the dough. They're the secret to that delicious texture!
- Ground Peanuts: For extra crunch and a nutty flavor. We always roasted peanuts together for a crunchy kick!
- Spices: Cumin, black pepper, and salt. Just the right amount gives the thalipeeth a flavor explosion.
How to Make Sabudana Thalipeeth
Step by Step Instructions
Soaking Sabudana
The first step is to soak the sabudana.
- Start by rinsing the tapioca pearls in water. Then, soak them in water for about 4-6 hours or until they are soft. This is important because if you don’t soak them enough, they will be hard when you cook them.
Making the Dough
Once the sabudana is soft, it’s time to make the dough.
- In a large bowl, mix the soaked sabudana with the boiled and mashed potato.
- Add the ground peanuts, chopped green chilies, cumin seeds, and salt. If you like, you can also add chopped onions and coriander leaves for extra flavor.
- Use your hands to mix everything together until it forms a dough. Make sure it is well combined but not too sticky. If it feels too dry, you can add a little water, but be careful not to make it too wet.
Shaping the Thalipeeth
- Next, it’s time to shape the dough into thalipeeth. Take a small portion of the dough and roll it into a ball.
- Then, flatten it between your palms to form a round pancake. Aim for a thickness of about half an inch.
You can also use a rolling pin, but be careful! The dough can be a bit sticky. If it sticks, dust a little dry flour on the surface.
Cooking Techniques
Cooking the Thalipeeth
Now, let’s cook the thalipeeth!
- Heat a non-stick pan over medium heat and add a little oil or ghee.
- Once the oil is hot, carefully place the shaped thalipeeth in the pan.
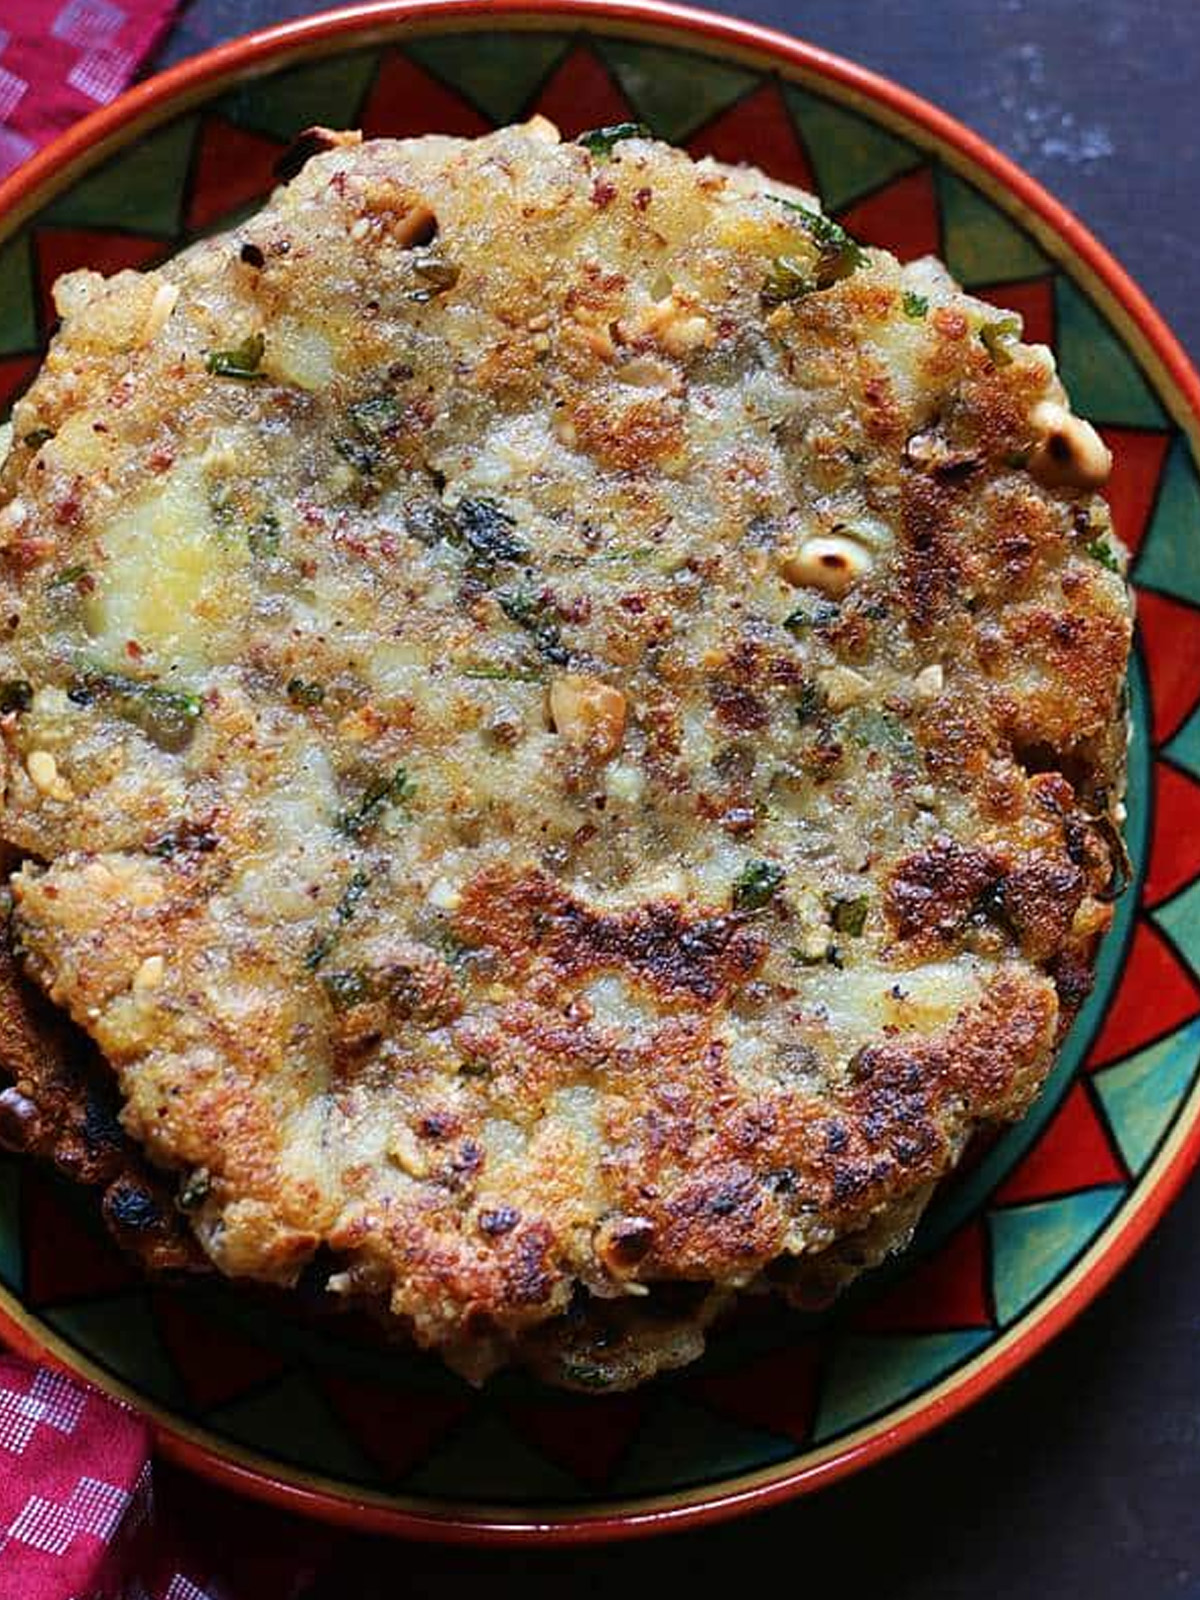
- Cook for about 3-4 minutes on each side or until they turn golden brown and crispy. If you want them extra crispy, you can add a bit more oil around the edges while cooking.
Flipping the Thalipeeth
- When it’s time to flip the thalipeeth, use a spatula to carefully turn it over. Make sure it is cooked evenly on both sides for the best taste and texture.
Serving Suggestions
- Pair your thalipeeth with chutneys like coconut chutney, garlic chutney, or mint chutney. You can also enjoy it with a creamy yogurt dip or a tangy spiced buttermilk (chaas) for extra flavor!
- For the perfect combo, sip on refreshing lemonade, a warm masala chai, or a soothing cup of herbal tea to balance out the spices.
- Make your meal even better by adding a light salad or a vegetable side dish to your thalipeeth. It's perfect for brunch or lunch!
Variations
- Spice Levels: For those who like a milder taste, add less green chili or try sweet potatoes for a sweeter, softer flavor instead of regular potatoes.
- Herbs and Greens: Add freshness with herbs like mint, coriander, or fenugreek (methi) leaves. You can even toss in some chopped spinach for extra nutrition!
- Stuffed Thalipeeth: For a fun twist, stuff your thalipeeth with spiced mashed potatoes, veggies, or even cheese for a delicious surprise inside.
- Regional Twists: Experiment with regional flavors! Try adding garam masala for a North Indian vibe or curry leaves for a South Indian touch.
Healthier Alternatives
1. Oil-Free Cooking: For a healthier version, try grilling or baking the thalipeeth instead of frying them in oil or ghee. This reduces the oil content while still giving you a tasty snack!
2. Gluten-Free Options: Since Sabudana Thalipeeth is naturally gluten-free, it’s a great choice for anyone with gluten sensitivities or celiac disease. It’s both safe and delicious!
3. Low-Calorie Options: You can make thalipeeth even healthier by using less ghee or oil, or even switch to olive oil for a lighter, more nutritious alternative!
Storage and Make-Ahead Tips
1. Storing Leftover Thalipeeth: To keep leftovers fresh, store them in an airtight container in the fridge for 1-2 days. For longer storage, freeze them, and they’ll last for up to a month!
2. Reheating Tips: When reheating, use a tawa or oven to keep the thalipeeth crispy. If you want a quick and easy fix, try using an air fryer for that perfect crunch!
3. Making the Dough Ahead of Time: You can make the dough in advance and store it in the fridge for up to 24 hours. This is perfect for meal prep and saves time on busy days!
Did you try this Sabudana Thalipeeth recipe? Leave a ⭐️⭐️⭐️⭐️⭐️ rating below and share it on Instagram, Facebook, and Pinterest!
❔FAQs
Yes, you can make Sabudana Thalipeeth without potatoes, but they help bind the dough and add flavor. If you want to avoid potatoes, try adding a small amount of rice flour or besan (gram flour) to help with binding.
To achieve a crispy texture, make sure the pan or griddle is preheated to medium heat before cooking. Use enough oil or ghee to grease the pan and cook the thalipeeth until both sides are golden brown and crispy. Avoid using too much water in the dough.
If you don’t have roasted peanuts, you can use cashews or almonds as alternatives. In addition, you can skip nuts entirely if preferred, though they do add a nice crunch and flavor to the thalipeeth.
Allow the cooked thalipeeth to cool completely before storing. Place it in an airtight container and keep it at room temperature for up to 2 days. For longer storage, refrigerate for up to 4-5 days. To reheat, use a griddle or toaster to regain crispiness.

Sabudana Thalipeeth Recipe
Ingredients
Ingredients
- 1 Cup Sabudana (tapioca pearls)
- 2 Medium potatoes ,peeled, boiled, and mashed
- ½ Cup Roasted peanuts, coarsely ground
- 1-2 Green chilies, finely chopped
- 1 teaspoon Cumin seeds
- 1 teaspoon Salt (or to taste)
- ½ teaspoon Sugar (optional)
- 1 tablespoon Chopped fresh coriander leaves
- Ghee or oil for cooking
Instructions
Soaking Sabudana
- The first step is to soak the sabudana.
- Start by rinsing the tapioca pearls in water. Then, soak them in water for about 4-6 hours or until they are soft. This is important because if you don’t soak them enough, they will be hard when you cook them.
Making the Dough
- Once the sabudana is soft, it’s time to make the dough.
- In a large bowl, mix the soaked sabudana with the boiled and mashed potato.
- Add the ground peanuts, chopped green chilies, cumin seeds, and salt. If you like, you can also add chopped onions and coriander leaves for extra flavor.
- Use your hands to mix everything together until it forms a dough. Make sure it is well combined but not too sticky. If it feels too dry, you can add a little water, but be careful not to make it too wet.
Shaping the Thalipeeth
- Next, it’s time to shape the dough into thalipeeth. Take a small portion of the dough and roll it into a ball.
- Then, flatten it between your palms to form a round pancake. Aim for a thickness of about half an inch.
- You can also use a rolling pin, but be careful! The dough can be a bit sticky. If it sticks, dust a little dry flour on the surface.
Cooking Techniques
Cooking the Thalipeeth
- Now, let’s cook the thalipeeth!
- Heat a non-stick pan over medium heat and add a little oil or ghee.
- Once the oil is hot, carefully place the shaped thalipeeth in the pan.
- Cook for about 3-4 minutes on each side or until they turn golden brown and crispy. If you want them extra crispy, you can add a bit more oil around the edges while cooking.
Flipping the Thalipeeth
- When it’s time to flip the thalipeeth, use a spatula to carefully turn it over. Make sure it is cooked evenly on both sides for the best taste and texture.
Notes
Variations
-
- Spice Levels: For those who like a milder taste, add less green chili or try sweet potatoes for a sweeter, softer flavor instead of regular potatoes.
-
- Herbs and Greens: Add freshness with herbs like mint, coriander, or fenugreek (methi) leaves. You can even toss in some chopped spinach for extra nutrition!
-
- Stuffed Thalipeeth: For a fun twist, stuff your thalipeeth with spiced mashed potatoes, veggies, or even cheese for a delicious surprise inside.
-
- Regional Twists: Experiment with regional flavors! Try adding garam masala for a North Indian vibe or curry leaves for a South Indian touch.


Leave a Reply